
911 Turbo AWD F6-3600cc 3.6L SOHC Twin Turbo (1997)
Shows The Right Side Of The Engine, Cylinder Bank 4 - 6
-
Before installing Special Tools 9551 + 9552, check for any burr formation at the 6 H7 holes and at the fit bolts. The fit bolts must be able to
rotate in the holes.
NOTE:
-
Adjusting and/or checking the timing with a dial gauge is no longer required.
-
The locking tools are at the same time designed as timing adjustment gauges.
2. Apply thin coat of Optimoly HT to contact surfaces at screw heads and threads of hexagon head screws.
-
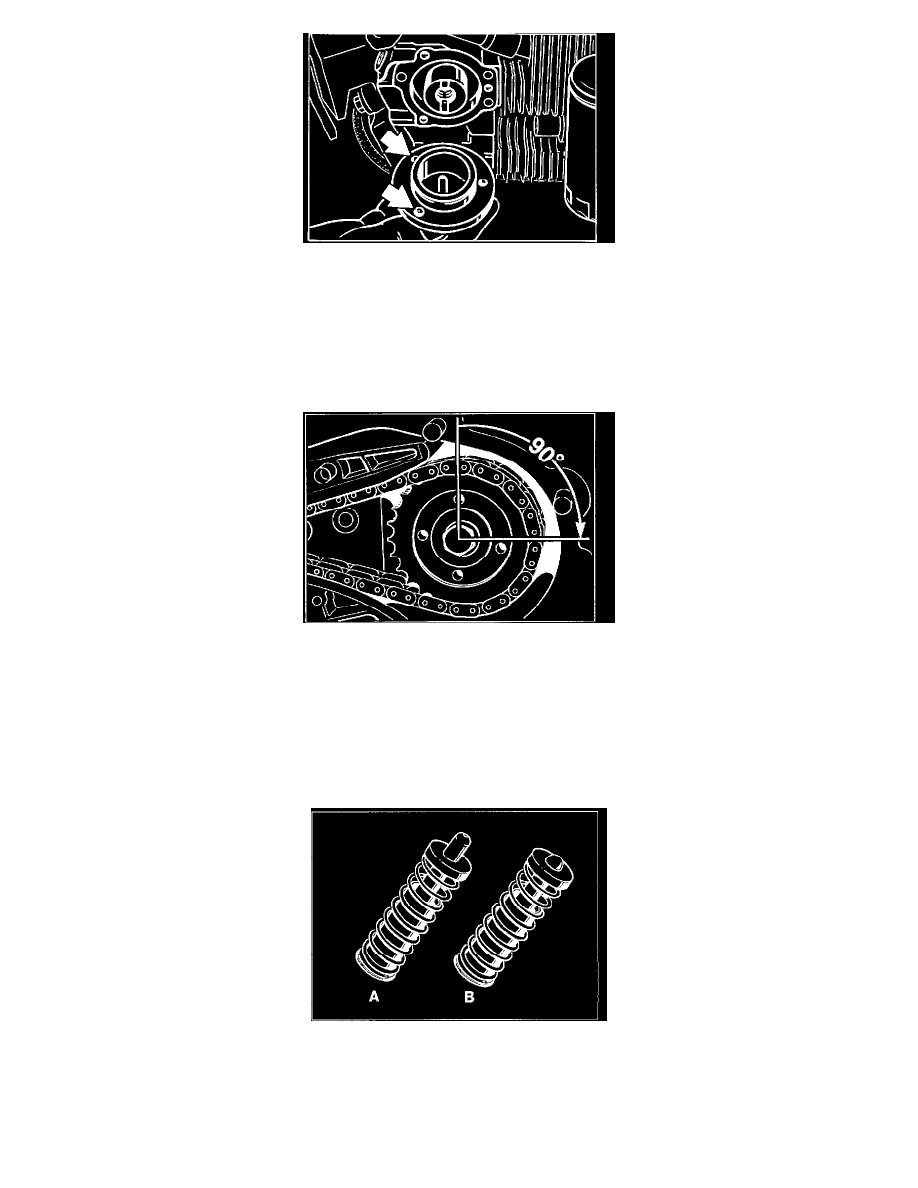
Tighten hexagon head bolts of left and right camshafts as follows:
1st stage: Setting torque 20 Nm (15 ft lb)
2nd stage: Tightening angle 90°
CAUTION: Fit special tool 9582, holding wrench, to the chain sprockets during tightening to reduce the strain on the chain drive and the locking
devices.
-
After completing adjustment, take off auxiliary chain tensioner and refit original chain tensioner. Observe correct installation position.
Legend
A - Left chain tensioner. Oil supply hole points up.
B - Right chain tensioner. Oil supply hole hole points down.
NOTE: In addition, the spring cups of the chain tensioners are marked "top" and "LH bottom" or "RH bottom" for identification.