
924 S L4-2479cc 2.5L (1986)
Tensioning Belt
12. Apply sufficient tension to the timing belt (in order to keep the belt from slipping while checking the tension) by turning the tensioner roller
anticlockwise.
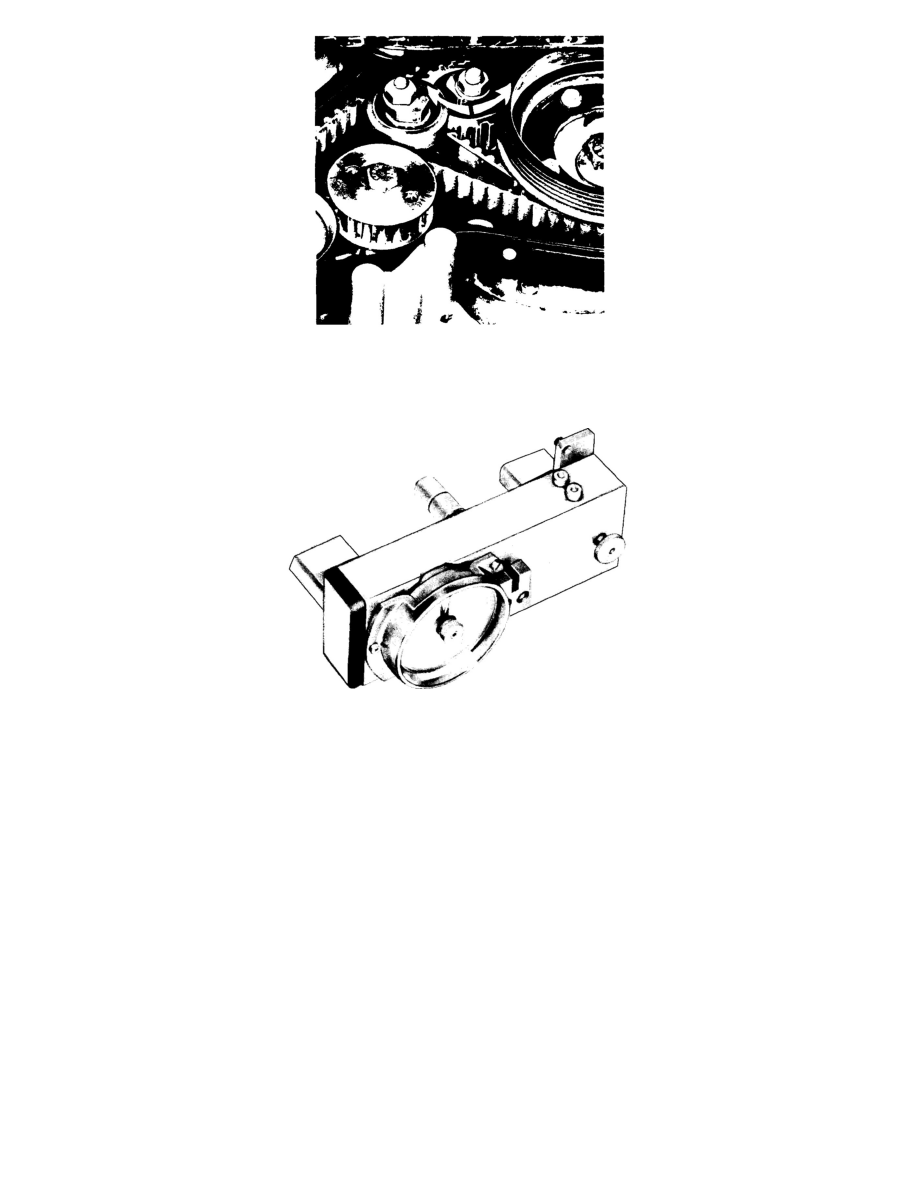
Belt Tension Tool
13. Install special tool 9201 or equivalent. Pull out lockpin and push out test pin. Align drag needle with gauge needle.
14. Apply pressure to gauge bar at test point until lock pin engages. Displayed value should be 4.0 +/- 0.3 for new belts and 2.7 +/- 0.3 for used belts.
NOTE: Do not twist or apply pressure to belt or gauge while taking readings. This will affect the gauge reading.
15. Turn tensioning roller counterclockwise to tighten belt and clockwise to loosen. While holding tensioning roller, tighten lock nut.
16. Turn engine one complete revolution and recheck belt tension.
17. Ensure alignment of balance shaft marks. Install new balance shaft belt.
18. Tension balance shaft belt, See: Balance Shaft Belt/Adjustments.
19. Finish installation by reversing removal procedure.
20. Replace drain plug. Remove bleeder plugs. Slowly add coolant until fluid level remains at the "max" mark in the expansion tank.
21. Start and run engine at fast idle until radiator fan switches on and off adding coolant as necessary.
22. When fluid leaving bleeder is free from air bubbles replace bleeder plug.
23. Ensure proper coolant level in expansion tank.