9-7X L6-4.2L (2008)

3. Install the compressor discharge hose nut.
Tighten the hose nut to 28 Nm (21 ft. lbs.).
4. Install the compressor hose to the connector through the driver wheel opening.
5. Install the nut.
Tighten the nut to 48 Nm (35 ft. lbs.).
6. Install the compressor suction hose to the stud on the engine.
7. Install the nut.
Tighten the nut to 48 Nm (35 ft. lbs.).
8. Install the compressor suction hose to the engine lift bracket.
9. Install the bolt.
Tighten the bolt to 48 Nm (35 ft. lbs.).
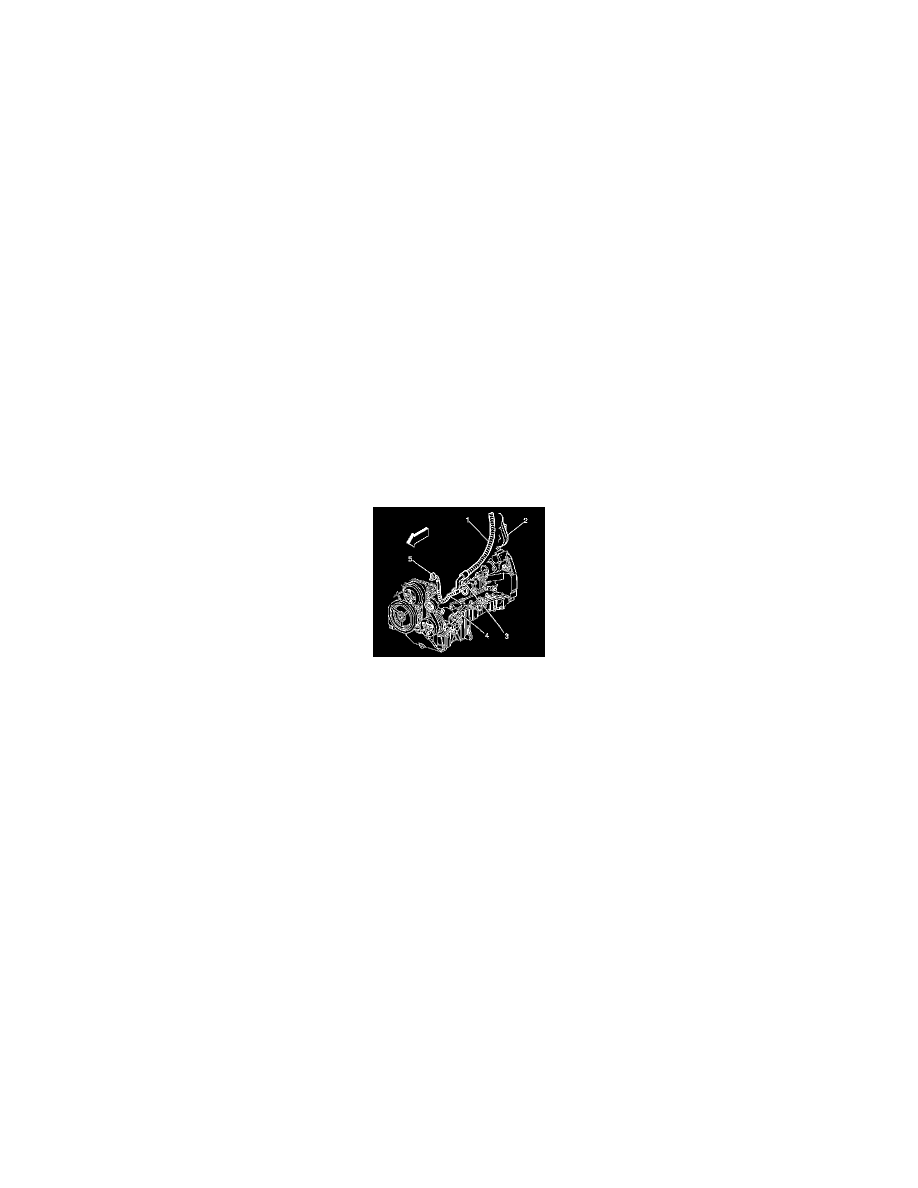
10. Connect the compressor suction hose (1) to the accumulator.
11. Install the compressor suction hose nut to the accumulator.
Tighten the nut to 48 Nm (35 ft. lbs.).
12. Install the sealing washers. Refer to Sealing Washer Replacement (See: Heating and Air Conditioning/Coupler HVAC/A/C Coupler
O-ring/Service and Repair/Sealing Washer Replacement).
13. Connect the compressor hose assembly hose to the compressor (4).
14. Install the compressor hose assembly washers.
15. Install the retaining nut (3).
Tighten the nut to 33 Nm (24 ft. lbs.).
16. Evacuate and recharge the A/C system. Refer to Refrigerant Recovery and Recharging (See: Heating and Air Conditioning/Service and
Repair/Refrigerant Recovery and Recharging).
17. Leak test the fittings of the components using the J 39400-A.
