
Cruise Control: Diagrams (page 43 of 99)
- Make
- Saab
- Model
- 9-7X
- Engine
- V8-5.3L
- Year
- 2005
- Section
- Diagrams
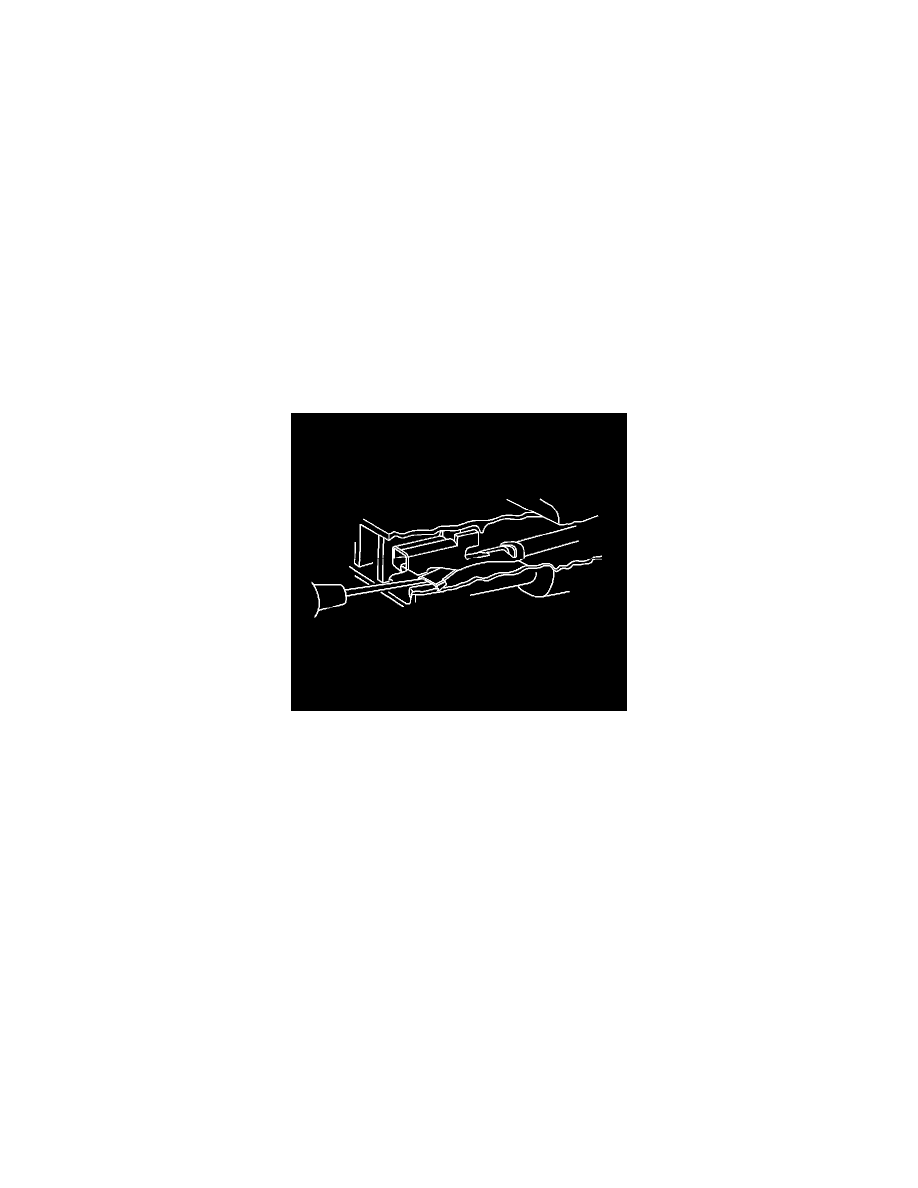
After the terminal is crimped to the wire perform the following procedure in order to replace Micro-Pack 100 terminals.
1. Slide the new terminal into the correct cavity at the back of the connector.
2. Push the terminal into the connector until it locks into place. The new terminal should be even with the other terminals. Ensure that the terminal is
locked in place by gently pulling on the wire.
3. To assemble the connector, reverse the Terminal Removal Procedure.
Delphi Connectors (Pull To Seat)
Delphi Connectors (Pull To Seat)
Tools Required
J-38125 Terminal Repair Kit
Terminal Removal
If the terminal is visibly damaged or is suspected of having a faulty connection, the terminal should be replaced.
Follow the steps below in order to repair pull-to-seat connectors:
1. Remove the connector position assurance (CPA) device and/or the secondary lock.
2. Disconnect the connector from the component or separate the connectors for in-line connectors.
3. Remove the terminal position assurance (TPA) device.
4. Insert the proper pick or removal tool into the front of the connector body.
Important: On connectors with more than one terminal the service loop may not be large enough to remove the terminal and crimp on a
new one. If the terminal wire does not have a large enough service loop for removal, cut the wire 5 cm (2 in) behind the connector before
removal.
5. Grasp the wire at the back of the connector body and gently push the terminal out the front of the connector body.
Terminal Repair
1. If the wire needed to be cut in order to remove the terminal, gently push a small length of the same size wire through the back of the connector
cavity until there is enough wire exposed in order to crimp on a new terminal. If the wire was not cut, cut the existing wire as close to the old
terminal as possible.
2. Strip 5 mm (3/16 in) of insulation from the wire.
3. Crimp a new terminal to the wire.
4. Solder the crimp with rosin core solder.
Terminal Installation
1. Align the terminal and pull the wire from the back of the connector in order to seat the terminal.
2. If necessary, cut the new wire to proper length and splice with existing circuit. Refer toSplicing Copper Wire Using Splice Sleeves (See: Testing
and Inspection/Component Tests and General Diagnostics/Wiring Repairs/Splicing Copper Wire Using Splice Sleeves).
Pinch or Ctrl + scroll to zoom. Double-tap to reset.
Parts & tools for this job For 2005 Saab 9-7X 5.3L
- TOOLOBD2 scannerSearch: OBD2 scanner
- TOOLDigital multimeterSearch: automotive digital multimeter
- TOOLBack-probe test leadsSearch: back probe test leads
Links open Amazon search results in a new tab. As an Amazon Associate I earn from qualifying purchases.