
Astra L4-1.8L (2009)
Parking Brake Lever: Service and Repair
Parking Brake Lever Replacement
Removal Procedure
1. Remove the cover of the diagnostic connection and unclip the parking brake lever boot.
2. Loosen the parking brake cable on the parking brake lever by unscrewing the adjusting nut.
3. Remove the front floor console. Refer to Front Floor Console Replacement (See: Body and Frame/Interior Moulding / Trim/Console/Service and
Repair).
4. Disconnect the wiring harness plug of the parking brake indicator switch.
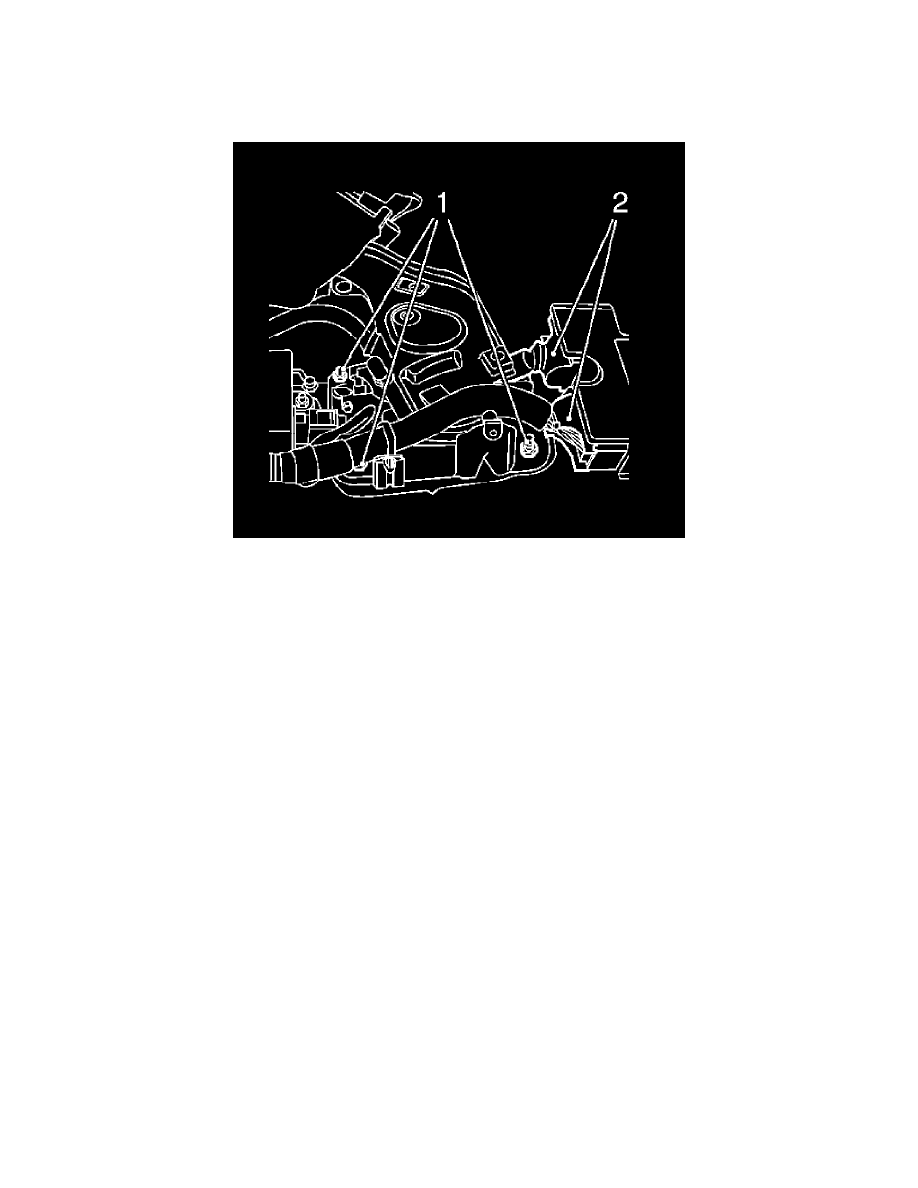
5. Disconnect 2 wiring harness plugs (2) from the airbag control unit.
6. Disconnect 2 wiring harness from the parking brake lever support plate.
7. Remove the adjusting nut, parking brake cable.
8. Remove the parking brake lever.
Remove the 3 nuts (1)
9. Remove the parking brake indicator switch from the parking brake lever.
Installation Procedure
Caution: Refer to Fastener Caution (See: Service Precautions/Vehicle Damage Warnings/Fastener Caution).
1. Install the parking brake indicator switch to the parking brake lever.
Tighten the parking brake control indicator switch to 6 Nm (53 lb in).
2. Install the parking brake lever to the vehicle substructure.
Tighten 3 new parking brake lever nuts to 8 Nm (71 lb in).
3. Install the parking brake cable to the parking brake lever.
Install the adjusting nut.
4. Connect the wiring harness plug of the parking brake indicator switch.
5. Install the front floor console. Refer to Front Floor Console Replacement (See: Body and Frame/Interior Moulding / Trim/Console/Service and
Repair).
6. Adjust the parking brake lever path. Refer to Parking Brake Adjustment (See: Adjustments).