
Astra L4-1.8L (2009)
Note: Inspect the installation position.
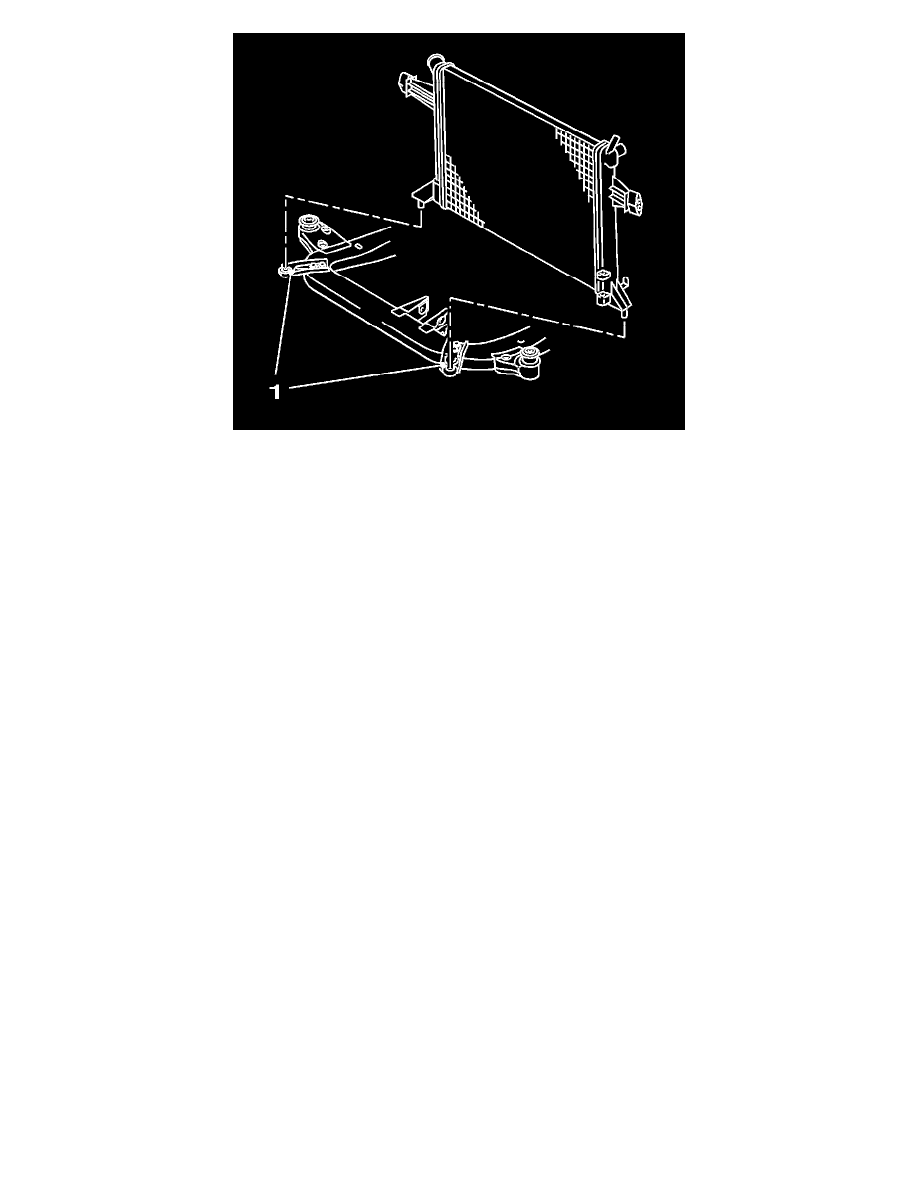
20. Remove the lower radiator bracket (1) from the front axle body.
Remove the 4 bolts.
21. Lower the radiator down and out.
*
Remove the fuses from the upper holders.
*
Push the condenser forward.
Note: These operations must only be performed if the component is being replaced.
*
Remove the attached parts from the radiator.
*
Remove the 2 rubber bearings.
*
Pull away the 6 sheet metal nuts.
*
Remove the coolant temperature sensor.
Installation Procedure
1. Install the attaching parts to the radiator.
*
Install the 2 rubber bushes.
*
Push on the 6 sheet metal nuts.
*
Install the coolant temperature sensor.
2. Insert the radiator from below.
Secure to the upper radiator with a suitable tool.
Caution: Refer to Fastener Caution (See: Service Precautions/Vehicle Damage Warnings/Fastener Caution).
Note: Arrow on bracket points to the front of the vehicle.
3. Install the lower radiator bracket.
Tighten the 4 bolts to 15 Nm (11 lb ft).
4. Remove the fuses.
5. Lower the vehicle by half its height.
6. Install the condenser to the radiator.
Tighten the 4 bolts to 5 Nm (44 lb in).