
Astra L4-1.8L (2009)
Caution: Refer to Fastener Caution (See: Service Precautions/Vehicle Damage Warnings/Fastener Caution).
1. Install the exhaust camshaft.
*
Coat with MoS 2 lubricating paste.
Note: Note the identification marking on the camshaft bearing cover.
*
Insert the camshaft.
*
Install the camshaft bearing cover.
*
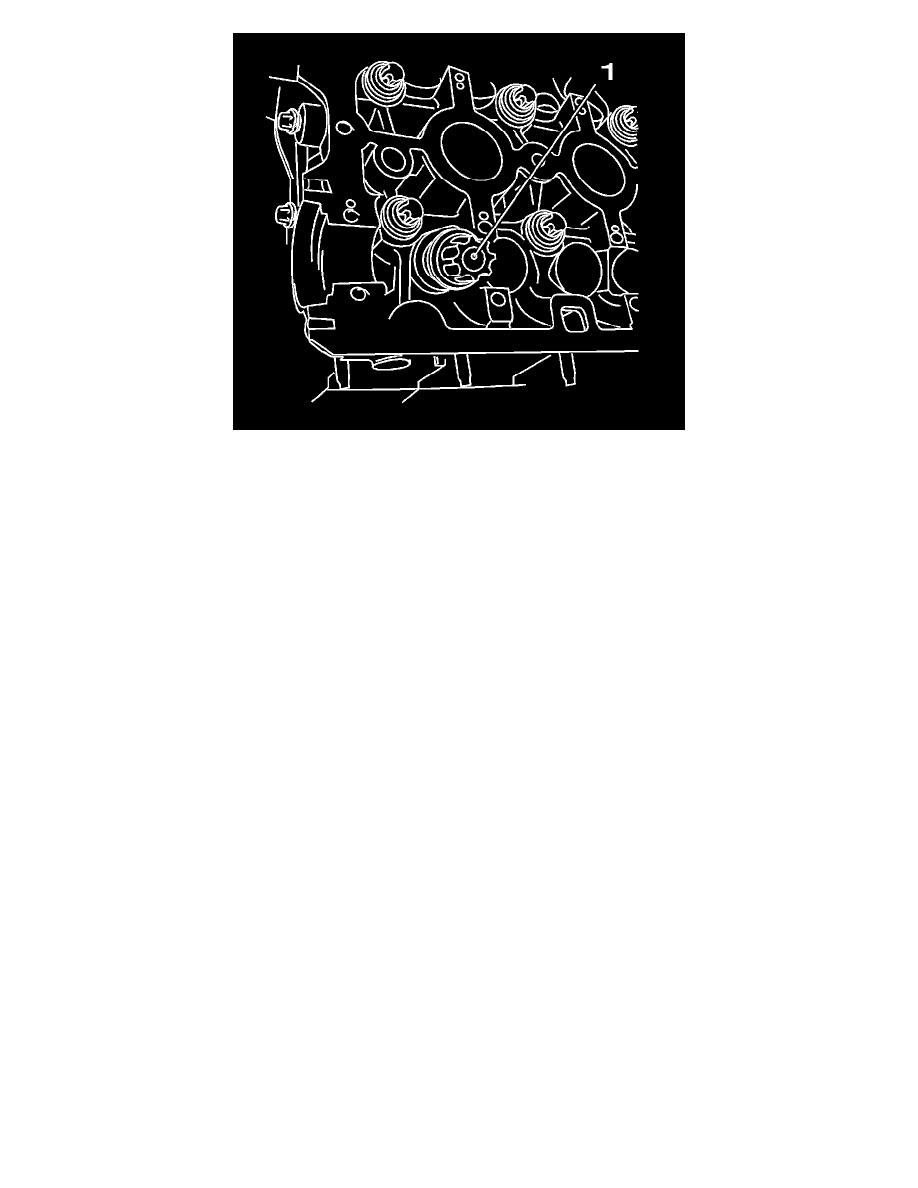
Tighten the camshaft bearing caps 2-5 in a spiral from the inside to the outside.
Tighten the camshaft bearing caps to 8 Nm (70 lb in).
Note: If none of the camshafts were replaced, continue at step 3 of the Installation Procedure.
2. Install the intake camshaft.
*
Coat with MoS 2 lubricating paste.
Note: Note the identification marking on the camshaft bearing cover.
*
Insert the camshaft.
*
Install the camshaft bearing cover.
*
Tighten the camshaft bearing caps 2-5 in a spiral from the inside to the outside.
Tighten the camshaft bearing caps to 8 Nm (70 lb in).
3. Install the 1st camshaft bearing support.
Tighten the 4 bolts to 8 Nm (70 lb in).
Note: It is not necessary to replace the sealing sleeve and bolt when inspecting the valve lash.
4. Install the intake camshaft adjuster.
Install the bolt.
Note: It is not necessary to replace the sealing sleeve and bolt when inspecting the valve lash.
5. Attach the exhaust camshaft adjuster.
Install the bolt.