
Aura L4-2.4L (2008)
Important: The engine mount to bracket bolts must be hand started. Do not pry the engine mount to align the holes.
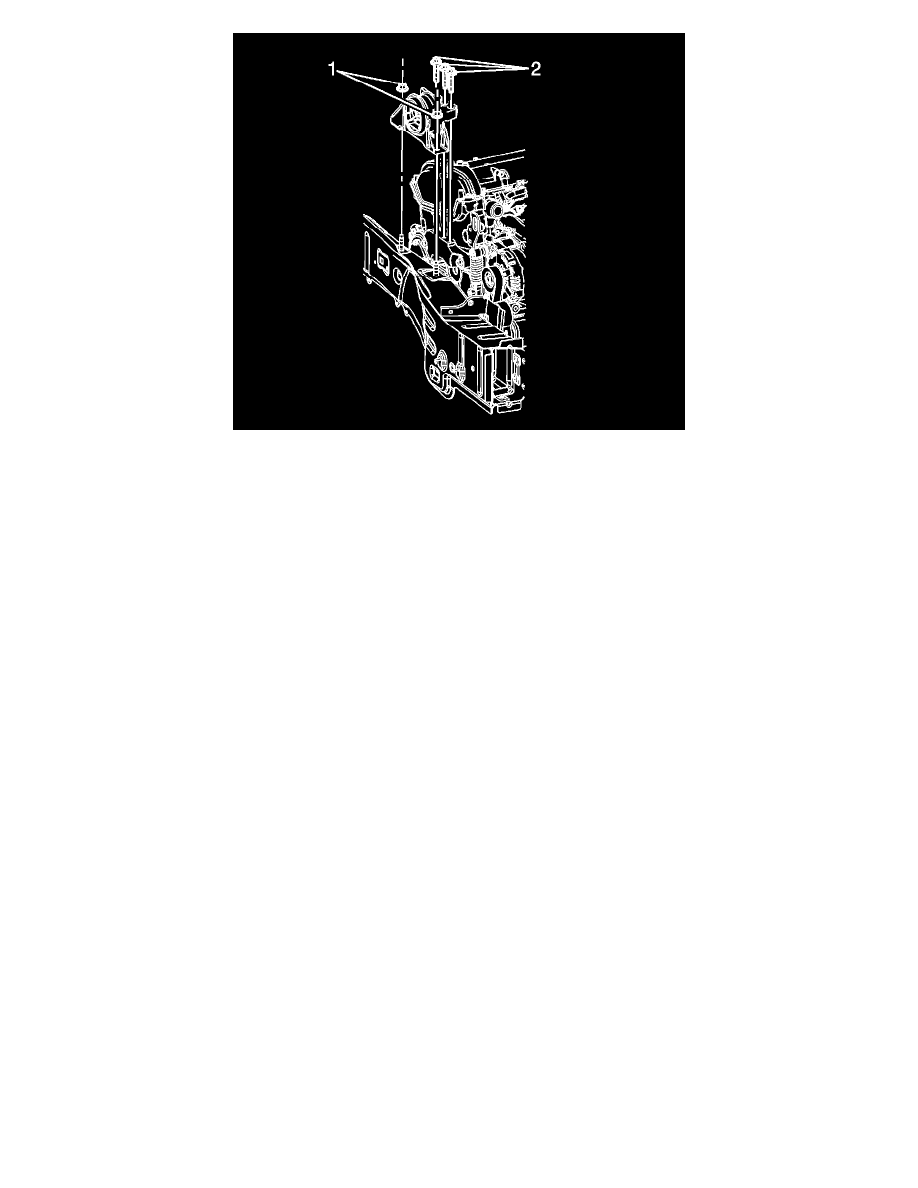
8. Install the engine mount to bracket bolts (2).
9. Tighten the engine mount to bracket bolts in the following sequence.
1. Middle
2. Rear
3. Front
Tighten the bolts to 50 N.m (37 lb ft).
10. Install A/C lines to the A/C compressor. Refer to Compressor Replacement (LY7) (See: Heating and Air Conditioning/Compressor
HVAC/Service and Repair)Compressor Replacement (LAT) (See: Heating and Air Conditioning/Compressor HVAC/Service and Repair
)Compressor Replacement (LE5) (See: Heating and Air Conditioning/Compressor HVAC/Service and Repair)Compressor Replacement (LZ4) (
See: Heating and Air Conditioning/Compressor HVAC/Service and Repair).
11. Install the right side engine splash shield. Refer to Engine Splash Shield Replacement (See: Body and Frame/Splash Guard/Service and Repair).
12. Install the drive belt. Refer to Drive Belt Replacement (See: Drive Belt/Service and Repair).
13. Using a 6 point socket on the hex boss on the drive belt tensioner, release the tension and remove the shipping clip by hand. Discard the clip.