
ION L4-2.2L VIN F (2004)
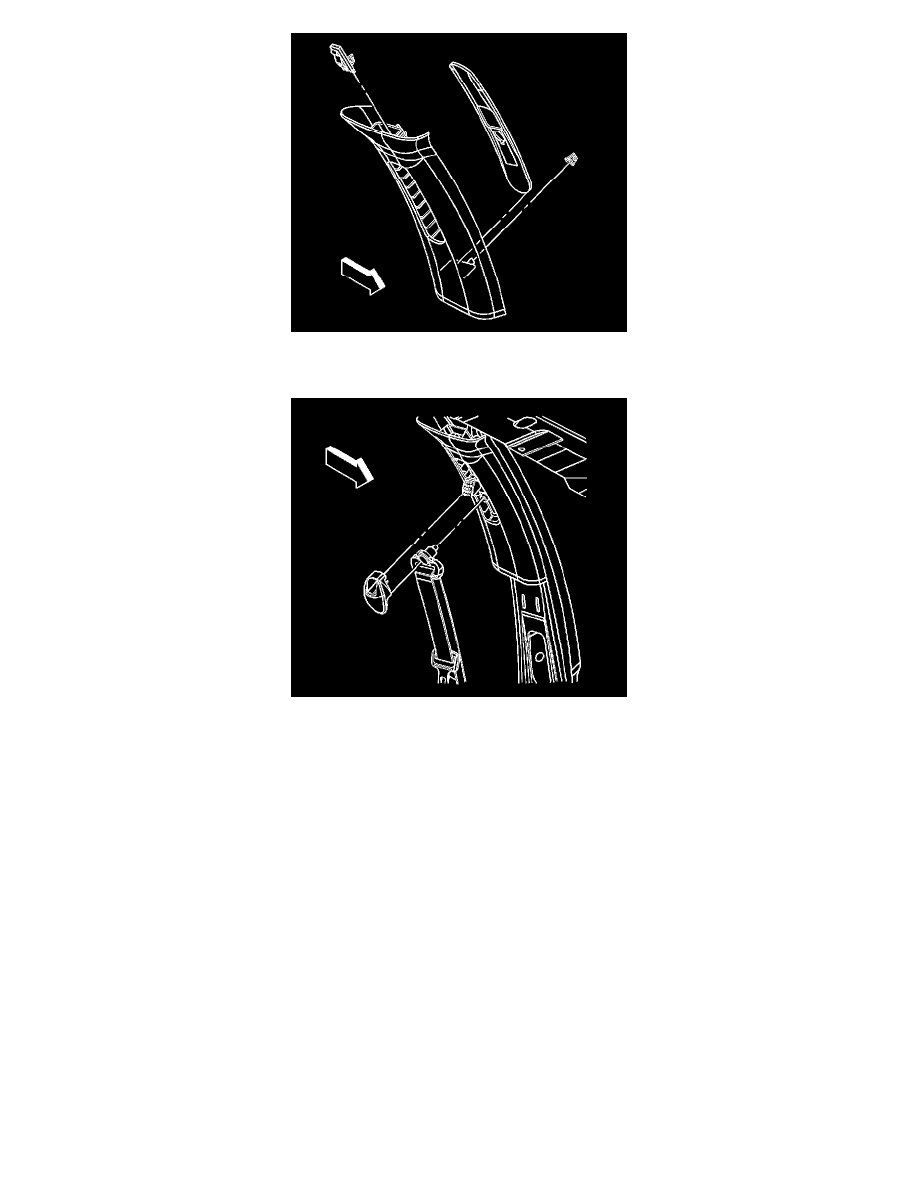
1. Install the center pillar trim to the upper trim clip by sliding the trim down. Ensure that the trim is properly seated in the upper clip.
2. Push the lower trim clip to install the clip.
Notice: Refer to Fastener Notice in Cautions and Notices.
3. Install the bolt to the adjustable guide loop on the front seat belt.
Tighten the bolt to 45 N.m (33 lb ft).
4. Install the height adjuster knob.
1. Snap the top end of the knob onto the seat belt height adjuster.
2. Push on the bottom of the knob until the knob snaps into place.
5. Inspect the seat belt for proper operation.
Garnish Molding Replacement - Lock Pillar Lower
Garnish Molding Replacement - Lock Pillar Lower
Removal Procedure
1. On the coupe, remove the upper garnish molding on the lock pillar. Refer to Garnish Molding Replacement - Lock Pillar Upper (See: Garnish
Molding Replacement - Lock Pillar Upper) .
2. Remove the rear seat cushion. Refer to Seat Cushion Replacement - Rear (Coupe) (See: Seats/Seat Cushion/Service and Repair/Removal and
Replacement/Seat Cushion Replacement - Rear (Coupe))Seat Cushion Replacement - Rear (Sedan) (See: Seats/Seat Cushion/Service and
Repair/Removal and Replacement/Seat Cushion Replacement - Rear (Sedan)) in Seats.
3. Remove the rear carpet retainer. Refer to Carpet Retainer Replacement - Rear (Sedan) (See: Carpet/Service and Repair/Removal and