ION L4-2.2L VIN F (2004)

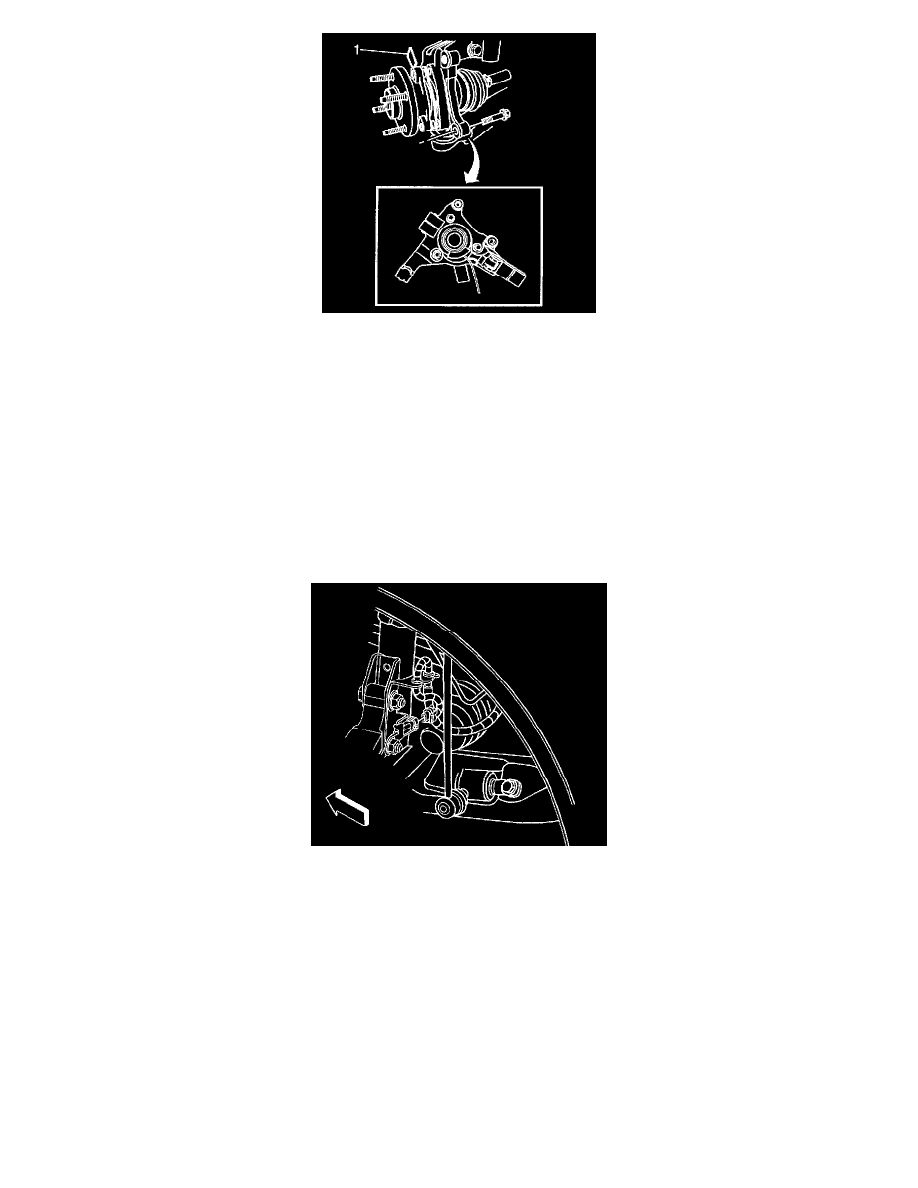
1. Install the wheel bearing/hub assembly and spacer (1) to the steering knuckle and wheel drive shaft. Position the spacer as noted prior to removal.
Notice: This is a self-retaining fastener joint that does not require thread locking compounds. Do not attempt to clean the threads with a standard
tap. If a standard tap is used, damage to the joint threads will occur.
Notice: Use the correct fastener in the correct location. Replacement fasteners must be the correct part number for that application. Fasteners
requiring replacement or fasteners requiring the use of thread locking compound or sealant are identified in the service procedure. Do not use
paints, lubricants, or corrosion inhibitors on fasteners or fastener joint surfaces unless specified. These coatings affect fastener torque and joint
clamping force and may damage the fastener. Use the correct tightening sequence and specifications when installing fasteners in order to avoid
damage to parts and systems.
2. Install the wheel bearing/hub assembly mounting bolts. Tighten the bolts evenly to draw the bearing assembly to the steering knuckle, then tighten
the bolts to specifications.
-
Tighten the bolts to 115 Nm (85 ft. lbs.).
3. Install the wheel speed sensor jumper connector to the harness retaining bracket on the strut, if equipped with ABS.
4. Connect the electrical connector to the wheel speed sensor jumper, if equipped with ABS.
5. Install the brake rotor, and install the brake caliper and bracket as an assembly.
6. Install the wheel drive shaft nut.
-
Tighten the wheel drive shaft nut to 100 Nm (74 lb. ft.) plus 35°
7. Install the tire and wheel assembly.
8. Lower the vehicle.
