
ION L4-2.2L VIN F (2004)
8.
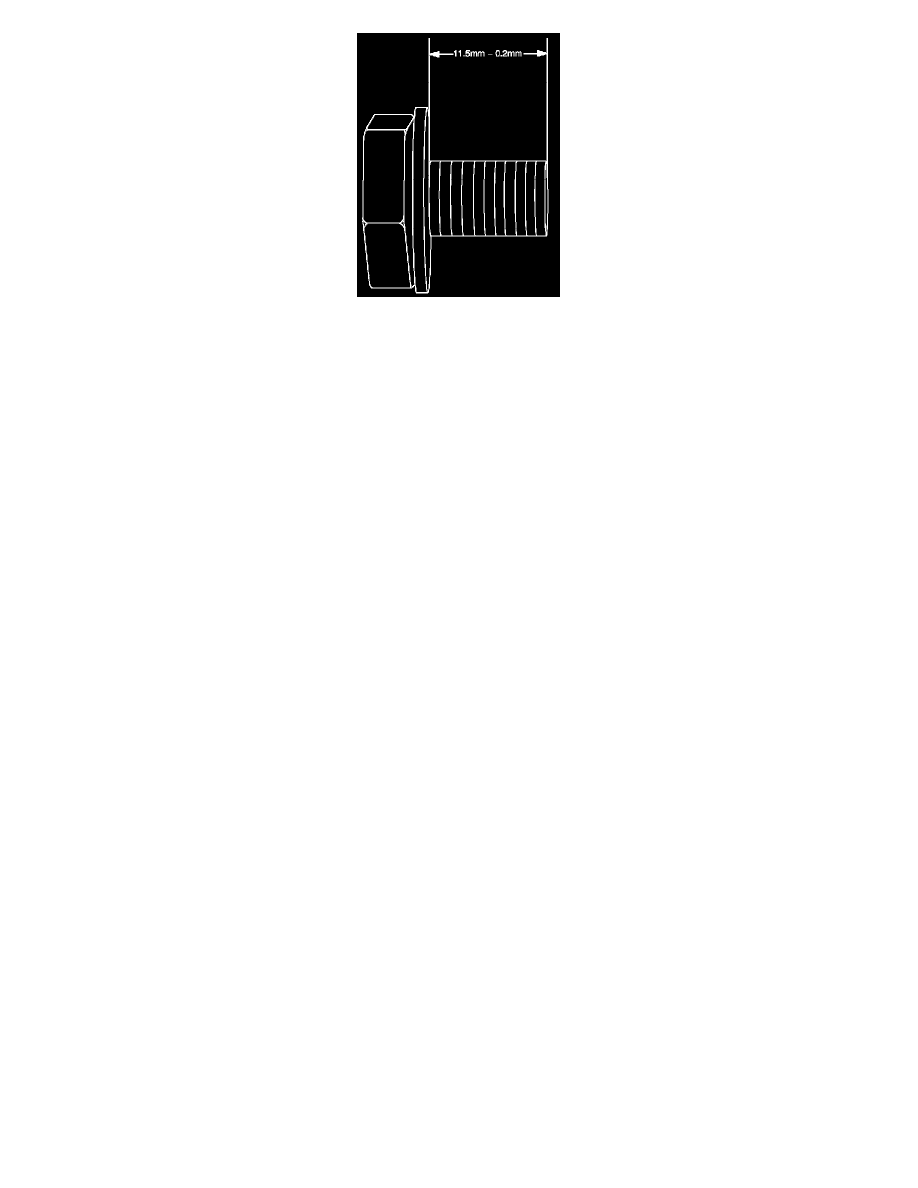
Inspect the three flex plate-to-torque converter bolts for the correct bolt and the presence of a captured washer under the head of each bolt.
Note:
Use the correct fastener in the correct location. Replacement fasteners must be the correct part number for that application. Fasteners requiring
replacement or fasteners requiring the use of thread locking compound or sealant are identified in the service procedure. Do not use paints,
lubricants, or corrosion inhibitors on fasteners or fastener joint surfaces unless specified. These coatings affect fastener torque and joint
clamping force and may damage the fastener. Use the correct tightening sequence and specifications when installing fasteners in order to avoid
damage to parts and systems.
^
If captured washers are present on bolts, tighten bolts and proceed to next step.
Tighten
Tighten flex plate-to-torque converter bolts to 60 Nm (44 ft-lbs).
^
If any captured washer is missing or an incorrect bolt was used, the transaxle requires removal and disassembly. The following repairs of the
transaxle are necessary. Use the appropriate service manual procedure for the replacement and repairs.
-
Replace the torque converter
-
Replace the control valve assembly
-
Inspect the fluid pump and if faulty or damaged replace
-
Replace the fluid filter
-
Clean the transaxle of any debris and inspect for damage
-
Install transaxle in vehicle using new flex plate-to-torque converter bolts.
9.
Install starter motor and tighten starter motor bolts.
Tighten
Tighten starter-to-engine bolts to 40 Nm (30 ft-lbs).
10.
Install starter motor electrical connectors.
10.1. Install the B+ cable and nut.
Tighten
Tighten B+ cable-to-starter nut to 10 Nm (89 in-lbs).
10.2. Install the S-terminal wire and nut.
Tighten
Tighten the S-terminal nut to 5 Nm (44 in-lbs).