
L300 V6-3.0L VIN R (2001)
Rear Door Latch: Service and Repair
Latch Replacement - Rear Door
Rear Side Door Latch Replacement
Removal Procedure
1. Remove the rear door trim panel. Refer to Rear Side Door Trim Panel Replacement See: Rear Door Panel/Service and Repair
2. Pull back the rear portion of the rear door water deflector. Refer to Rear Side Door Water Deflector Replacement (See: Rear Door Panel/Service
and Repair).
3. Partially remove the rear door window weatherstrip from the rear of the door. Refer to Rear Side Door Window Weatherstrip Replacement (New
Style) (See: Rear Door Window Glass/Rear Door Window Glass Weatherstrip/Service and Repair/Weatherstrip Replacement - Rear Door
Window (New Style))Rear Side Door Window Weatherstrip Replacement (Old Style) (See: Rear Door Window Glass/Rear Door Window Glass
Weatherstrip/Service and Repair/Weatherstrip Replacement - Rear Door Window (Old Style)).
4. Remove the rear window run channel. Refer to Rear Side Door Window Channel Replacement (See: Windows and Glass/Windows/Window
Track/Service and Repair/Rear Side Door Window Channel Replacement).
5. Run the window to the 3/4 up position.
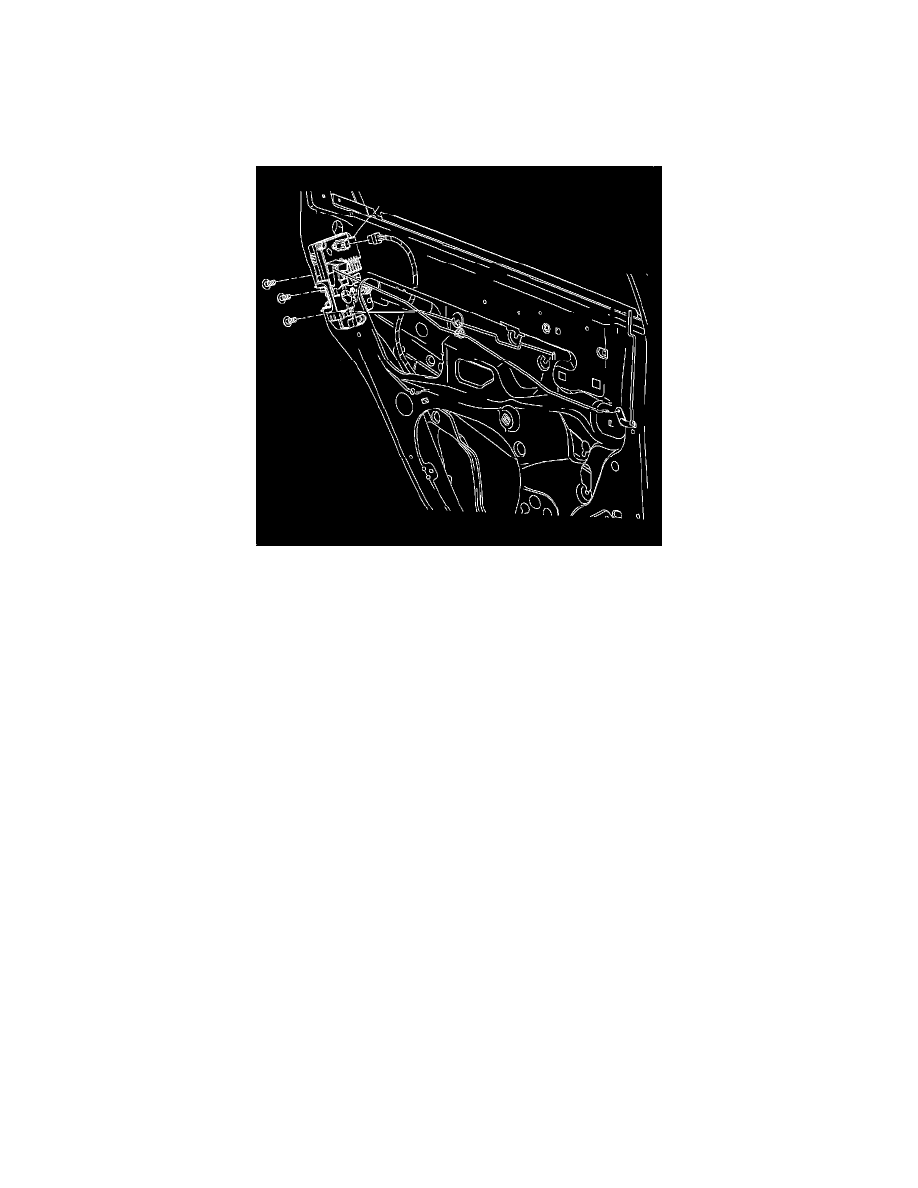
6. Remove the screws from latch mechanism.
7. Remove the latch mechanism from the rear door.
8. Disconnect the power door lock electrical connector.
9. Remove the 2 lock rods from the latch mechanism
Installation Procedure