
L300 V6-3.0L VIN R (2001)
4. If more than one brake pipe is being bled, bleed in the following sequence:
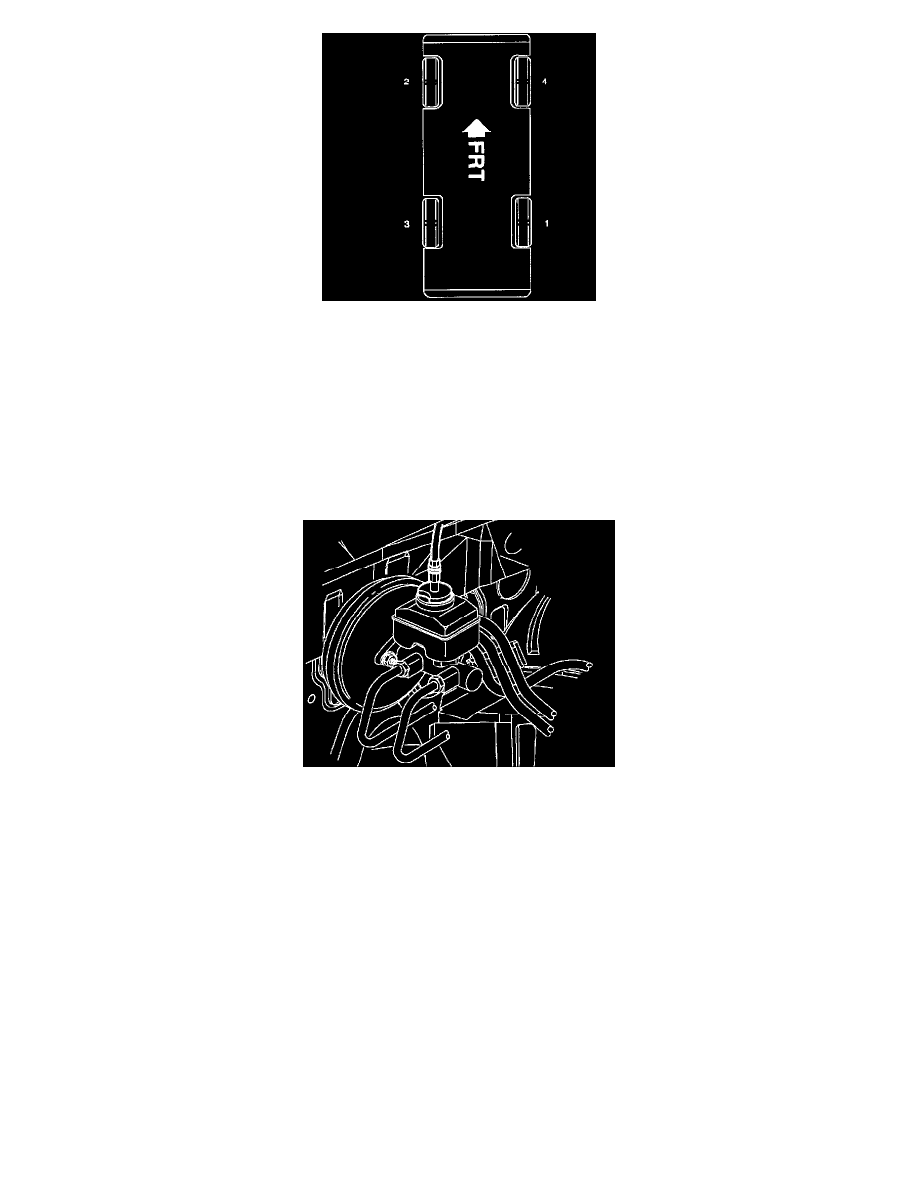
1. Right rear
2. Left front
3. Left rear
4. Right front
5. Check brake pedal feel for sponginess. If brake pedal exhibits this feel, repeat bleeding procedure until condition disappears.
6. When bleeding procedure is completed on each wheel, check reservoir fluid level. Fill as necessary.
7. Check for leaks with engine running and brakes applied.
PRESSURE BLEEDING
NOTICE: Use only DOT 3 brake fluid from a clean, sealed container. Do not use any fluid from a container which is wet with water. Do not use
DOT 5 silicone fluid. Pressure bleeding equipment must be of diaphragm type. It must have a rubber diaphragm between air supply and the brake fluid
to prevent air, moisture, and other contaminants from entering hydraulic system.
1. Clean brake fluid reservoir cap and area around cap.
2. Remove brake fluid reservoir cap.
3. Fill master cylinder reservoir with clean DOT3 brake fluid.
4. Install Brake Bleed Adapter J-43915 (or equivalent) to brake fluid reservoir.
5. Connect pressure bleeder to adapter.
6. Pressurize bleeder equipment to 138 - 172 kPa (20 - 25 psi).
7. If the master cylinder is suspected of having air in its bore, it must be bled before proceeding to brake line bleeding.