
L300 V6-3.0L VIN R (2001)
Oil Pan: Service and Repair
Oil Pan Replacement
OIL PAN REPLACEMENT
(IN-VEHICLE)
REMOVAL
1. Disconnect negative battery cable.
2. Remove nose cone bracket bolts from oil pan.
3. Remove lower transmission flange to oil pan bolts.
4. Remove oil pan bolts.
IMPORTANT: When removing oil pan, use only designated pry points to prevent damage to sealing flange. RTV cutter tool SA9123E may be used
to break the oil pan loose from the engine block.
5. Use pry points to break loose the seal. Bump the pan with a rubber mallet to loosen the pan from the engine block.
6. Remove oil pan.
INSTALLATION
IMPORTANT: Alignment of the oil pan is critical to ensure transaxle nose cone-to-oil pan and transaxle flange-to-oil pan alignment. Application of
RTV is critical to ensure positive seal of the chamfered sealing flange on the oil pan-to-engine block mating surface. After pan has been placed on the
engine block, do not allow pan to move as this will not allow the sealant to properly seal in the chamfered flange.
1. Clean oil pan and engine block sealing flanges with a chlorinated solvent such as carburetor spray cleaner, brake clean, or alcohol Saturn P/N
21007432 (or equivalent).
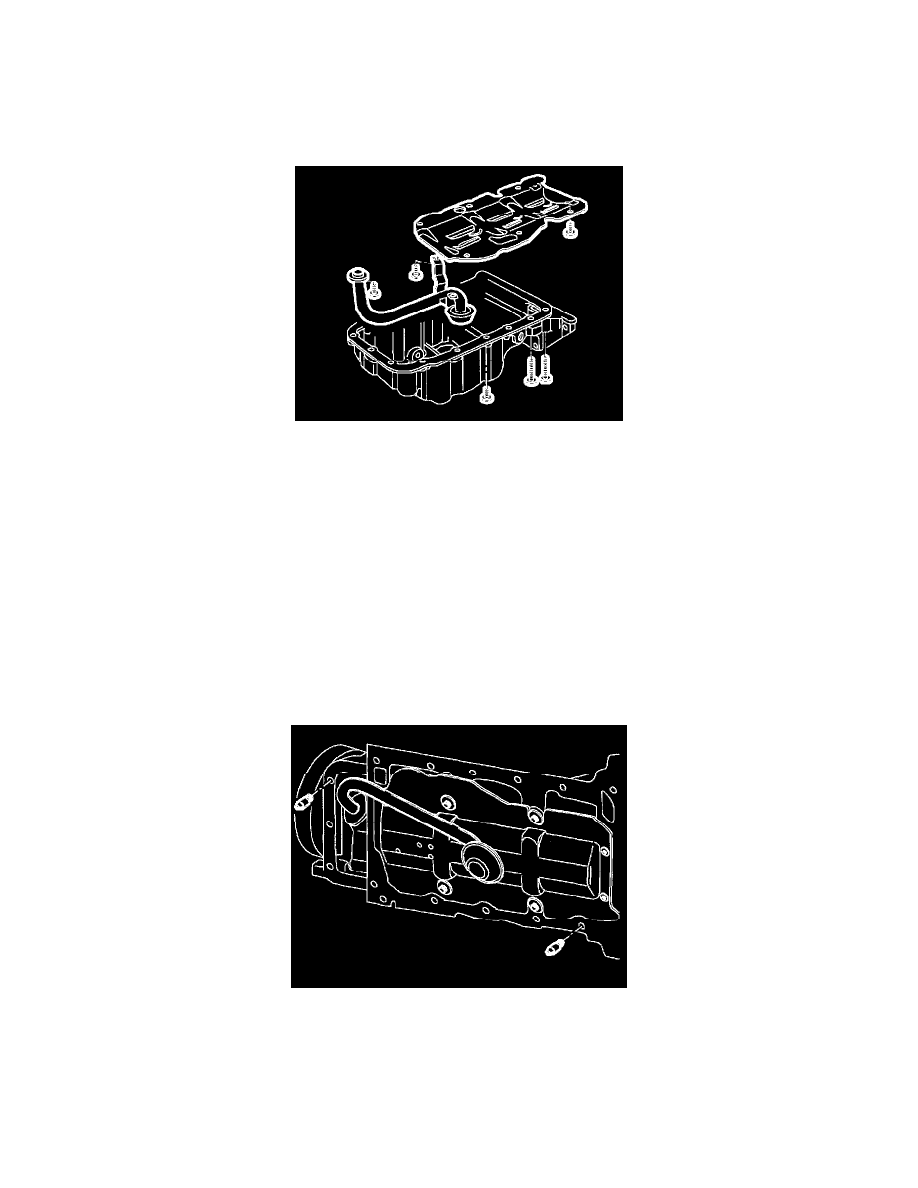
2. Install oil pan alignment pins J44715 into datum holes as shown in illustration. Tighten until firmly seated in block.
3. Apply a 2 mm bead of Loctite 5900 (or equivalent) 3 mm from the inside edge of the oil pan.
4. Assemble oil pan to engine block.
4.1. Install nose cone bracket-to-oil pan bolts and finger tighten in order.
4.2. Install transaxle-to-oil pan bolts and finger tighten.
4.3. Install oil pan bolts, use thread locking compound Loctite 242 or equivalent.