
L300 V6-3.0L VIN R (2001)
IMPORTANT: If the strut was filed or ground, paint exposed metal with primer.
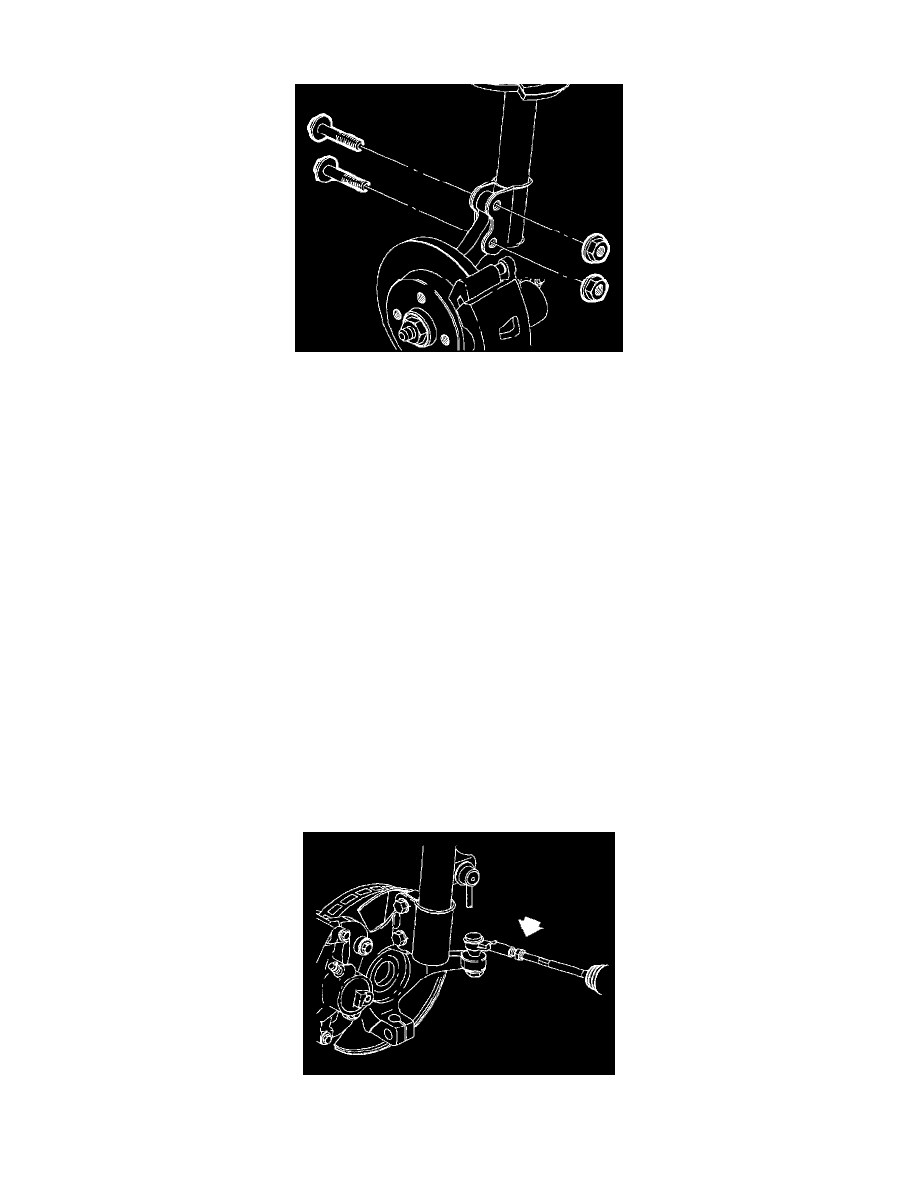
6. Position knuckle back into strut and install new nuts and bolts.
7. Tighten strut to knuckle fasteners.
Using Torque Angle Gauge SA9140E (or equivalent), hold the bolt and tighten the nut.
Torque:
Front Strut-to-Knuckle (Initial Torque): 50 Nm (37 ft. lbs.) then
Front Strut-to-Knuckle (Final Torque): 90 Nm (66 ft. lbs.) + 45 - 60°
NOTICE: Before installing wheels, remove rust or corrosion from wheel mounting surfaces and brake rotors. Failure to do so can cause wheel bolts
to loosen in service.
8. Position wheel onto hub.
9. Install wheel bolts and tighten in a star pattern.
9.1.
Hand tighten all five wheel bolts.
9.2.
Use a torque wrench to tighten wheel bolts using a star pattern.
Torque: Wheel Bolts (initial Torque): 63 Nm (46 ft. lbs.)
9.3.
Use a torque wrench to final tighten wheel bolts using a star pattern.
Torque: Wheel Bolts (Final Torque): 125 Nm (92 ft. lbs.)
10. Lower vehicle from hoist.
11. Check camber angle and adjust if necessary.
Front Wheel Toe Adjustment
FRONT WHEEL TOE
IMPORTANT: When performing front wheel toe adjustment, ensure that steering wheel is locked in the straight-ahead position.
1. Position and lock steering in the straight ahead position..
2. Loosen left side and right side inner tie rod-to-outer tie rod jam nuts.
NOTICE: Make sure seals on steering gear assembly do not rotate and become twisted. If these seals rotate and become twisted, seal damage may