
L300 V6-3.0L VIN R (2001)
Brake Light Switch: Service and Repair
STOP LAMP SWITCH
REMOVAL
1. Ignition Off.
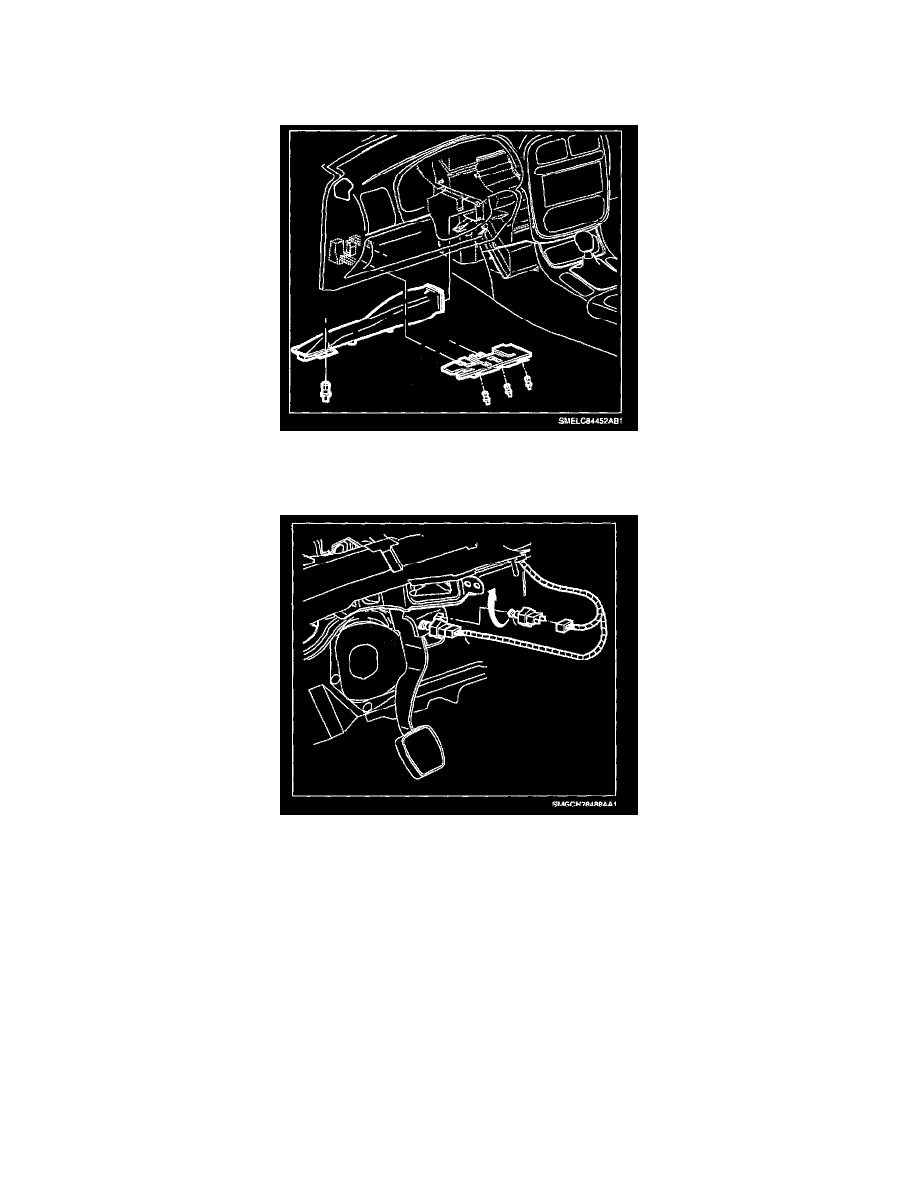
2. Remove left side lower I/P closeout panel (hush panel) push pin fasteners and remove panel.
3. Remove left side lower heater duct assembly push pin fastener and remove duct.
4. Disconnect stop lamp switch harness connector.
5. Remove stop lamp switch by rotating 180° so it will pull out from the bracket.
INSTALLATION
NOTE: The notch on the plunger will be fully visible when the plunger is all the way out.
1. Pull switch plunger all the way out (may require moderate force) to prepare for adjustment.
2. Install stop lamp switch into bracket and rotate 180° while holding brake pedal down during installation.
3. Connect stop lamp switch harness connector. Push in connector until a click is heard and pull back to confirm a positive engagement.
4. Adjust stop lamp switch by pulling brake pedal all the way up by hand. The switch internal ratchet mechanism will lock switch in the adjusted
position.
5. Install left side lower heater duct and push pin fastener.
6. Install left side lower I/P closeout panel (hush panel) and push pin fasteners.