
L300 V6-3.0L VIN R (2001)
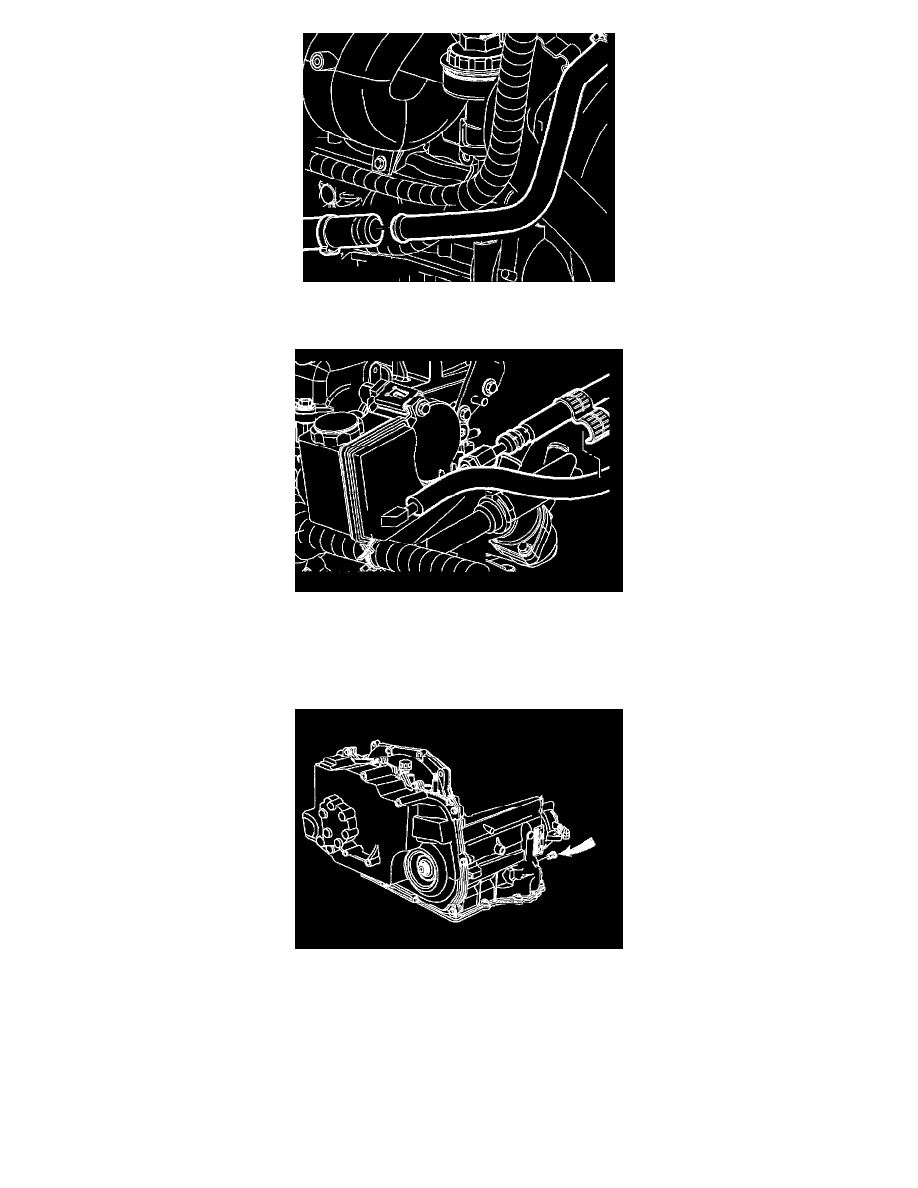
3. Remove clamp from A.I.R. hose behind the cooling fan.
4. Separate the A.I.R. tube from the hose and push the tube back towards the transaxle.
5. Remove the hose clip holding the two power steering lines together.
CAUTION: MAKE SURE VEHICLE IS PROPERLY SUPPORTED AND SQUARELY POSITIONED ON THE HOIST. TO HELP
AVOID PERSONAL INJURY WHEN A VEHICLE IS ON A HOIST, PROVIDE ADDITIONAL SUPPORT FOR THE VEHICLE ON
THE OPPOSITE END FROM WHICH COMPONENTS ARE BEING REMOVED.
6. Raise vehicle. Vehicle must be level, with engine running.
CAUTION: THE TRANSAXLE FLUID IS HOT. CAUTION MUST BE TAKEN TO PREVENT PERSONAL INJURY IN THE EVENT
TRANSAXLE FLUID DOES DRAIN FROM THE PLUG HOLE AFTER THE PLUG IS REMOVED.
7. Remove transaxle level plug with engine running.
8. Check fluid level. The fluid level should be even with the bottom of threaded plug hole. Check condition of transaxle fluid.
NOTICE: Saturn ATF (P/N 21005966) is not compatible with this transaxle. If Saturn ATF is used, transaxle damage will result. This transaxle
uses DEXRON(R) III ATF (P/N 21019223).