
L Series V6-3.0L VIN R (2004)
Fluid Filter - A/T: Service and Repair
Oil Filter and Seal Replacement
Removal Procedure
Caution: Ensure that the vehicle is properly supported and squarely positioned. To help avoid personal injury when a vehicle is on a hoist,
provide additional support for the vehicle on the opposite end from which the components are being removed.
1. Position the vehicle on a hoist and raise the vehicle.
2. Place a drain pan under the transaxle oil pan.
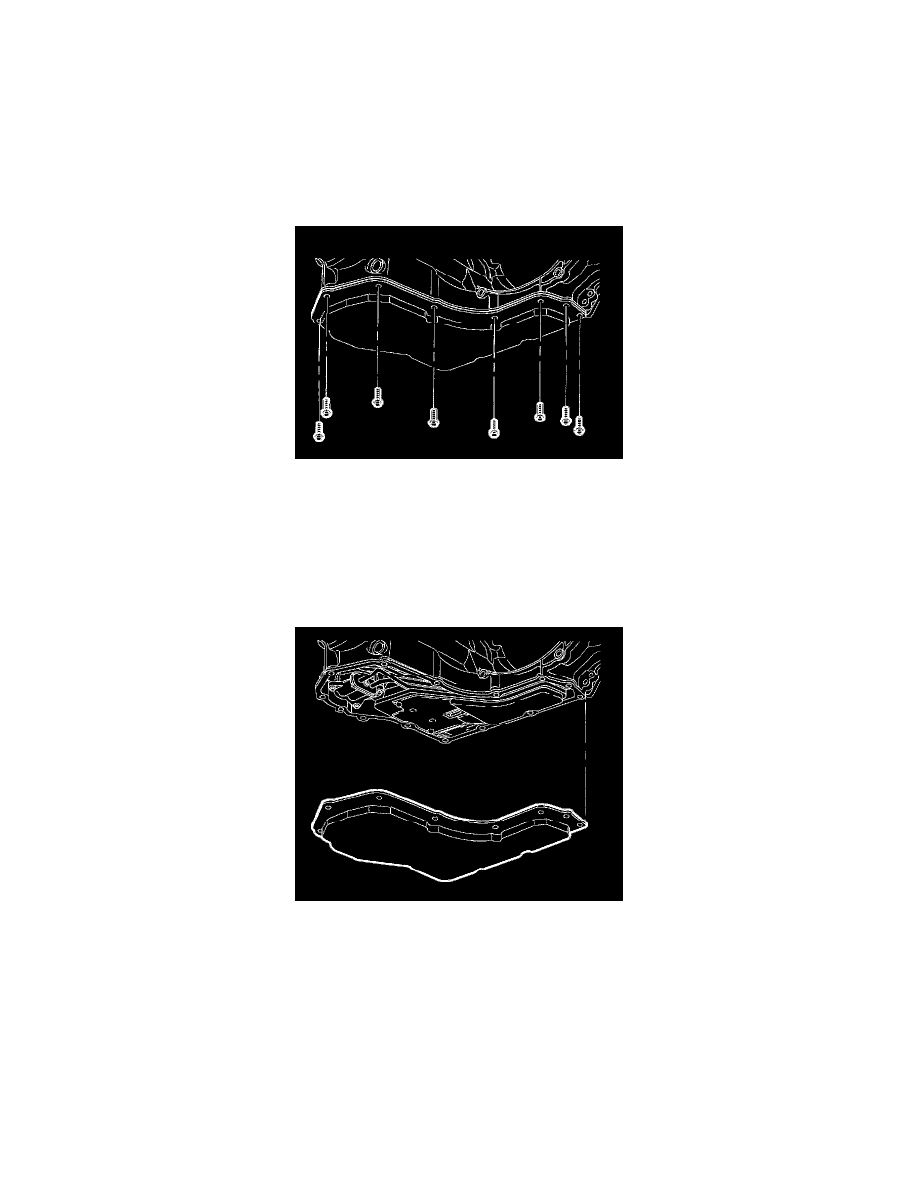
3. Remove the oil pan bolts from the front and sides only.
4. Loosen the rear oil pan bolts approximately 4 times.
Notice: Pry the oil pan carefully in order to prevent damage to the transaxle case or the oil pan sealing surfaces.
5. Lightly tap the oil pan with a rubber mallet or carefully pry in order to allow the oil to drain.
6. Remove the AIR.
7. Inspect the fluid color.
8. Remove the remaining oil pan bolts and the oil pan.
9. Remove the oil pan gasket.