
Removal of LS2 V6-30L VIN R (2000) Heating and Air Conditioning Housing Assembly HVAC
Housing Assembly HVAC: Service and Repair
Removal
REMOVAL
1. Disconnect negative battery cable.
IMPORTANT: Verifying the purity of the refrigerant with a purity identifier before recovery is recommended.
2. Recover refrigerant using an approved refrigerant recovery system. Measure the amount of oil lost during recovery and record.
CAUTION: DO NOT REMOVE HOSES OR LINES BEFORE SYSTEM IS FULLY DISCHARGED.
NOTE: When removing the TXV, keep dirt and foreign material from getting on or into the O-ring sealing surfaces. Clean tools and a clean
work area are important for proper service. The TXV seal area should be cleaned before any repairs are begun. The parts must be kept clean
at all times and any parts to be assembled should be cleaned with a non-petroleum based solvent and dried with air. Use only lint free cloths
to wipe parts. Do not allow solvent to enter evaporator or hoses.
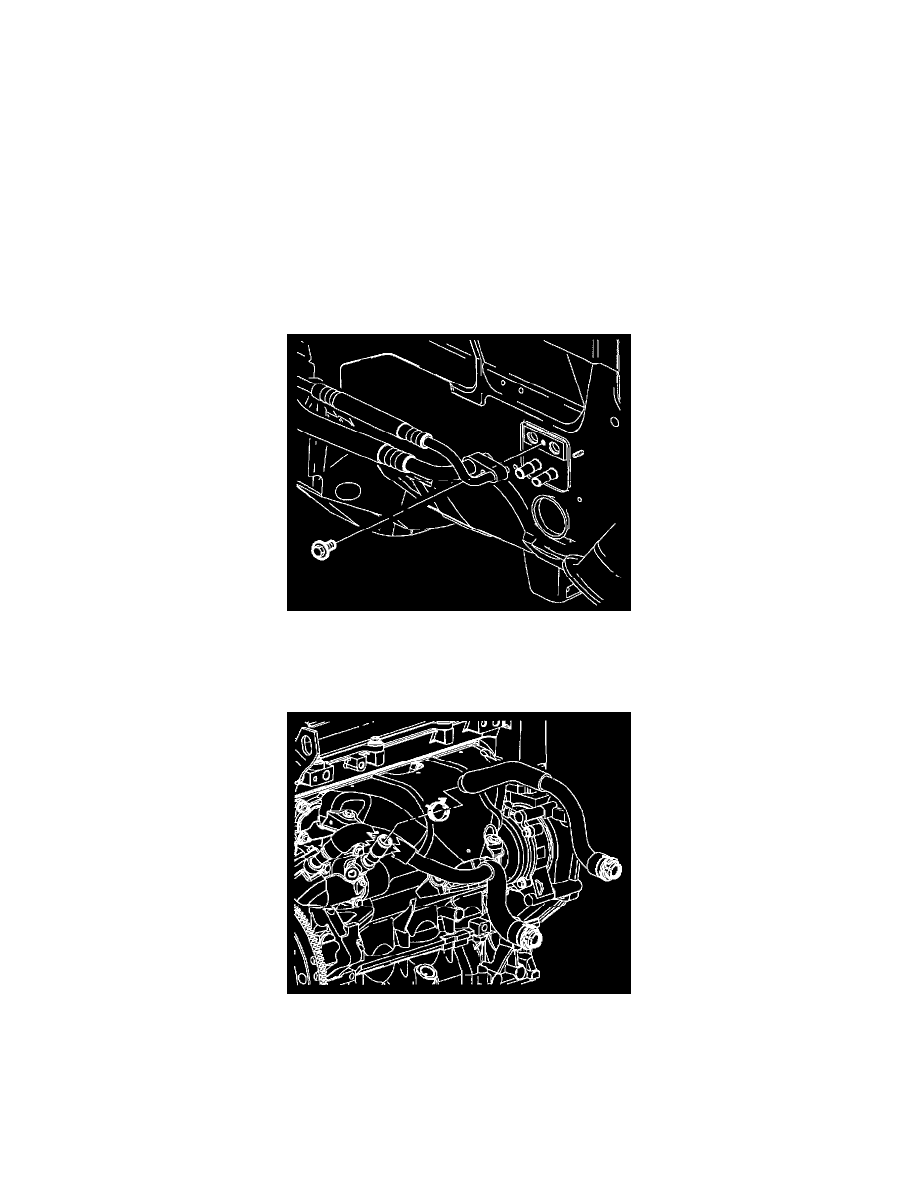
3. Remove suction/liquid line assembly to TXV retaining bolt.
4. Remove suction/liquid line assembly block from TXV by gently rocking while pulling forward.
5. Install cap on suction/liquid line assembly to prevent oil spillage.
6. Install cap on TXV to prevent oil loss and dirt entry.
7. Drain coolant - see "Draining Coolant" in the Cooling System.
8. Remove heater inlet hose from auxiliary water pump outlet on L81 engines, from thermostat outlet on L61 engine.