
RELAY AWD V6-3.5L VIN L (2006)
4. Remove the cowl side panels.
5. Remove the center console front cover and side covers.
6. Remove the floor duct (3) from the center floor duct (2).
7. Remove the console reinforcement.
8. Reposition the front of the carpet rearward.
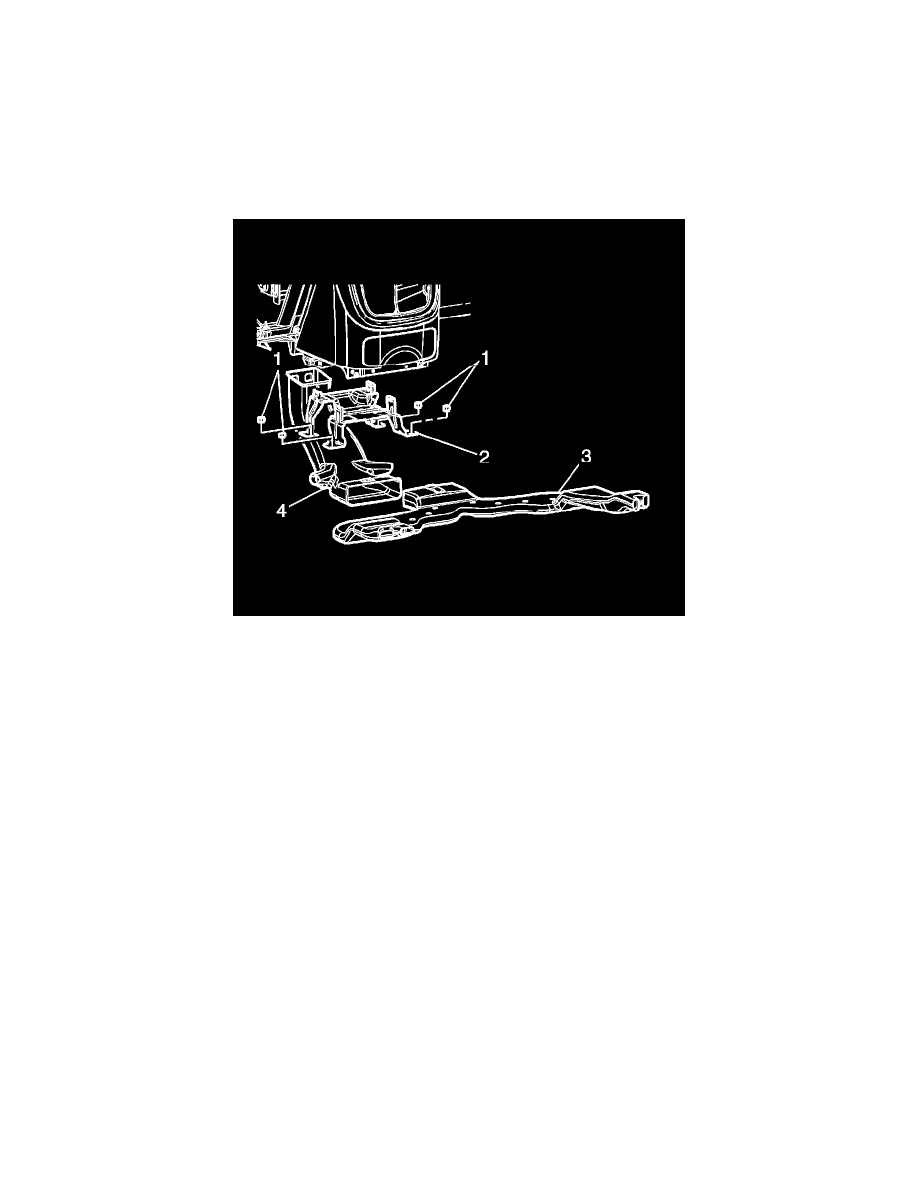
9. Remove the floor duct brace nuts (1).
10. Remove the floor duct brace (2).
11. Remove the center floor duct (2).
INSTALLATION PROCEDURE
1. Install the center floor duct (2).
2. Install the floor duct brace (2).
3. Install the floor duct brace nuts (1).
Tighten the nuts to 10 N.m (89 lb in).
NOTE: Refer to Fastener Notice in Service Precautions.
4. Install the floor duct (3) to the center floor duct (2).
5. Install the console reinforcement.
6. Install the center console front cover and side covers.
7. Position the front of the carpet forward.
8. Install the front cowl panel.
9. Install the I/P insulators.
10. Install the door sill panels.
11. Install the front seats.
Instrument Panel Air Outlet Ducts
INSTRUMENT PANEL AIR OUTLET DUCTS REPLACEMENT
REMOVAL PROCEDURE