
SL L4-1.9L SOHC VIN 8 (1997)
INSTALLATION
1. Slide temperature door into right pivot and snap left side into place.
2. Rotate temperature valve in both directions to make sure seal is making contact.
3. Install temperature cable over temperature door hook.
4. Install temperature cable hold down clip over temperature cable holder.
5. Install mode valve assembly and screws.
IMPORTANT: To properly seat mode valve assembly, valve must be will the center air position.
CAUTION: Make sure all tongue and groove parts fit properly before tightening screws to avoid case damage.
6. Install heater core cover and screws on HVAC module.
Torque: 1.7 N.m (15 in-lbs)
7. Install HVAC module. Refer to Air Flow Control Box - A/C / Service and Repair / HVAC Module for procedure.
8. Enable the SIR system. Refer to Enabling the SIR System in Service Precautions.
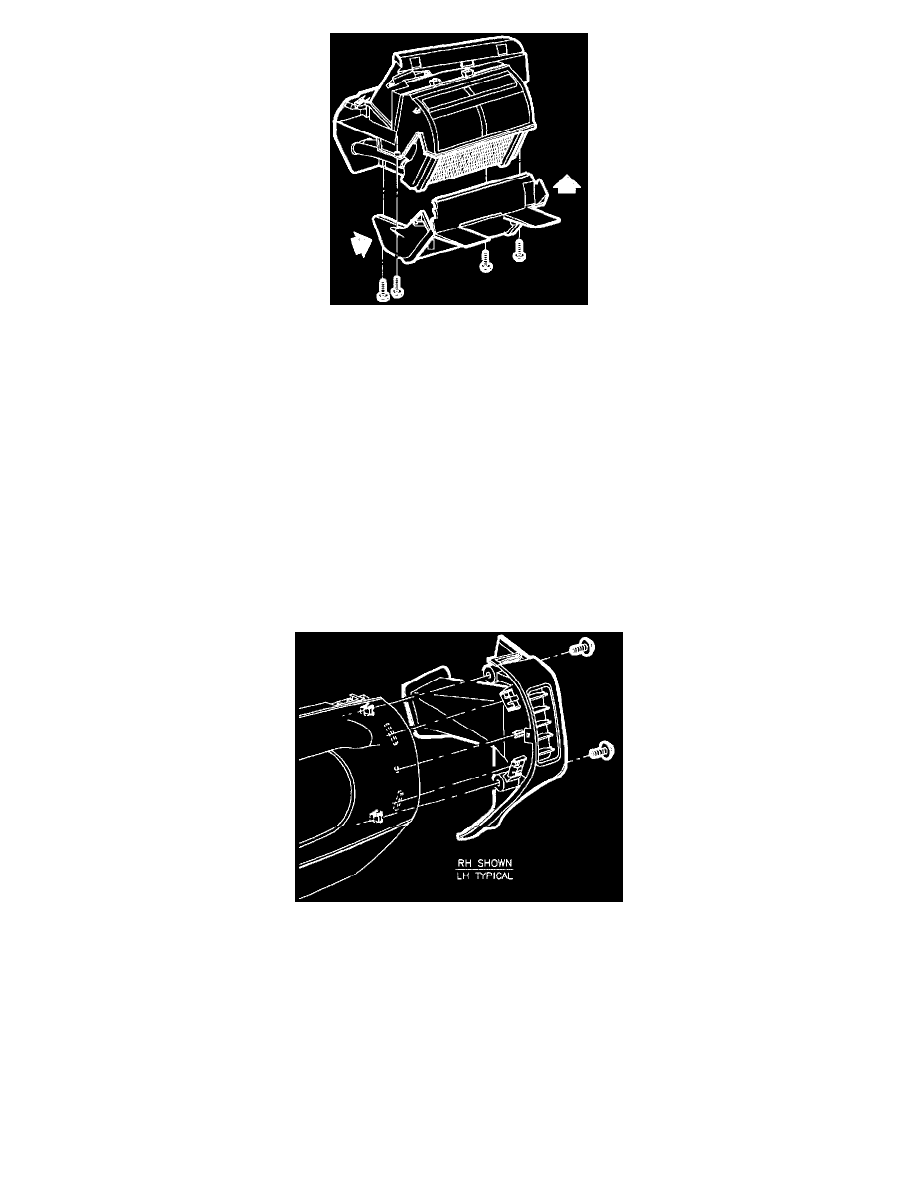
End Cap Assembly Removal and Installation
REMOVAL
1. Remove screws.
2. Carefully pull end cap assembly outward at clip locations.
INSTALLATION
1. Install end cap assembly by pushing in at clip locations.
2. Install and tighten screws.
Torque: 2.2 N.m (20 in-lbs)
End Cap Assembly Disassembly and Assembly