
SL L4-1.9L SOHC VIN 8 (1997)
Alternator: Service and Repair
Installation
Generator
NOTE: The generator shield must be installed to prevent premature CS130 the CS121 does not have a shield generator failures due to foreign debris
intrusion.
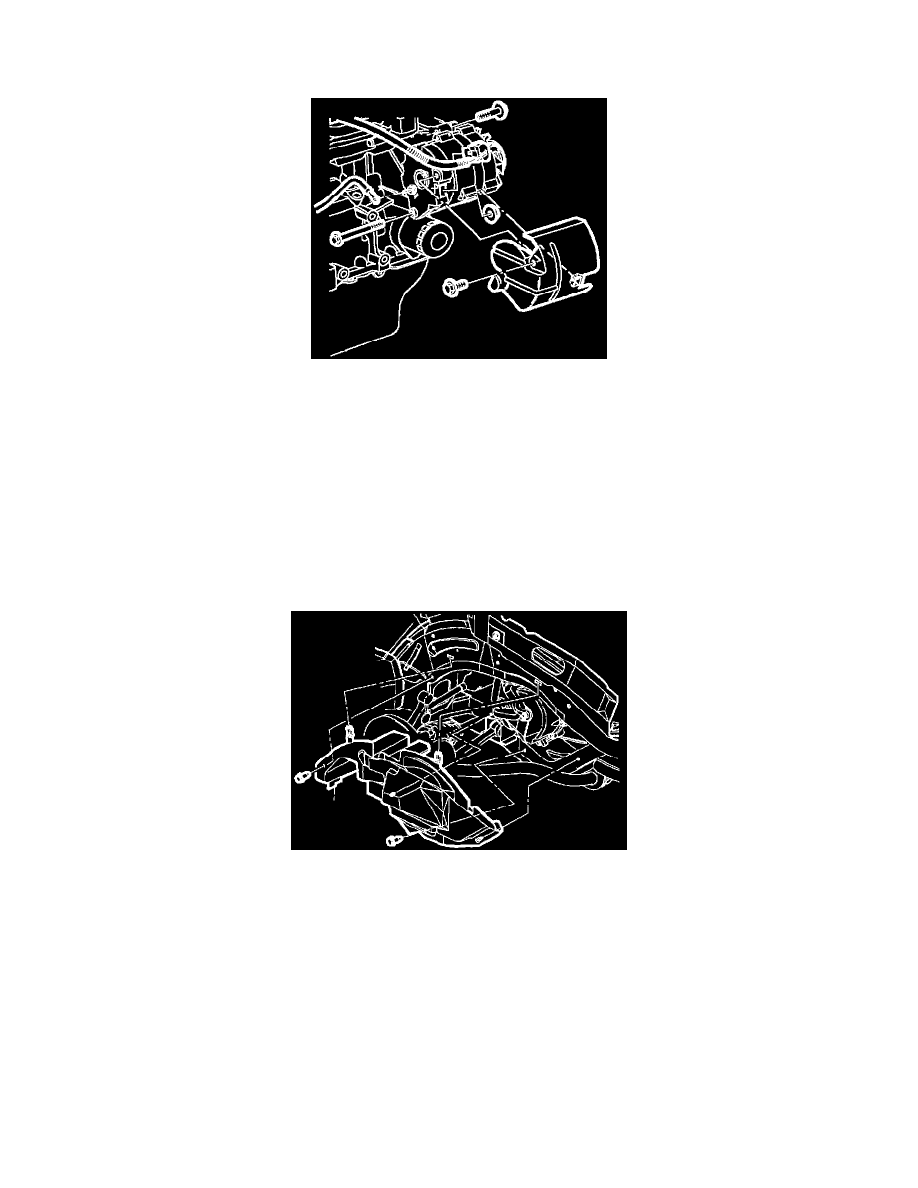
1. Position generator on lower cylinder block bracket and install the lower attachment bolt. Install upper attachment bolt and torque both bolts.
Generator Attachment Bolts:
Torque: 32 N.m (24 ft-lbs)
NOTE: If stud is not held and stud rotates, the plastic insulator will crack and/or break causing generator to fail.
2. Install the generator regulator connector and install the fusible link to the generator. When installing the fusible link, use the generator output stud
wrench (SA9401C) to prevent the output (13+) stud from rotating.
Generator Removal
IMPORTANT: The battery terminal fusible link wire (between the starter and generator) should be orientated on the generator between a 10 and
11 o'clock position.
Generator Positive Terminal:
Torque: 10 N.m (89 in-lbs)
3. Install the generator splash shield and fastener bolt. (The CS121 generator does not have splash shield.)
Torque: 10 N.m (89 in-lbs)
4. Install accessory drive belt.
5. Install side splash shield.
6. Install right wheel.
Torque: 140 N.m (103 ft-lbs)
7. Connect battery negative cable.
Torque: 17 N.m (151 in-lbs)