
SL L4-1.9L SOHC VIN 8 (1997)
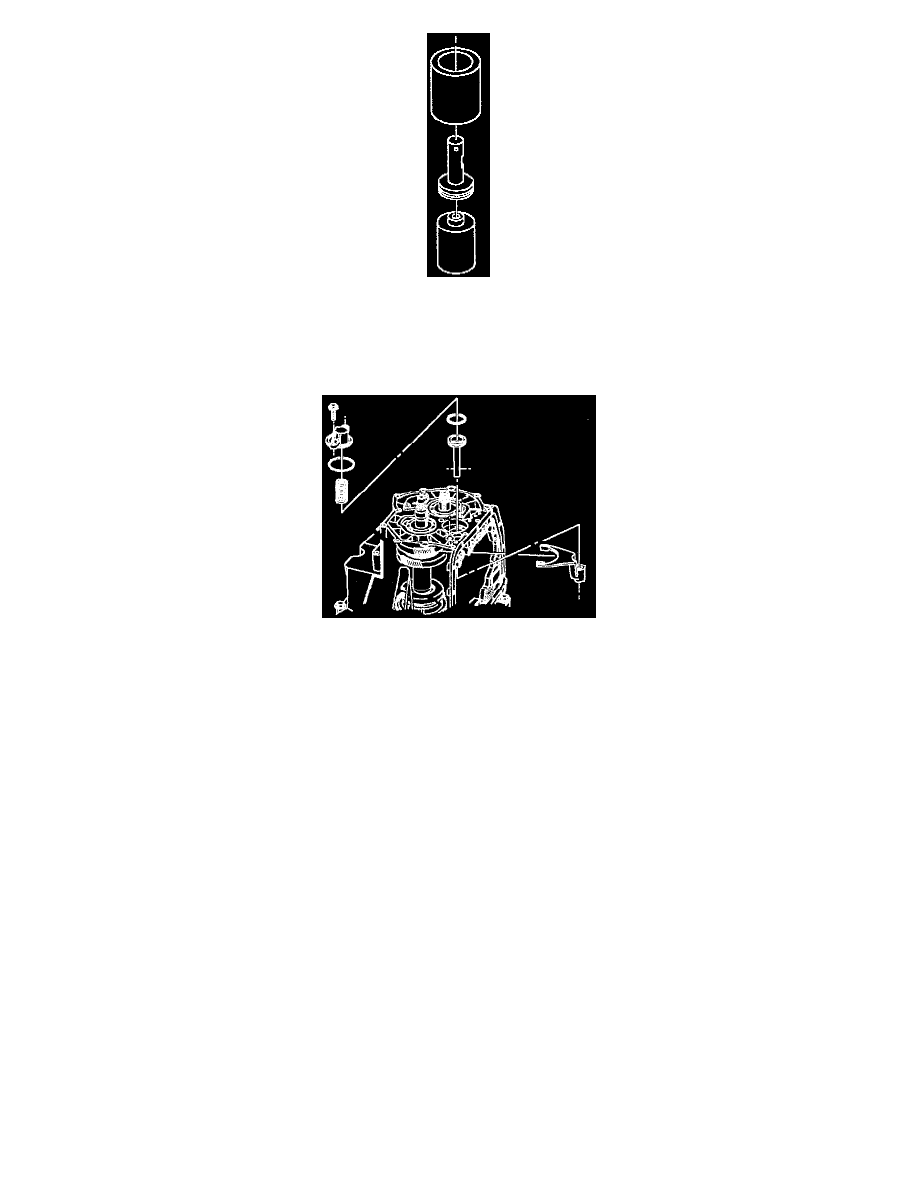
e. Place servo piston on seal sizer support base SA9137T-4.
f.
Size seal rings by placing sizer SA9137T-3 over piston, with large internal diameter down, until it bottoms out on work table.
2. Slide the Forward/Rev fork onto the Forward/Reverse Dog clutch sleeve.
IMPORTANT: When installing servo piston, lube seal and use care not to roll or cut seal while inserting into bore.
3. Insert the Forward/Rev servo piston into the bore and line up fork and servo shaft as servo is pushed in. Before pushing the servo all the way in,
align bolt hole in servo with hole in fork. The flat on the servo shaft should face the valve body opening in the case.
4. Clean bolt threads and apply Loctite(R) 242 Threadlocker (P/N 21485277) (or equivalent) on bolt threads.
5. Install fork to servo piston bolt and torque.
-
Torque: 10 N.m (89 inch lbs).
6. Install servo spring.
NOTICE: Clean and lubricate fasteners with Transaxle Fluid. Wipe off excess fluid and install.
7. Install servo cover O-ring to cover and install cover. Torque two bolts.
-
Torque: 20 N.m (15 ft. lbs.).
8. Install valve body and cover. (Refer to "Control Valve body Assembly" installation procedures in the "On-Vehicle Service.")
9. Install the 1st clutch, 1st drive gear, and 1st driven gear. (Refer to "1st Clutch, 1st Drive Gear, and 1st Driven Gear" installation procedures in the
"On-Vehicle Service.")
10. Install end cover. (Refer to "End Cover" installation procedures in the "On-Vehicle Service.")