SL L4-1.9L SOHC VIN 8 (1997)

NOTICE: On ABS equipped vehicles, the outer CV joint has a speed sensor ring. Using the incorrect tool or procedure to separate the control
arm from the knuckle can damage the ring, resulting in loss of ABS operation.
NOTICE: Do not attempt to separate joint using a wedge type tool because the seal may be damaged.
6. Separate ball joint from steering knuckle SA9132S and remove nut.
7. Separate right axle from intermediate shaft.
8. Remove intake bracket to intermediate shaft support nut.
9. Remove two intermediate shaft to engine block bolts.
10. Carefully slide intermediate shaft out of transaxle.
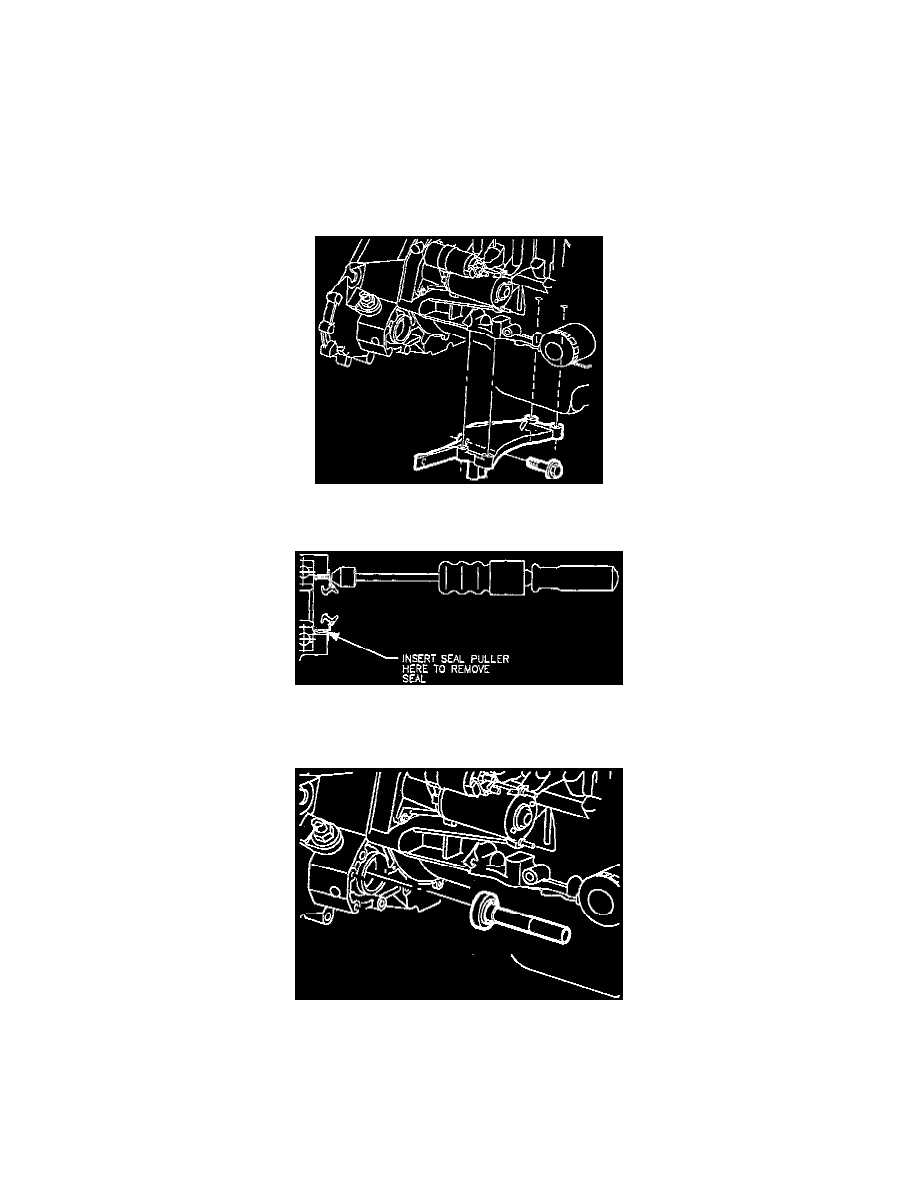
11. Remove powertrain stiffening bracket bolls and remove bracket.
12. Remove three flywheel housing dust cover bolts and remove dust cover.
13. Remove axle seal using SA9133T.
a. Remove dust cover by prying out with a screw driver.
b. Remove seal by threading puller through the steel portion of the seal body as close to outside diameter as possible.
INSTALLATION
1. Clean seal bore in housing.
2. Apply a light bead of Loctite(R) 515 Gasket Eliminator sealant (P/N 21005993) or equivalent on the diameter of the seal that presses into the
converter housing bore.
NOTICE: Prior to using seal installer SA9113T inspect the tool for any nicks or burrs that may damage the seal lip.
