
SW1 L4-1.9L SOHC VIN 8 (1996)
4.
Using a Weller(R) model 8200 soldering gun (or equivalent), equipped with a flat tip, use a circular motion around the heat stake and apply firm
steady pressure to spread the heat stake material onto the door trim panel substrate to achieve a proper weld. Heat stake the door insert to the door
trim panel substrate starting at the four corners of the door insert first.
5.
After the heat stake has been melted, keep steady pressure on the door insert with your hand for 30 seconds to allow the heat stake to harden.
6.
Repeat steps 3-5 for the remaining door insert corners.
7.
Continue to press and hold the door insert against the door trim panel substrate and heat stake the remaining door insert studs.
8.
Verify that the door insert is securely heat staked to the door trim panel substrate in all locations.
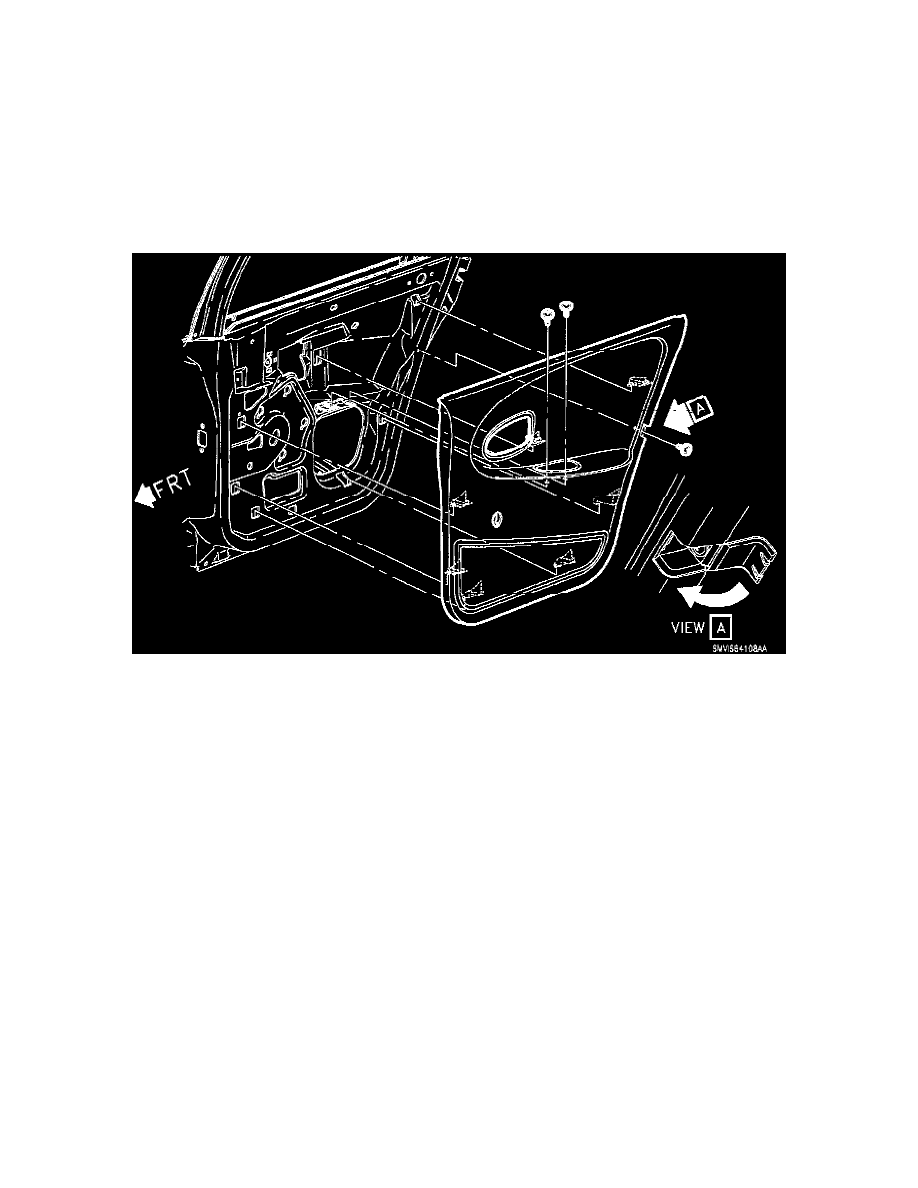
9.
Install the door trim panel:
a.
Position the door trim panel to the door structure at the attaching hooks. Lock in the door trim panel by pushing downward on the door trim
panel.
b.
Position door handle assembly in trim panel. Tip handle outward at top. Using a thin hook style tool, lift latch and lock rods into trim panel
and slide rearward to engage tabs.
c.
If equipped, install power door lock rod to retainer.
d.
If equipped, connect the power window electrical connection.
e.
If equipped, install the power window switch to the door handle assembly.
f.
Install pull cup.