
SW1 L4-1.9L SOHC VIN 8 (1996)
6.
Remove all fasteners from top and rear of upper fender. Pull fender away from body to allow access to area to be repaired.
7.
*Using Kent Industries Wet/Dry Re-Sealant Pump Grade sealer(P/N 10590) or equivalent, and hand pump applicator (P/N 90010):
a. Remove screw-on tip and replace with a 203 mm (8 in.) length of 1/4 inch diameter hose.
b.
Insert end of hose for sealer into the J-nut slot at the rear of the fender, towards rear of vehicle.
c.
Pump sealer around the perimeter of the frame rail baffle.*
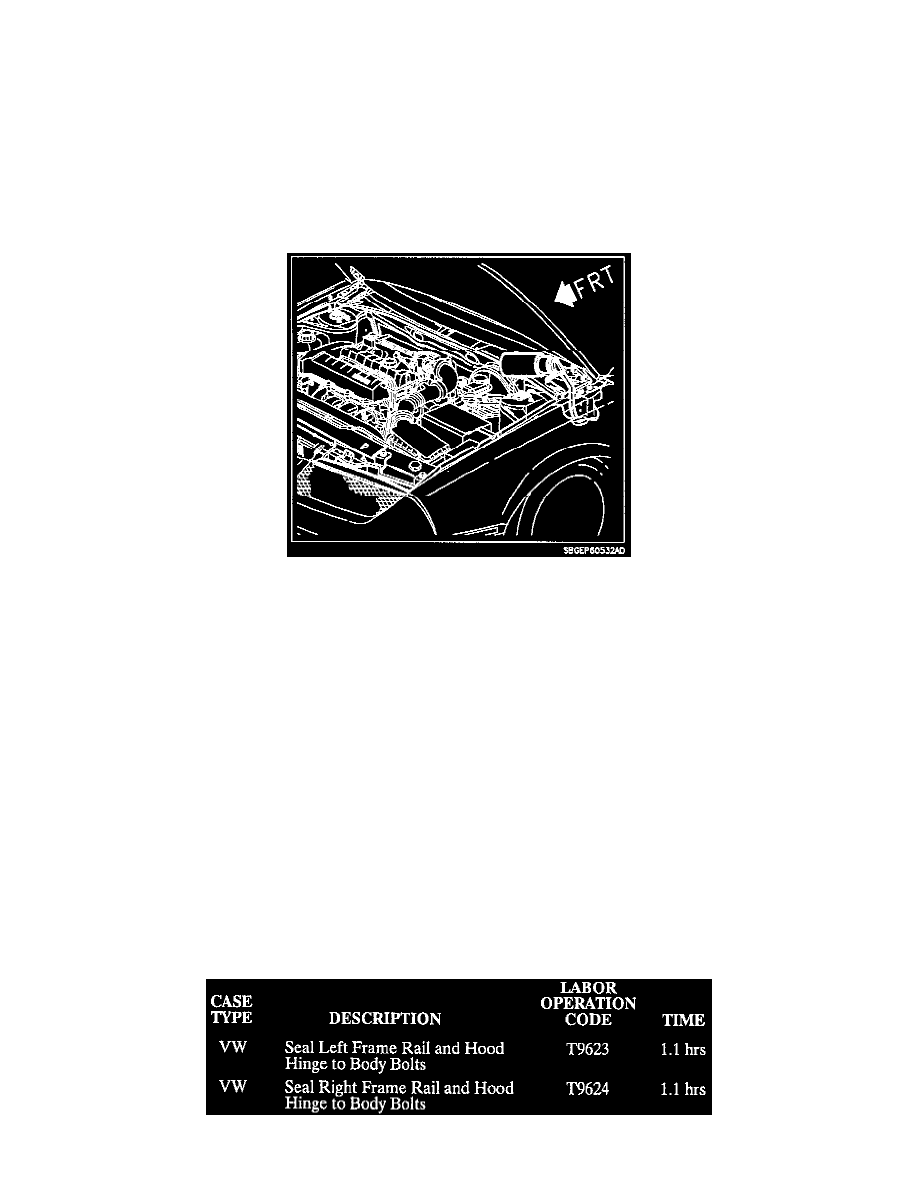
IMPORTANT:
It is important to pump sealer towards the rear of the car, at the perimeter of the baffle shown in the illustration, and that a liberal amount is used for
proper flow of the sealer into voids. Raising the front of the vehicle will promote flow of the sealer against the baffle.
8.
Allow sealer to cure (according to sealer manufacturer's recommendations).
9.
To seal hood hinge to body bolts, remove one bolt at a time to avoid movement of hood hinge adjustment, and apply 3M(R) Bedding and Glazing
Compound (P/N 8509) or equivalent to threads of bolt.
10.
Install bolt and torque.
Torque: 25 N.m (18 ft-lbs)
11.
Repeat steps 8 and 9 for remaining bolts.
12.
Water test the area to make sure that no other waterleaks are present.
13.
Install upper fender fasteners and align fender as necessary.
Torque: 10 N.m (89 in-lbs)
14.
Install wheelhouse liner to fender fasteners.
CLAIM INFORMATION:
To receive credit for this repair, submit a claim through the Saturn Dealer System as shown: