
SW1 L4-1.9L SOHC VIN 8 (1996)
IMPORTANT:
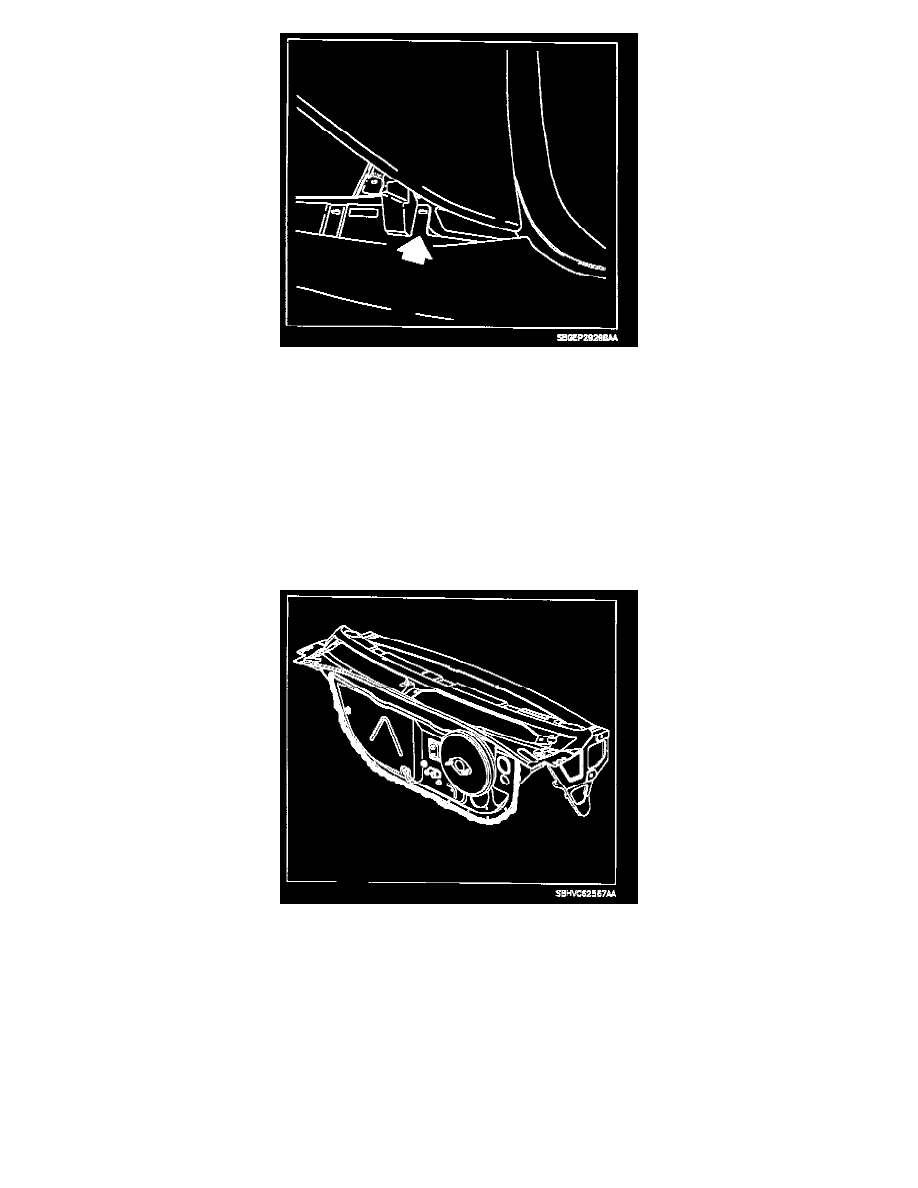
Left side shown. Right side similar.
6.
Apply an unrestricted flow of water to the frame rail/hood hinge area where the hood hinge attaches to the body.
^
If a waterleak is detected at the frame rail/hood hinge area, proceed to "Frame Rail/Rood Hinge Area Waterleak Repair" in this bulletin.
^
If no waterleak is detected at the frame rail/hood hinge area, refer to additional waterleak diagnostic information in the Body/Repair Service
Manual (1991-1999) or S-Series Body/Electrical Volume I Service Manual (2000-2001).
Smile Joint Waterleak Repair
1.
If a waterleak is detected in the "smile" joint area, clean and dry area to be repaired using compressed air and nozzle.
2.
Using Kent Industries High Tech Leak Check Seam Sealer (P/N 10105), or equivalent, apply sealant inside retention channel from outside of
vehicle at water leak area.
3.
Verify repair by water testing after sealant has been allowed to dry according to manufacturer's recommended instructions.
4.
If waterleak still persists, apply Kent Industries High Tech Leak Check Seam Sealer (P/N 10105), or equivalent, to inside retention channel from
inside of vehicle at waterleak area.
5.
After verifying repair, go back and perform steps 4 - 6 under "General Waterleak Testing" in this bulletin to ensure there are no additional
waterleaks at the HVAC module, shock tower, or frame rail/hood hinge areas.
HVAC Module Seal Waterleak Repait
1.
If a waterleak is detected at the HVAC module case seals, clean and dry seal area(s) to be repaired using compressed air and nozzle.