
SW1 L4-1.9L SOHC VIN 8 (1996)
IMPORTANT:
To detect a waterleak, always start at the lowest point and work up to the highest point.
IMPORTANT:
Waterleak testing may take up to 15 minutes before water is seen inside vehicle. Make sure to periodically check front footwell areas for signs of
water leakage.
1.
Verify that front footwell carpet is wet or exhibits a musty mildew odor or moisture exists under carpet.
2.
Remove carpet from vehicle. (Refer to appropriate procedure in the Body/Repair Service Manual [1991-1999] or S-Series Body/Electrical
Volume II Service Manual [2000-2001].)
3.
With the aid of an assistant inside the vehicle to help detect actual waterleak point, apply an unrestricted flow of water directly to the "smile" joint
area.
^
If a waterleak is detected at the "smile" joint area, proceed to "Smile Joint Waterleak Repair" in this bulletin.
^
If no waterleak is detected at the "smile" joint, proceed to the next step.
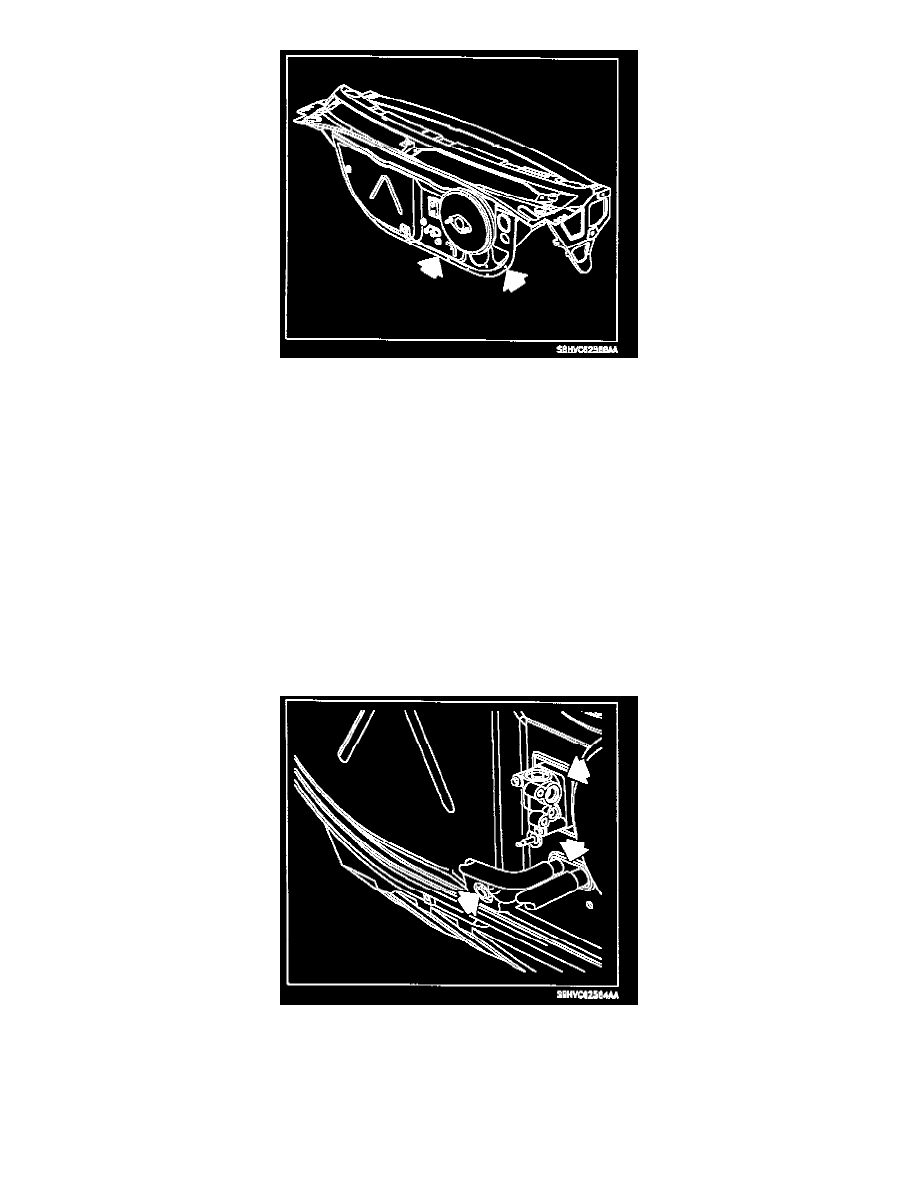
4.
Position hose so that the water flows through air inlet grille, into the plenum area, and out plenum drains over HVAC module seals (TXV seal,
heater core pipe seal, and case drain seal).
^
If a waterleak is detected at HVAC module seal area, proceed to "HVAC Module Seal Waterleak Repair" in this bulletin.
^
If no waterleak is detected at HVAC module seal area, continue to next step.