
SW1 L4-1.9L SOHC VIN 8 (1996)
Oil Pump: Service and Repair
Disassembly/Inspection/Assembly
DISASSEMBLY
1.
Remove cover plate attaching bolts, then remove drive and riven rotor.
2.
Remove and discard relief valve using tool No. SA9103E or equivalent.
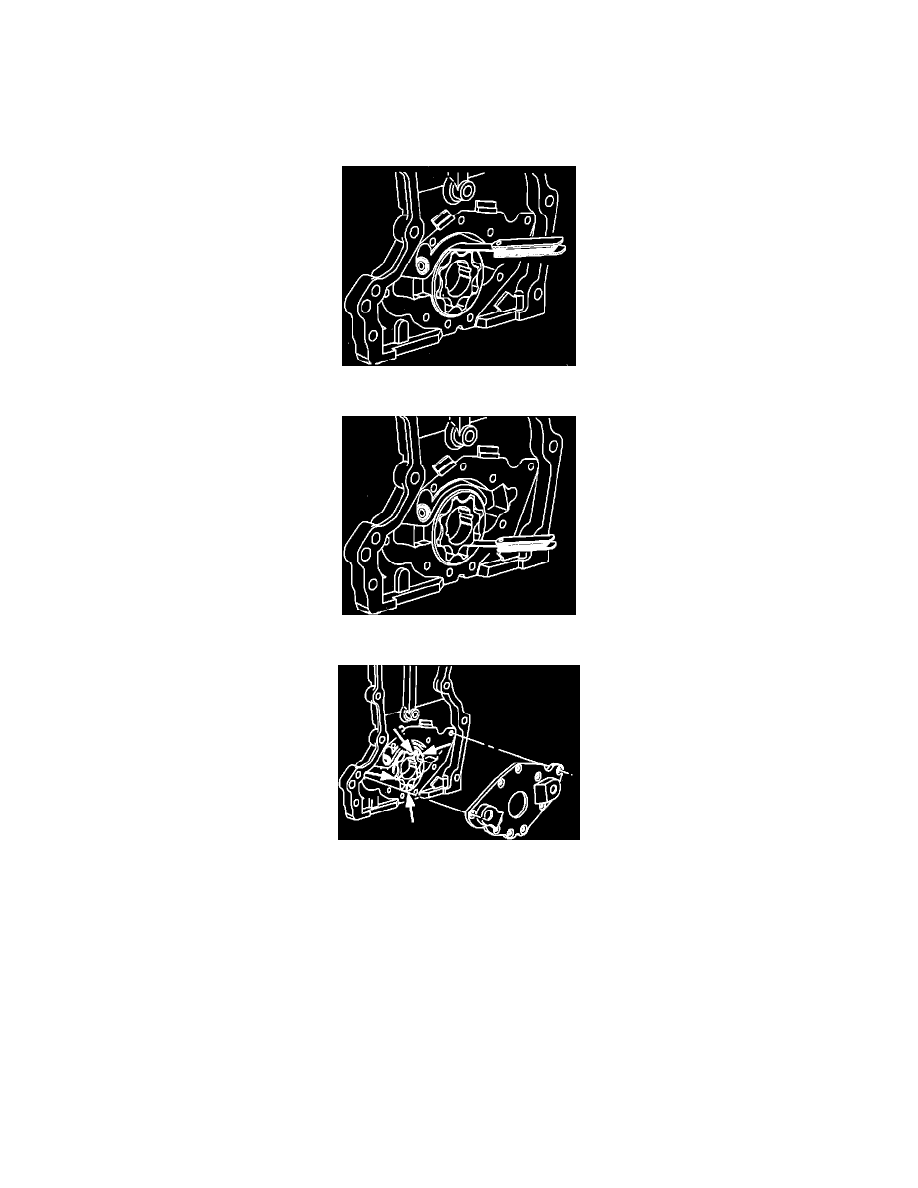
Fig. 30 Oil Pump Body Clearance
Fig. 31 Oil Pump Tip Clearance
Fig. 32 Oil Pump End To End Clearance
INSPECTION
1.
Inspect body clearance as follows:
a. Using suitable feeler gauge, measure clearance between driven rotor and pump body, Fig. 30.
b. Standard clearance should be .006-.011 inch and maximum clearance is .011 inch.
c. If clearance is greater than maximum, replace oil pump rotor set.
2.
Inspect tip clearance using suitable feeler gauge between both rotor tips, Fig. 31, clearance should be .006 inch.
3.
Inspect end to end clearance as follows:
a. Using suitable feeler gauge, measure clearance between side of gerotor assembly and cover plate, Fig. 32.
b. Standard clearance should be .0016-.0049 inch and maximum clearance is .005 inch.
ASSEMBLE
1.
Using suitable screwdriver or punch, remove front cover oil seal.
2.
Install new oil seal using tool No. SA9140E or equivalent and suitable press or hammer.
3.
Coat relief valve with suitable engine oil, then using tool No. SA9103E or equivalent and suitable hammer, install relief valve.
4.
Pack oil pump assembly with suitable petroleum jelly.