
SW1 L4-1.9L SOHC VIN 8 (1996)
REMOVAL
1. Recover refrigerant using an approved refrigerant recovery system.
CAUTION: Verifying the purity of the refrigerant with a refrigerant purity identifier before recovery is recommended.
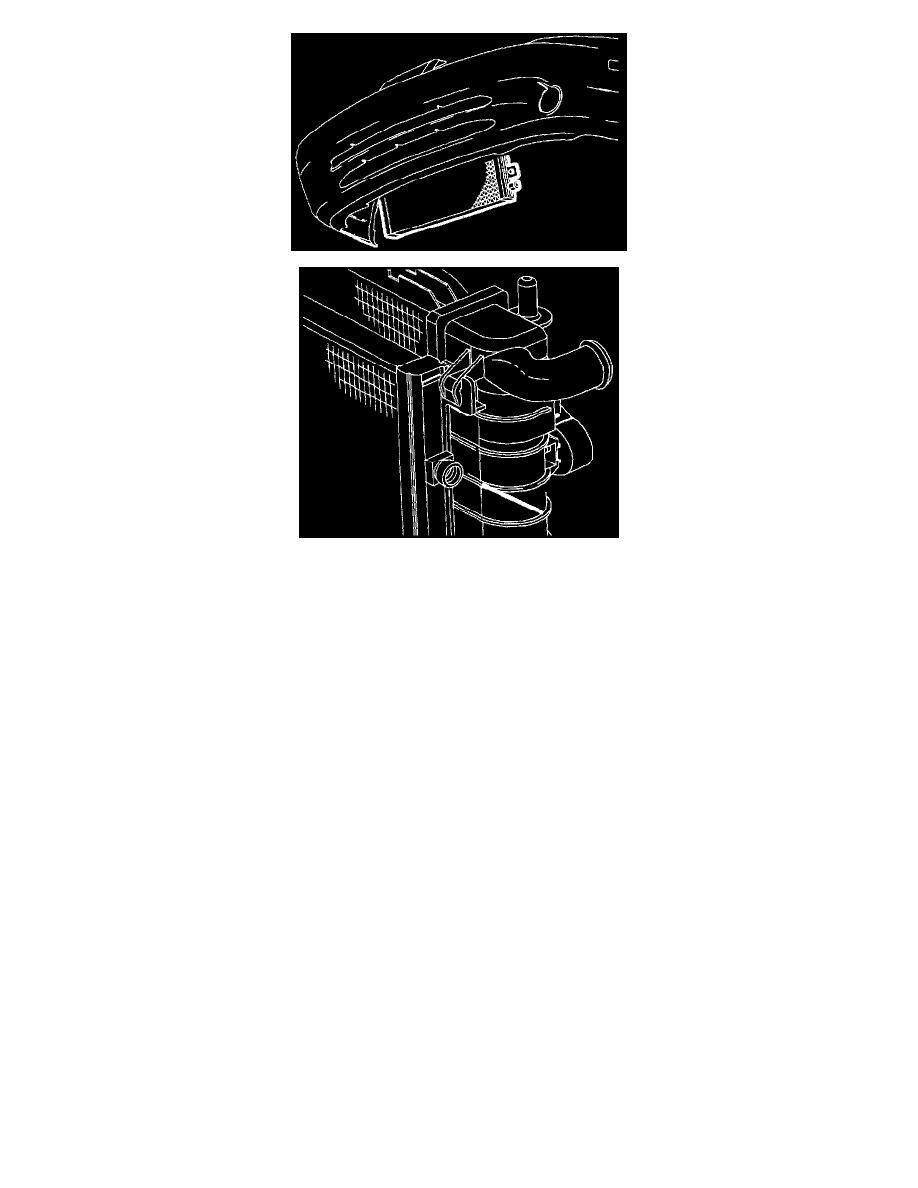
2. Remove compressor discharge hose from condenser inlet.
IMPORTANT: For SL and SC1 models, remove left front headlamp assembly to gain access to fitting. For SC2 model, remove lower splash shield
assembly and gain access to fitting from under the vehicle.
WARNING: MAKE SURE VEHICLE IS PROPERLY SUPPORTED AND SQUARELY POSITIONED. TO HELP AVOID PERSONAL
INJURY WHEN A VEHICLE IS ON A HOIST, PROVIDE ADDITIONAL SUPPORT FOR THE VEHICLE ON THE OPPOSITE END
FROM WHICH COMPONENTS ARE BEING REMOVED.
3. Raise vehicle.
4. Remove lower splash shield.
5. Remove receiver-dehydrator hose from condenser outlet.
6. Remove condenser bracket-to-radiator bolts
7. Facing the vehicle, pull the condenser back slightly to release it from the mounting pads. Carefully slide condenser straight down.
INSTALLATION
1. Carefully slide condenser up and install on mounting pads.
2. Install condenser bracket-to-radiator bolts.
Torque: 6 N.m (5 ft.lbs.)
NOTICE: Use only R-12 Refrigerant oil (mineral) to lubricate O-rings. Use of R-134a (PAG) oil will cause premature corrosion of fitting joints.
3. Lubricate with R-12 mineral oil and install new O-ring on receiver-dehydrator hose.
4. Install receiver-dehydrator hose to condenser outlet.
Torque: 16.5 N.m (12 ft.lbs.)
IMPORTANT: Make sure receiver-dehydrator hose is parallel with the condenser after tightening the fitting. This will provide hose clearance to the
body and frame, avoiding potential damage to the hose.
5. Install lower splash shield or left headlamp assembly. (depending on model)