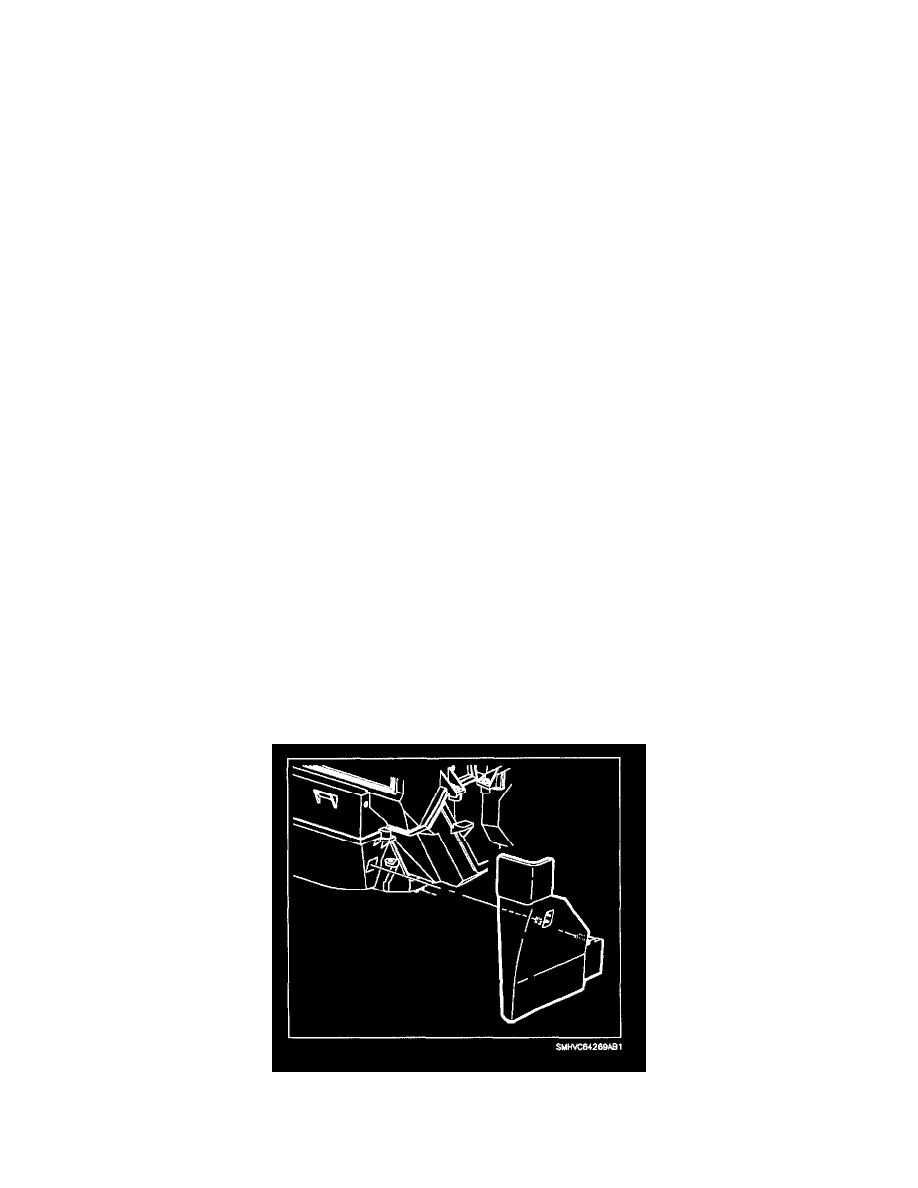
SW1 L4-1.9L SOHC VIN 8 (1996)

36.
Position new UHJB P/N 21023711 for 1996 vehicles or P/N 21021982 for 1997 vehicles) inside engine compartment.
37.
Install electrical connectors to UHJB.
38.
Install shield to bottom of UHJB.
39.
Position UHJB with the top facing up and install UHJB bolts.
Torque:
UHJB Mounting Bolts: 9 N.m (81 in.lbs)
40.
Position battery positive cable to UHJB and install bolt.
Torque:
Positive Battery Cable-to-UHJB
Bolt: 4 N.m (44 in-lbs)
41.
Install UHJB top cover.
42.
Rotate air cleaner assembly back into position and install air cleaner assembly bolts.
Torque:
Air Cleaner Assembly Bolts: 10 N.m (89 in.lbs)
43.
Install air cleaner resonator and push in air cleaner resonator retainer.
44.
Make sure battery tray is clean.
45.
Install battery into the battery tray. Make sure that the battery terminals do not short against any metal during installation.
46.
Connect negative battery cable.
Torque:
Battery Cable: 17 N.m (13 ft.lbs)
47.
Proceed to "Testing the Delayed Blower Motor Control Module" and verify operation. After operation is verified, proceed to next step.
IMPORTANT:
Do not install parts that have been removed, except for black I/P harness and gray body harness connectors, until correct operation of the delayed
blower motor control module has been verified.
