
SW1 L4-1.9L SOHC VIN 8 (1996)
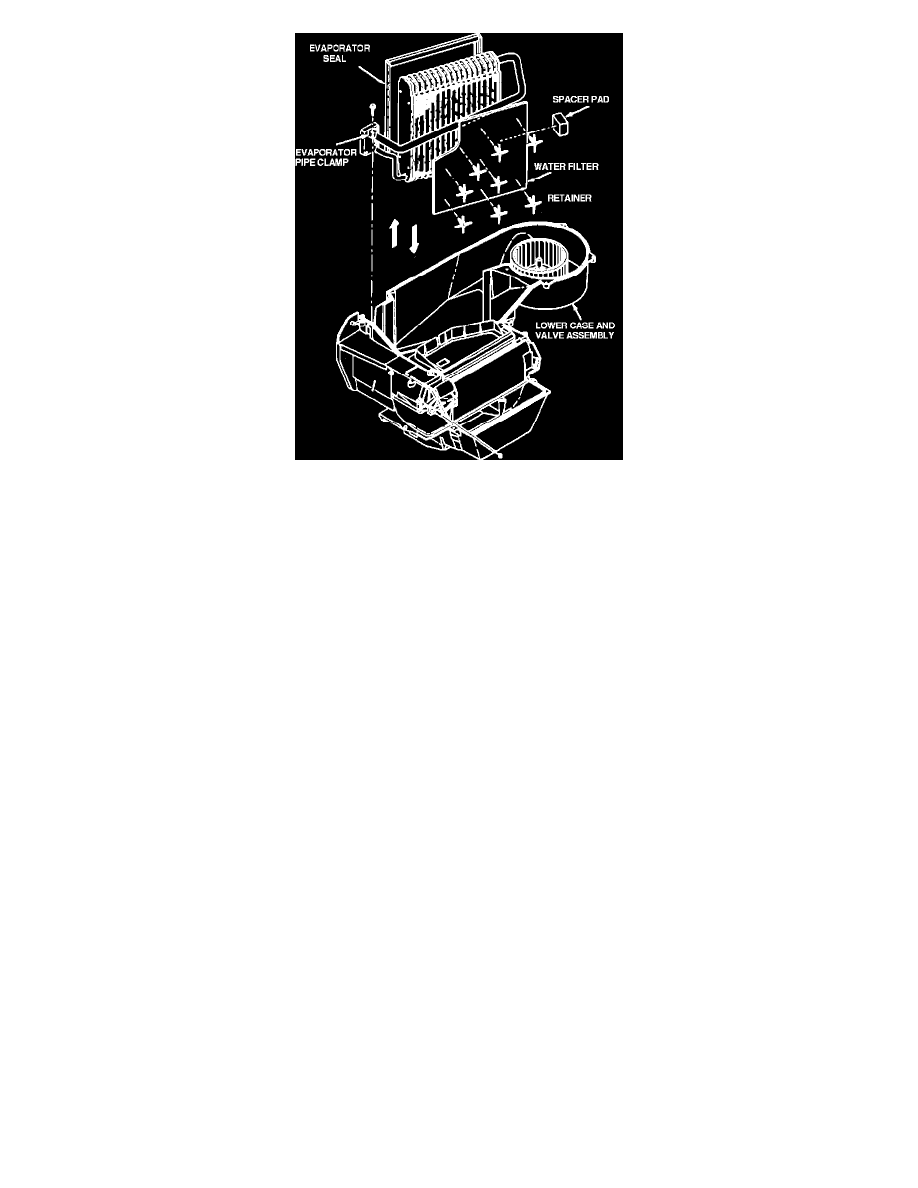
Fig. 14 Evaporator Removal
1. Discharge A/C system, then drain cooling system.
2. Remove air cleaner cover and air induction hose at intake manifold.
3. Remove suction hose and liquid line from thermal expansion valve.
4. Place protective cover over A/C hoses, lines and expansion module to prevent A/C contamination.
5. .Remove thermal expansion valve from evaporator.
6. Raise and support vehicle.
7. Move heater core inlet and outlet clamps up.
8. Lower vehicle.
9. Remove heater core hoses, then using an air hose, blow excess coolant from heater core.
10. Remove left and right instrument panel end caps.
11. Remove left and right center instrument panel extensions by disconnecting Velcro fasteners, then pulling rearward to unclip.
12. Remove center air outlet trim panel by pulling outward, start at bottom then work upward.
13. Disconnect traction control/fog lamp electrical connector.
14. Disengage trim panel extension strip clip.
15. Remove upper trim panel, noting the following:
a. Remove upper trim panel screw caps and screws. Then remove upper trim panel and upper trim panel insulator Fig. 11 and 12.
b. Lift upper trim panel to disengage clips at rear edge.
c. Pull panel rearward out of clips at bottom of windshield, then remove upper trim panel.
16. Open glove compartment.
17. Remove cluster trim panel attaching screws, then pull upward to disengage.
18. Remove lockpins, then disconnect electrical connectors from instrument panel lighting rheostat and rear window defogger switches and Connector
Position Assurance (CPA) devices, Fig. 4.
19. Remove instrument cluster, then remove glove box attaching screws, then remove glove compartment.
20. Remove passenger side air bag harness from cross car beam and energy absorber.
21. Remove Assembly Line Diagnostic Link (ALDL) attaching screws, then the ALDL connector.
22. Remove steering column filler panel attaching screws. Do not scratch console with mounting tabs.
23. Remove hood release lever.
24. Remove instrument cluster attaching screws, then pull rearward.
25. Disconnect cluster electrical connectors, then remove cluster.
26. Remove radio and heater and air conditioning control panels.
27. Disconnect lighter connector, then remove lighter bulb holder by rotating counterclockwise and pull straight rearward.
28. Apply parking brake, then lift and remove parking brake filler panel at rear edge.
29. On models equipped with manual transaxle, remove gear shift knob by pulling straight upward.
30. Remove ashtray, then unclip ashtray bulb holder.
31. Remove window/mirror switch by lifting at back edge and pulling rearward.
32. Remove lockpins and disconnect window/mirror electrical connectors.
33. Remove console rear storage compartment liner.