
SW1 L4-1.9L SOHC VIN 8 (1996)
15.
Using high quality electrical tape, re-wrap transaxle connector circuit branch from main harness breakout to connector.
16.
Install battery tray.
Torque:
Battery Tray-to-Vehicle
Bolts: 10 Nm (89 in-lbs)
17.
Install battery.
Torque:
Battery Terminal
Bolts: 17 Nm (13 ft-lbs)
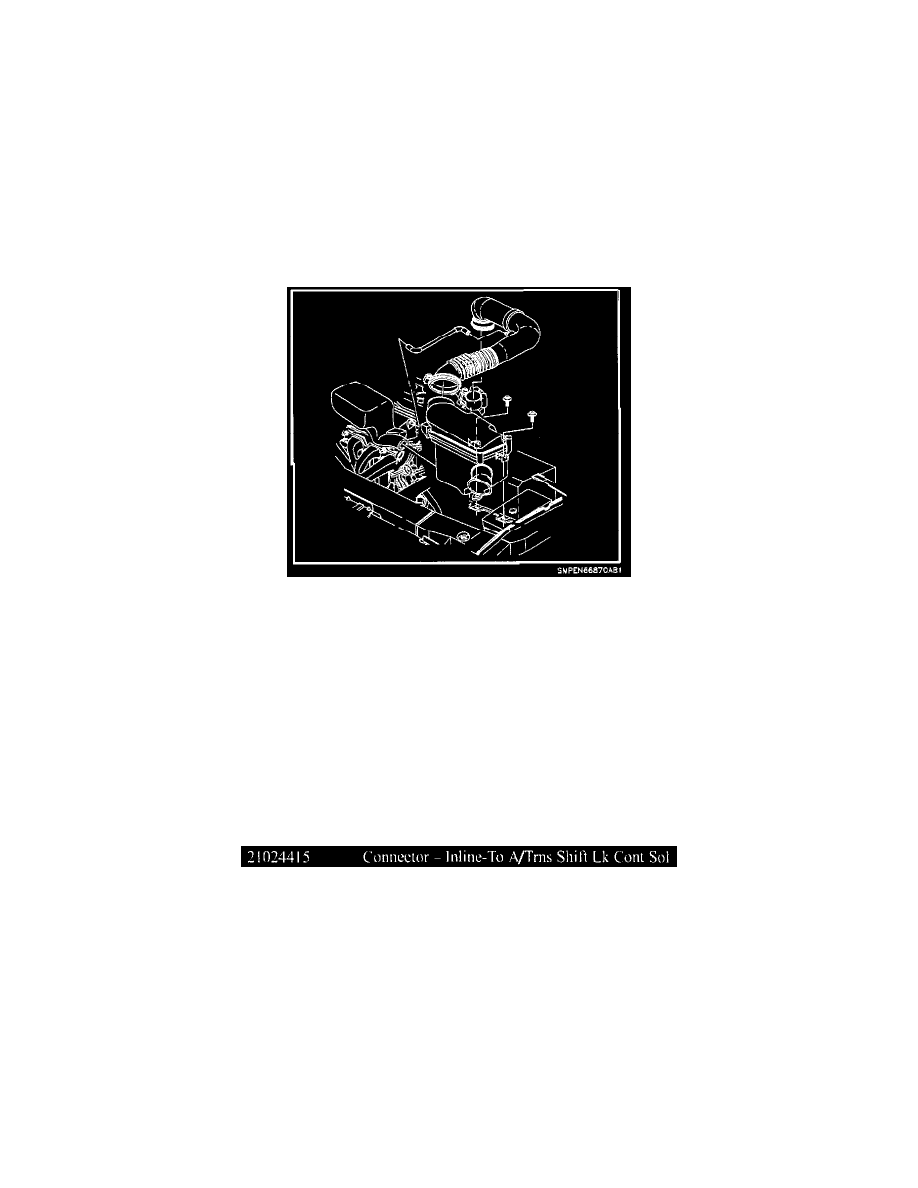
IMPORTANT:
Illustration shown is for DOHC engine (RPO LLO); SOHC engine (RPO L24) is similar.
18.
Install air inlet duct.
18.1 Install air duct and air cleaner housing cover. Attach air cleaner housing clips.
18.2 Install clamp at throttle body.
Torque:
Air Cleaner Duct-to-Throttle Body
Clamp: 2 Nm (18 in-lbs)
18.3 Connect fresh air hose to air duct.
PARTS REQUIREMENTS
CLAIM INFORMATION:
To receive credit for this repair during the warranty coverage period. submit a claim through the Saturn Dealer System for N6045 (Wiring and/or
Connector. Automatic Transaxle [Engine Compartment] - Repair or Replace). If another procedure is performed, refer to the appropriate Electronic
Labor Time Guide for the correct Labor Operation Code and Time.