
SW1 L4-1.9L SOHC VIN 8 (1996)
Accelerator Pedal: Service and Repair
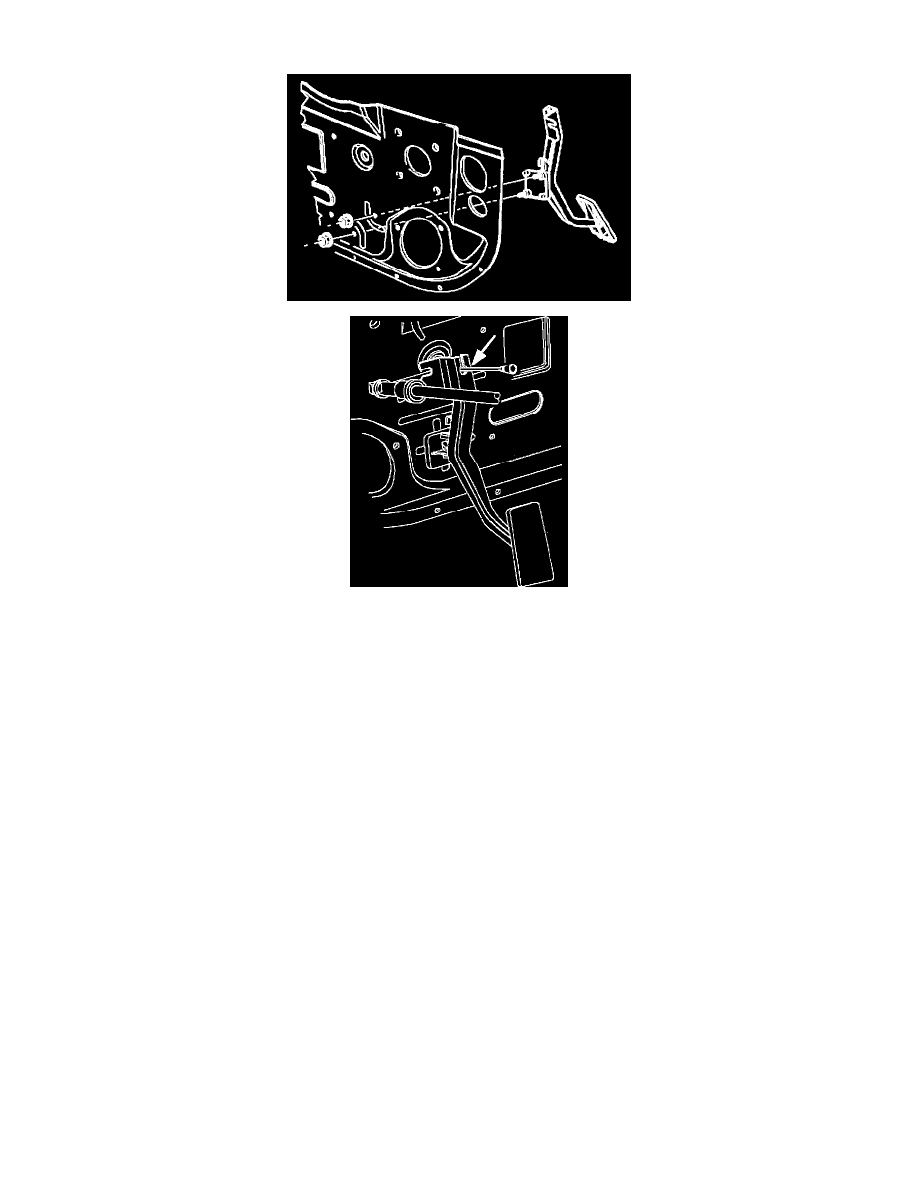
Accelerator Pedal View.
REMOVAL
WARNING: make sure vehicle is properly supported and squarely positioned. To help avoid personal injury when vehicle is on hoist,
provide additional support for the opposite end from which components are being removed. Make sure hoist does not contact fuel or
brake lines.
1. Raise vehicle squarely on a hoist. Refer to lift instructions for positioning vehicle on hoist.
2. Remove bracket assembly attaching nuts and discard.
NOTE: To prevent leaks, the bracket assembly attaching nuts must be replaced whenever they are removed.
3. Lower vehicle.
4. Disconnect accelerator control cable from accelerator pedal assembly.
5. Release cruise control cable from accelerator pedal assembly when applicable.
6. Remove accelerator pedal assembly.
NOTE: The accelerator pedal and lever assembly are serviced as a unit.
INSTALLATION
1. Install bracket assembly onto dash panel.
2. Attach accelerator control cable to accelerator pedal.
3. Attach cruise control cable to accelerator pedal assembly when applicable.
WARNING: Make sure vehicle is properly supported and squarely positioned. To help avoid personal injury when a vehicle is on
hoist, provide additional support for the opposite end from which components are being removed. Make sure hoist does not contact
fuel or brake lines.
4. Raise vehicle squarely on a hoist. Refer to lift instructions for positioning vehicle correctly on hoist.
5. Install new bracket assembly attaching nuts. Torque to 12 Nm (106 in-lbs)
6. Lower vehicle.