
SW1 L4-1.9L SOHC VIN 8 (1996)
Fuel Pressure Regulator: Service and Repair
WARNING: Do not allow smoking or the use of open flames in the area where work on the fuel system is taking place. Anytime the fuel system
is being worked on, disconnect the negative battery cable, except for those tests where battery voltage is required.
NOTE: Support fuel rail to avoid damaging during bench repairs.
NOTE: The fuel pressure regulator can be replaced without removing the fuel rail.
FUEL PRESSURE REGULATOR ASSEMBLY REMOVAL
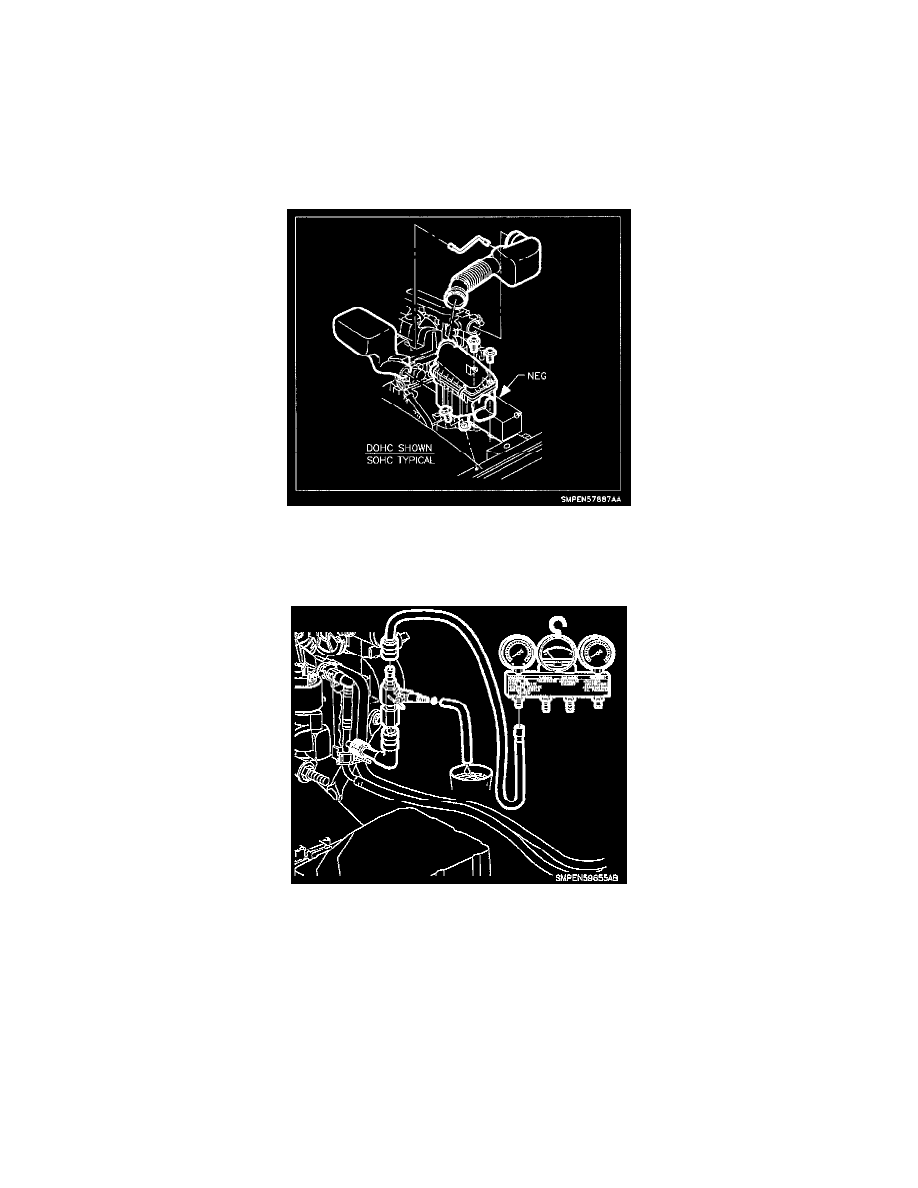
1. Remove air intake, air filter cover and PCV hose.
WARNING: Whenever fuel line fittings are loosened or disconnected, wrap a shop cloth around fitting while connecting gauge, to collect
fuel. Place the cloth in an approved container.
Fuel System Pressure Relief
2. Connect fuel gauge bar kit (Saturn Tool) SA9127E to fuel pressure test port. Use 900 adaptor SA9403E.
3. Install bleed hose into an approved container and open valve to bleed system pressure. Once pressure is bled, remove gauge from pressure test port
and recap it.
WARNING: Whenever fuel line fittings are loosened or disconnected, wrap a shop cloth around fitting while connecting gauge, to collect
fuel. place the cloth in an approved container.
4. Remove throttle control cable bracket bolts, disconnect cable from throttle lever and lay over intake manifold.
5. Remove the vacuum hose to the fuel pressure regulator.
WARNING: Place a shop cloth under the fuel rail in the area near the fuel pressure regulator to catch any residual fuel that may leak
from the pressure regulator.