
SW1 L4-1.9L SOHC VIN 8 (1996)
5.
Remove window regulator assembly.
^
On 2000 and 2001 models, refer to "Front Door Window Regulator Assembly" removal procedure in the Doors/Windows/Mirrors section of
the 2000/2001 S-Series Body/Electrical (Volume I) service manual.
^
On 1998 and 1999 models, refer to "Window Regulator Assy - Front Door" or "Rear Door Window Regulator/Motor - Sedan/Wagon" removal
procedure in the Doors (BDDR) section of the 98-99 Body/Repair service manual.
^
On 1997 models, refer to "Front Door Window Regulator/Motor" "Rear Door Window Regulator/Motor - Sedan/Wagon" removal procedure
in the Doors (BDDR) section of the 1997 Body/Repair service manual.
^
On 1996 models, refer to "Front Door Window Regulator/Motor - Sedan/Wagon" or "Rear Door Window Regulator/Motor" removal
procedure in the Doors (BDDR) section of the 96 Body/Repair service manual.
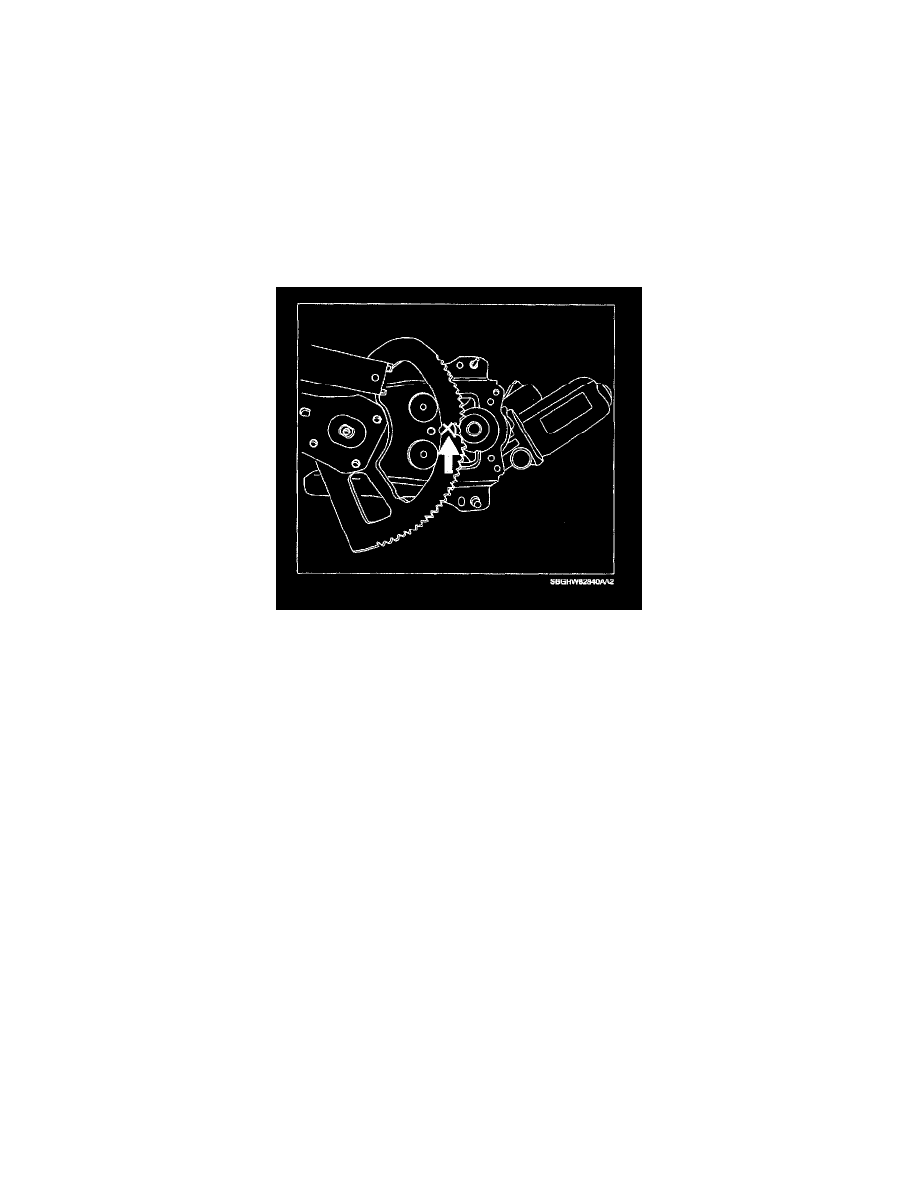
6.
Mark sector gear with a grease marker or awl at pinion gear shaft to note location of sector gear on window regulator. The gear will be moved and
needs to be returned to this location prior to installation of regulator.
7.
For Manual windows, continue to step 11.
8.
For Power Windows, carefully remove wiring harness plastic retainer located just above and forward of window regulator motor.
9.
Carefully remove wiring harness plastic retainer closest to power door lock switch (front doors) or power window switch (rear doors).
10.
To allow movement of wiring harnesses later on perform the following:
^
On front doors, route window regulator motor end of wiring harness through speaker opening in door to inside of door.
^
On rear doors, route window regulator motor end of wiring harness motor end of harness to outside of door.
IMPORTANT:
When cycling window regulator, make sure window regulator is pointing in a direction away from anything that lift arm(s) and sash bar may contact.
11.
Carefully cycle window regulator to full up position.
^
On Manual Windows:
a.
Install handle onto regulator.
b.
Hold regulator backing plate with one hand and crank window regulator to full up position. Do not remove handle at this point.
^
On Power Windows:
a.
Make sure the ignition is in the RUN position.
b.
If working on rear door, make sure rear door power window switch is connected to wiring harness.