
SW2 L4-1.9L DOHC VIN 7 (1997)
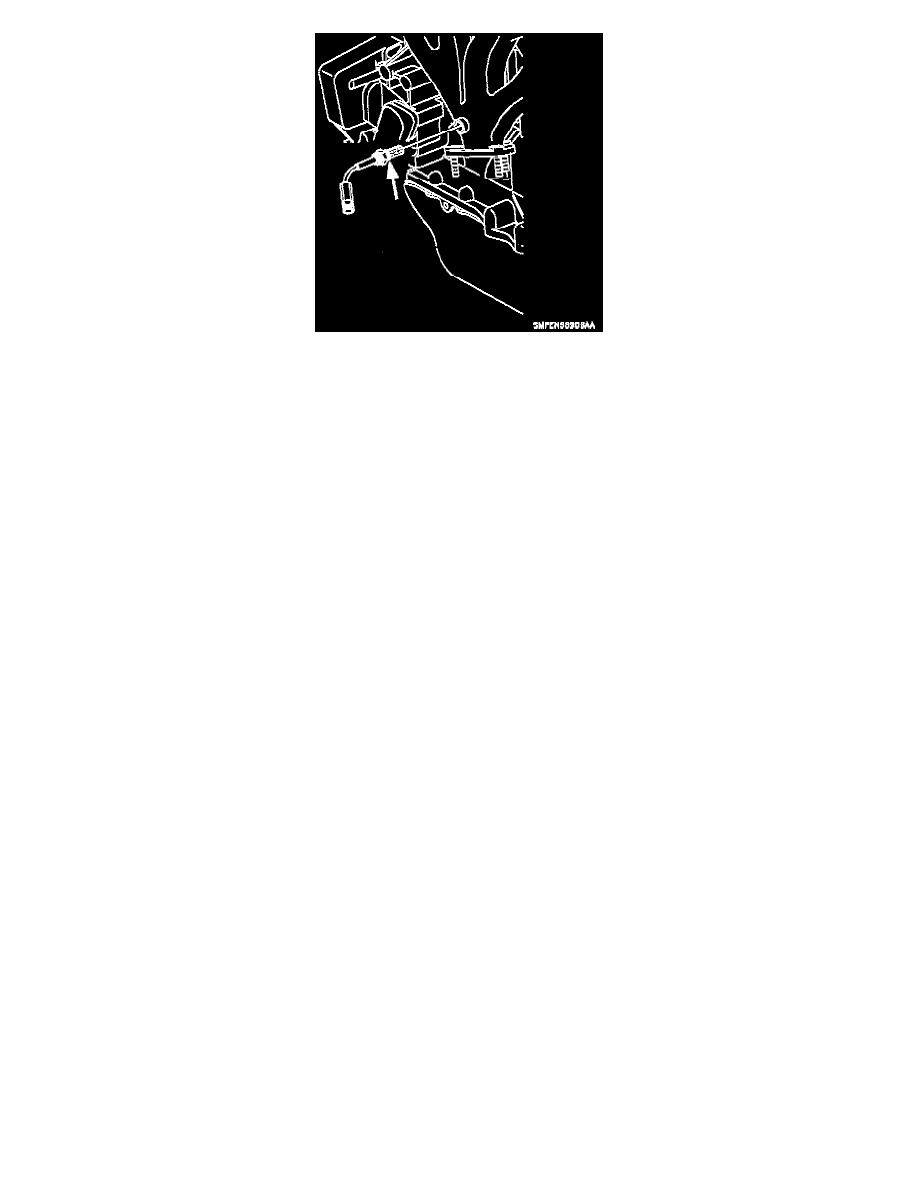
4. Connect the electrical connector at the oxygen sensor. Push in until a click is heard and pull back to ensure a positive engagement.
CAUTION: Whenever the oxygen sensor is removed, coat the threads with a nickel based anti-seize such as Saturn P/N 21485279 (or
equivalent). If the oxygen sensor is replaced, do not apply anti-seize to the new sensor. New sensors have anti-seize pre-applied. Do not use an
anti-seize that contains silicone. Torque Oxygen Sensor to 45 Nm (33 ft. lbs.).
5. Install the A/C compressor rear bracket and the A/C compressor. See Heating and Air Conditioning. Torque front/rear brackets-to-head/block to
25 Nm (19 ft.lbs.). Torque compressor-to-front bracket 54 Nm (40 ft. lbs.). Torque compressor-to-rear bracket 25 Nm (19 ft. lbs.).
6. Raise vehicle squarely on a lift. Refer to lift instructions for positioning vehicle.
7. Install new exhaust pipe-to-manifold gasket on the studs.
8. Install and torque the exhaust pipe-to-manifold attachment fasteners. Torque to 31 Nm (23 ft. lbs.).
9. Install the two front exhaust pipe-to-engine stiffener bracket fasteners and clamp, if removed. Torque Front Exhaust Pipe Support
Bracket-to-Engine Stiffener Bracket. Torque to 31 Nm (23 ft. lbs.). Torque Clamp-to-Front Exhaust Pipe and Support Bracket. Torque to 60 Nm
(44 ft. lbs.).
10. Lower vehicle and check for leaks.