
VUE AWD L4-2.2L VIN D (2005)
Tighten the lift gate latch bolts to 12 N.m (9 lb ft).
4. Install lift gate lock cylinder. Refer to Lock Cylinder Replacement - Liftgate (See: Trunk / Liftgate Lock Cylinder/Service and Repair) .
5. Install the crank by sliding the latch to crank rod into the crank.
6. Install the crank bolts.
Tighten the crank bolts to 12 N.m (9 lb ft).
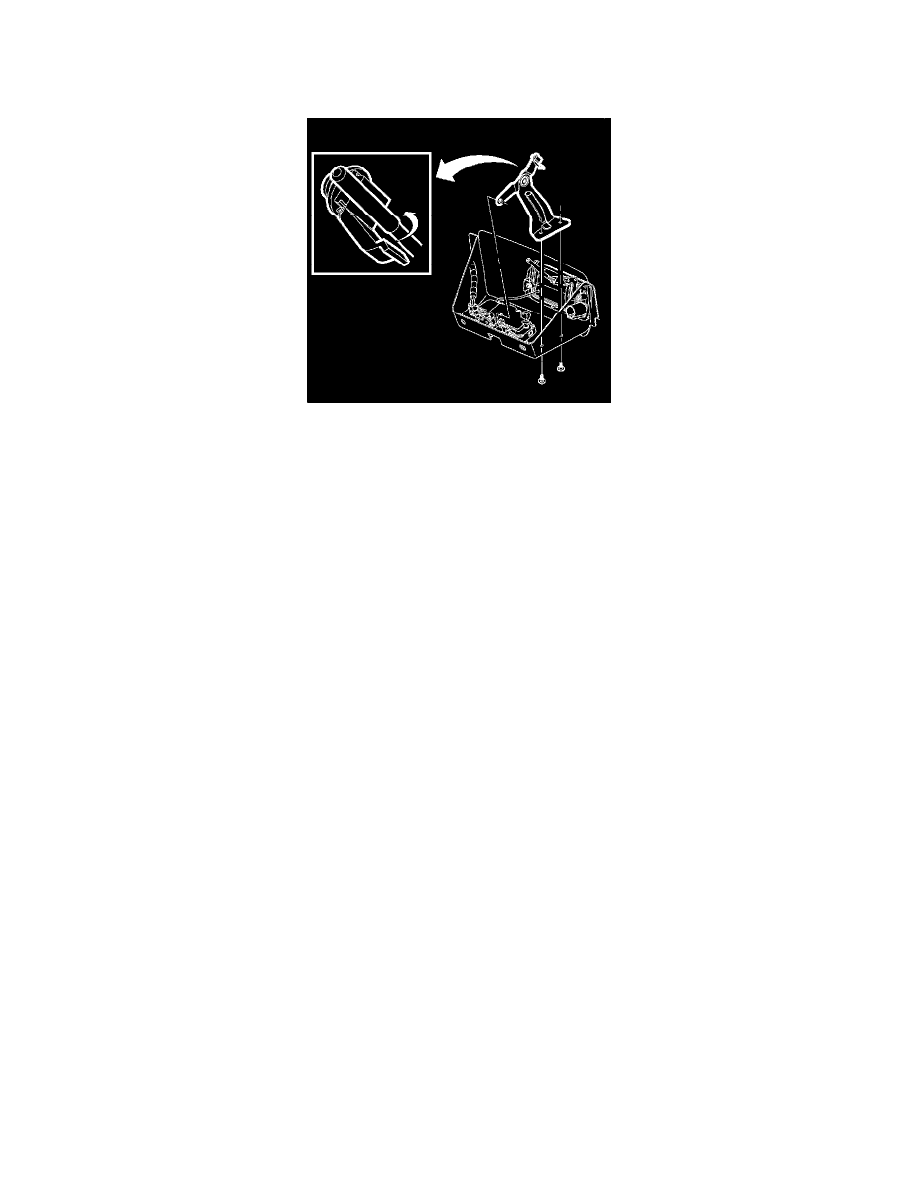
Important: Check for proper adjustment of outside handle rod. There should be no tension on the pivot or lift gate latch.
7. Adjust the outside handle rod to freely enter the clamshell-style retainer clip in the crank and snap into place.
8. Check the function of the latch by doing the following:
*
Reset the lift gate latch by inserting a screwdriver into the mouth of the latch.
*
Pull outside handle.
*
If outside handle does not actuate the latch, adjust the outside handle rod's position inside the clamshell-style retainer clip.
9. Connect the electrical connector, if equipped, to the lift gate latch.
10. Install the lift gate trim panel. Refer to Trim Panel Replacement - Liftgate (See: Trunk / Liftgate Interior Trim Panel/Service and Repair) .
11. Close the lift gate.