
VUE AWD L4-2.2L VIN D (2005)
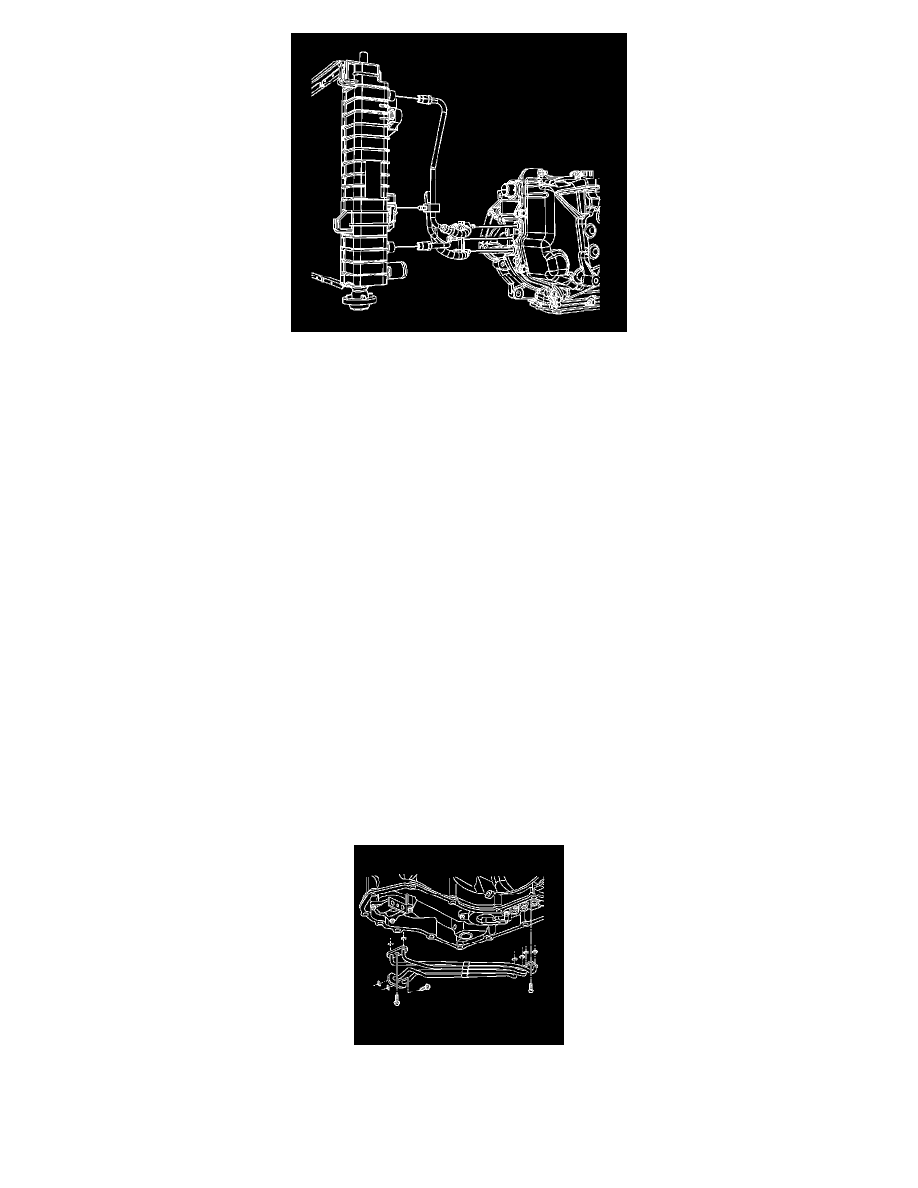
1. Install the transaxle oil cooler pipes to the vehicle.
2. Fasten the transaxle oil cooler pipe retaining clip to the radiator
3. Important: The correct thread engagement is critical. Cross threaded fittings can achieve proper tightness value and still leak.
Notice: Install the lower transaxle oil cooler pipe fitting to the radiator.
^
Tighten the fitting to 45 Nm (33 ft. lbs.).
4. Install the transaxle oil cooler pipes to the transaxle.
5. Install the transaxle oil cooler pipe retaining nut.
^
Tighten the nut to 4 Nm (27 inch lbs.).
6. Lower the vehicle.
7. Install the upper transaxle oil cooler pipe fitting to the radiator.
^
Tighten the fitting to 45 Nm (33 ft. lbs.).
8. Install the battery box.
9. Notice: Do NOT overfill the transaxle. The overfilling of the transaxle causes foaming, loss of fluid, shift complaints, and possible damage to the
transaxle.
Adjust the transmission fluid level. Refer to Transmission Fluid Checking Procedure. See: Testing and Inspection/Component Tests and General
Diagnostics/4T40-E/4T45-E Automatic Transaxle/Transmission Fluid Checking Procedure
10. Inspect for fluid leaks.
Oil Feed Pipes Replacement
Oil Feed Pipes Replacement
Removal Procedure
1. Remove the transmission oil filter assembly.
2. Remove the oil feed pipe bolts.
3. Inspect the eight oil feed pipe seal rings.
4. Replace the seal rings only if the seal rings are cut, swollen or damaged.