
VUE AWD L4-2.2L VIN D (2005)
*
Install the lower fixed glass post bolt.
Tighten the bolt to 10 N.m (89 lb in).
2. Install the rear door sound insulator. Refer to Sound Insulator Replacement - Rear Door (See: Body and Frame/Doors, Hood and
Trunk/Doors/Rear Door/Rear Door Panel/Service and Repair/Door Insulator) .
3. Install the rear door outer panel. Refer to Outer Door Panel Replacement Rear - Bolt On () .
4. Install the rear door window weatherstrip run channel assembly. Refer to Window Weatherstrip Run Channel Assembly Replacement - Rear (See:
Window Weatherstrip Run Channel Assembly Replacement - Rear) .
5. Install the rear door applique. Refer to Door Frame Applique Replacement - Rear () .
6. Install the rear door window. Refer to Window Replacement - Rear Door (See: Service and Repair) .
Window Weatherstrip Run Channel Assembly Replacement - Rear
Window Weatherstrip Run Channel Assembly Replacement - Rear
Removal Procedure
1. Lower the rear door window.
2. Remove the rear door trim panel. Refer to Trim Panel Replacement - Side Rear Door See: Body and Frame/Doors, Hood and Trunk/Doors/Rear
Door/Rear Door Panel/Service and Repair
3. Starting at one end, carefully pull the window weatherstrip run channel assembly from the door frame.
Installation Procedure
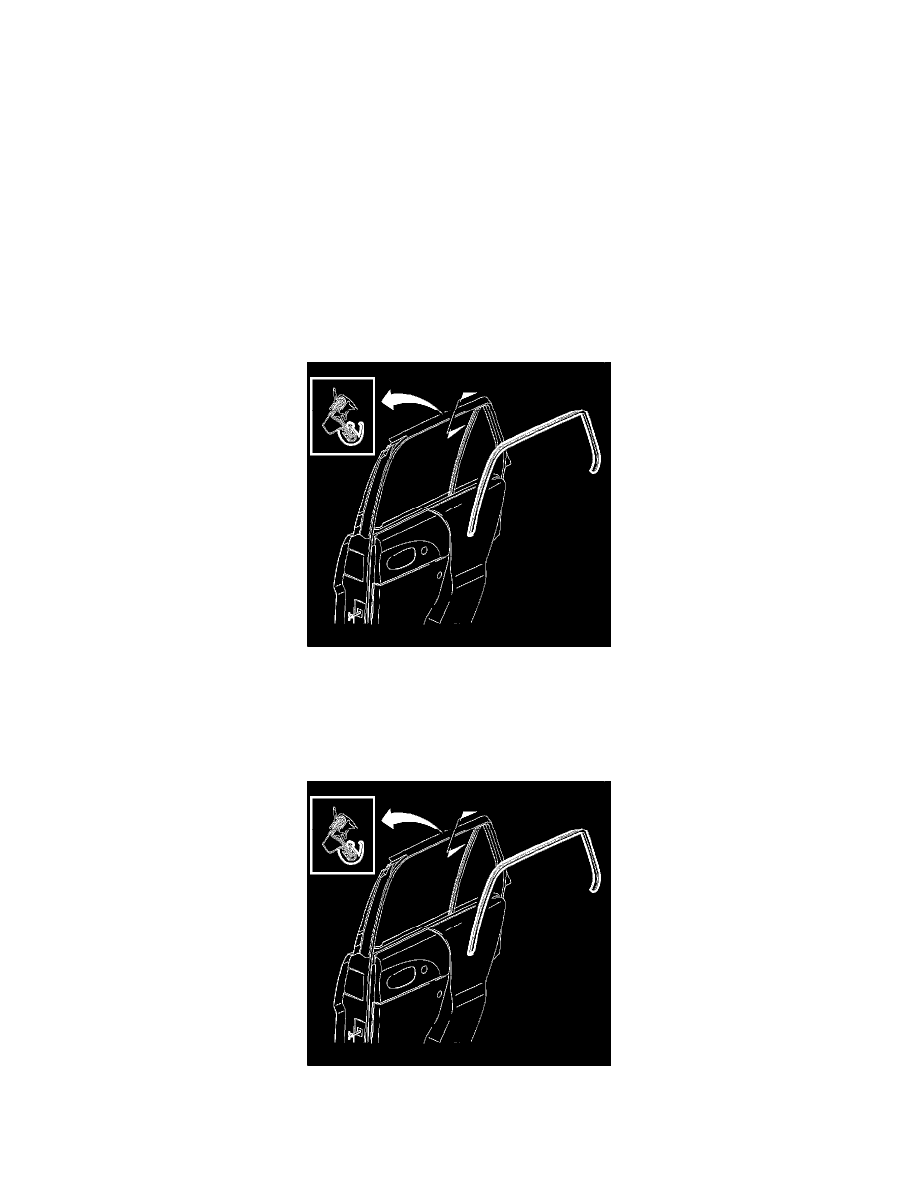
1. Align the notch in the window weatherstrip seal to the fixed glass post and press the weatherstrip onto the window flange.
*
Press the weatherstrip run channel onto the door flange.
*
Check to make sure the channel is fully secured into the upper corners of the door frame.