
VUE FWD V6-3.5L (2008)
Oil Pan: Service and Repair
Oil Pan Replacement
Tools Required
J 39505 Torque Wrench Adapter
Removal Procedure
1. Disconnect the negative battery cable. Refer to Battery Negative Cable Disconnection and Connection (Without LAT-2.4L) (See: Starting and
Charging/Battery/Battery Cable/Service and Repair) .
2. Install the engine support fixture. Refer to Engine Support Fixture (See: Service and Repair/Removal and Replacement/Engine Support Fixture) .
3. Drain the engine oil. Refer to Engine Oil and Oil Filter Replacement (See: Engine Oil/Service and Repair) .
4. Remove the oil filter adapter and bypass valve assembly. Refer to Oil Filter Adapter and Bypass Valve Assembly Replacement (See: Oil Filter
Adapter/Service and Repair) .
5. Remove the starter motor. Refer to Starter Motor Replacement (LZ4-3.5L) (See: Starting and Charging/Starting System/Starter Motor/Service and
Repair) .
6. Remove the left side catalytic converter. Refer to Catalytic Converter Replacement - Left Side (LZ4-3.5L) (See: Exhaust System/Catalytic
Converter/Service and Repair/Catalytic Converter Replacement - Left Side).
7. Remove the transfer case. Refer to Transfer Case Assembly Replacement (LZ4-3.5L) ().
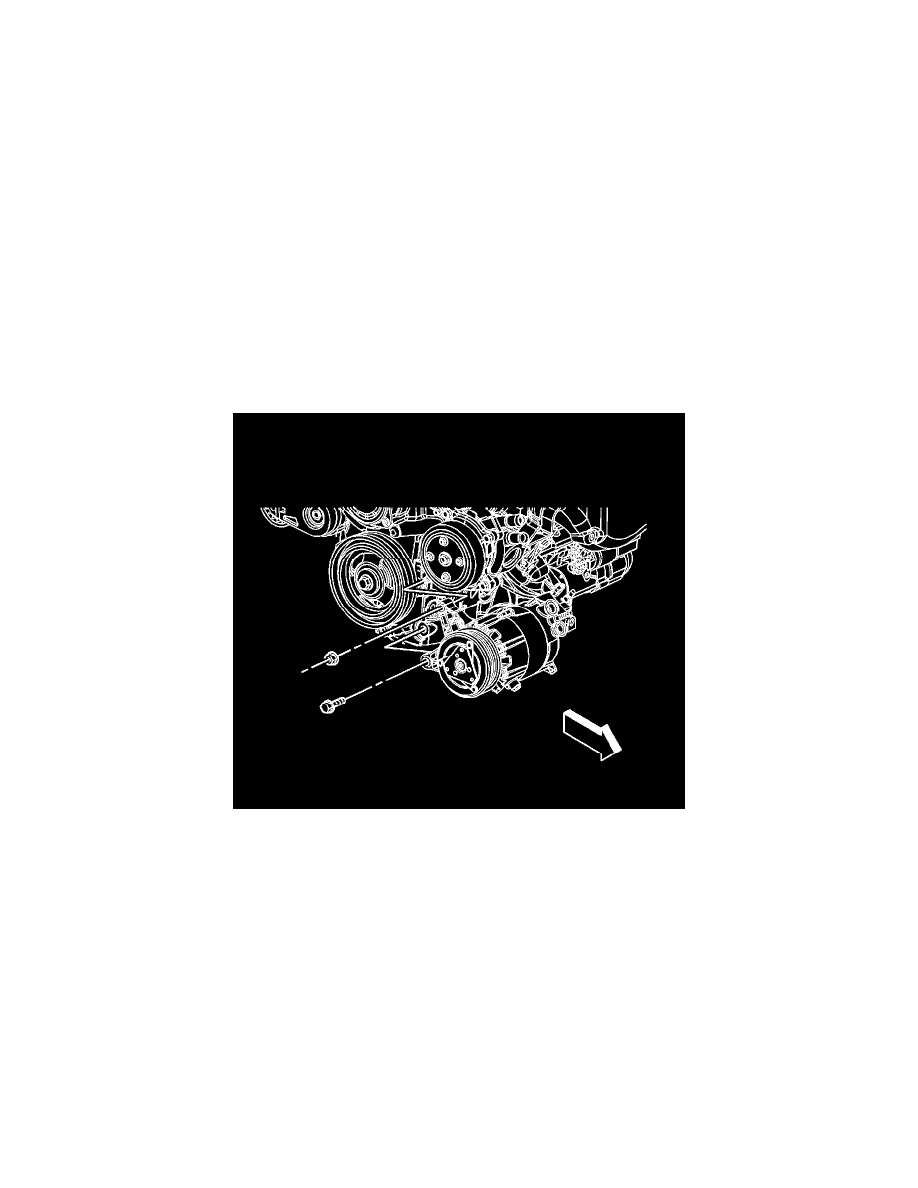
8. Remove the air conditioning (A/C) compressor nut and bolt.