
VUE FWD V6-3.5L (2008)
Timing Cover: Service and Repair
Engine Front Cover Replacement
Removal Procedure
1. Drain the cooling system. Refer to Cooling System Draining and Filling (Static Fill) (See: Cooling System/Service and Repair)Cooling System
Draining and Filling (GE 47716 Fill) (See: Cooling System/Service and Repair) .
2. Remove the drive belt tensioner. Refer to Drive Belt Tensioner Replacement (See: Drive Belts, Mounts, Brackets and Accessories/Drive Belt
Tensioner/Service and Repair) .
3. Remove the crankshaft balancer. Refer to Crankshaft Balancer Replacement (See: Cylinder Block Assembly/Harmonic Balancer - Crankshaft
Pulley/Service and Repair) .
4. Remove the crankshaft position actuator magnet. Refer to Camshaft Position Actuator Magnet Replacement (See: Variable Valve
Timing/Variable Valve Timing Actuator/Service and Repair) .
5. Remove the thermostat housing.
6. Remove the water pump. Refer to Water Pump Replacement (LZ4-3.5L) (See: Water Pump/Service and Repair)
7. Drain the engine oil. Refer to Engine Oil and Oil Filter Replacement (See: Engine Lubrication/Engine Oil/Service and Repair) .
8. Remove the oil pan. Refer to Oil Pan Replacement (See: Engine Lubrication/Oil Pan/Service and Repair) .
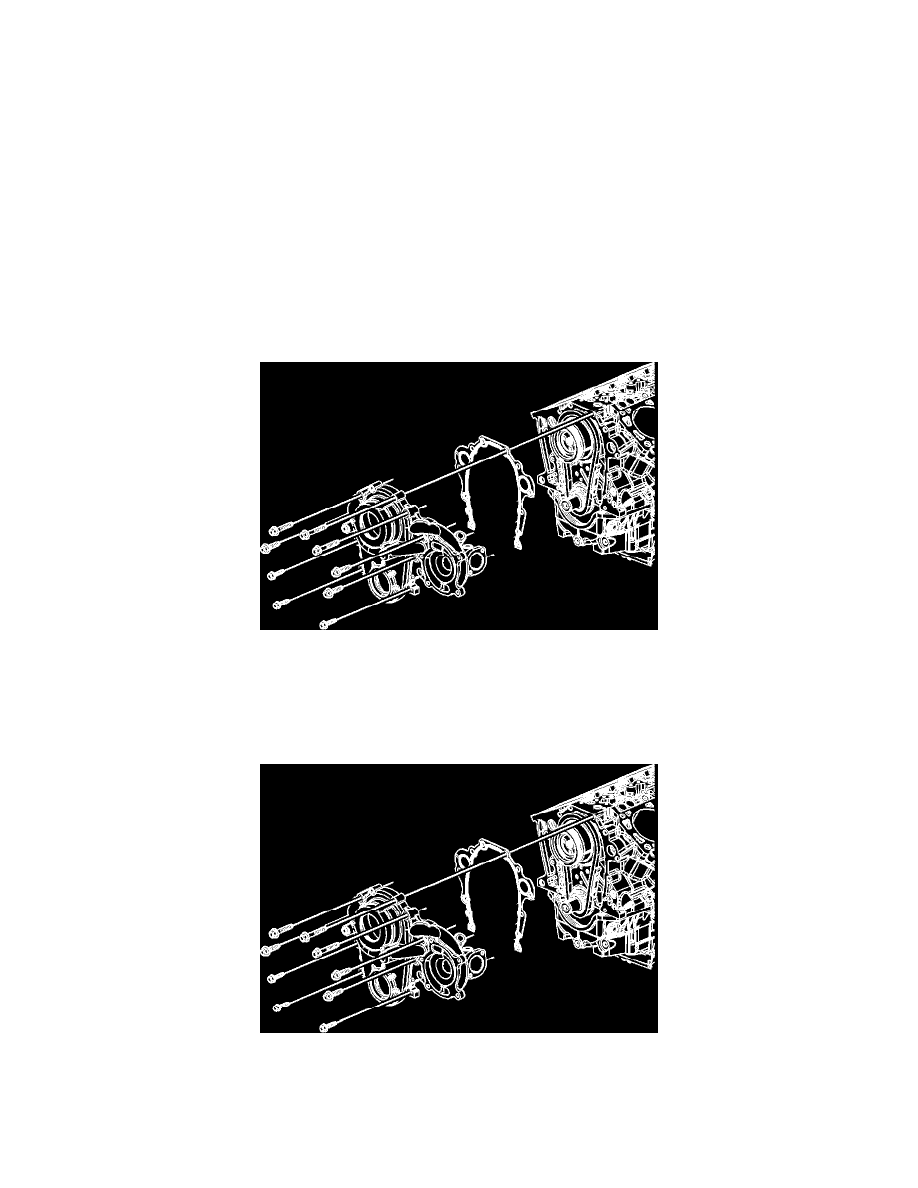
9. Remove the engine front cover bolts.
10. Remove the engine front cover.
11. Remove the engine front cover gasket.
12. Clean and transfer any parts as needed.
Installation Procedure
1. Install the engine front cover gasket.
2. Install the engine front cover.
Notice: Refer to Fastener Notice (See: Service Precautions/Vehicle Damage Warnings/Fastener Notice) .
3. Install the engine front cover bolts.