
VUE FWD V6-3.5L (2008)
Control Arm Bushing: Service and Repair
Front Lower Control Arm Bushing Replacement (Rear Bushing)
Removal Procedure
1. Raise and support the vehicle. Refer to Lifting and Jacking the Vehicle (See: Wheels and Tires/Vehicle Lifting/Service and Repair) .
2. Remove the front tire and wheel assembly. Refer to Tire and Wheel Removal and Installation (See: Wheels and Tires/Service and Repair) .
3. Remove the lower control arm. Refer to Lower Control Arm Replacement (See: Service and Repair/Front Suspension) .
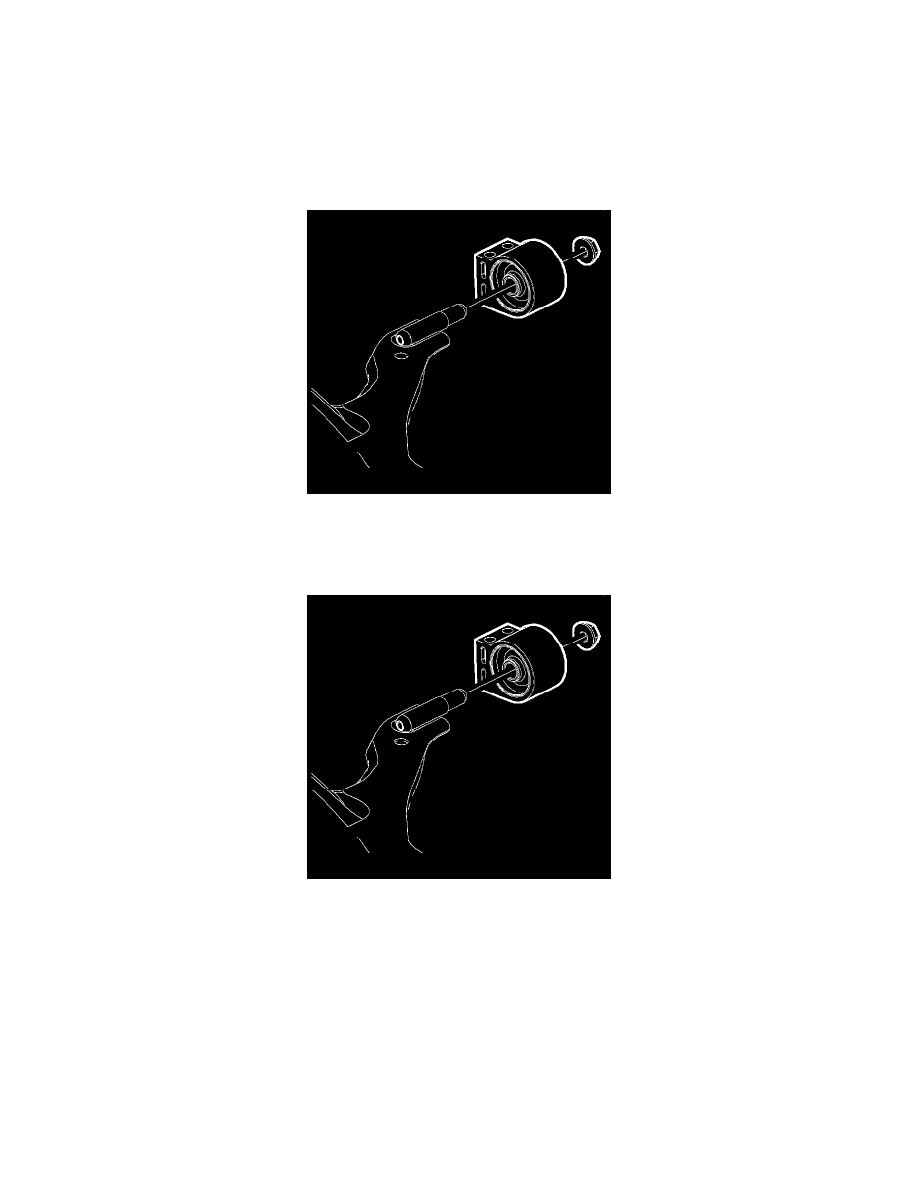
4. Remove the rear bushing nut.
5. Remove the rear bushing.
Installation Procedure
Notice: Refer to Fastener Notice (See: Service Precautions/Vehicle Damage Warnings/Fastener Notice) .
1. Install the rear bushing to the lower control arm.
Tighten the nut to 150 N.m (110 lb ft).
2. Install the lower control arm. Refer to Lower Control Arm Replacement (See: Service and Repair/Front Suspension) .
3. Install the front tire and wheel assembly. Refer to Tire and Wheel Removal and Installation (See: Wheels and Tires/Service and Repair) .
4. Lower the vehicle.