| t
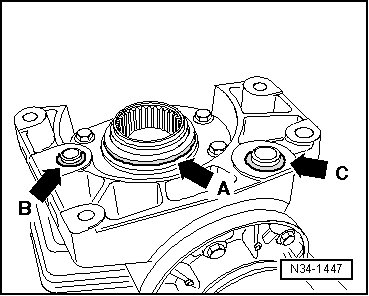
| Always renew O-ring for sealing bevel box and gearbox -arrow A- and O-rings for sealing sleeves for oil supply system -arrow B- and -arrow C-, lightly coating with oil. |
| t
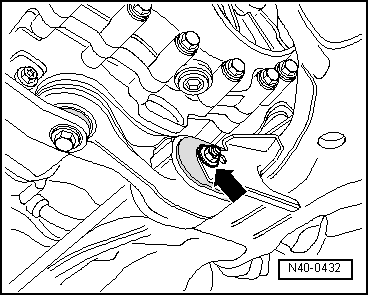
| Push bevel box completely onto gearbox, ensuring that splines of bevel box input shaft and differential are centred when brought together. |
| t
| Align splines of right flange shaft and differential bevel gear, turning flange shaft if necessary. |
| t
| If splines are correctly positioned and shafts are centred, then bevel box will slide to stop against gearbox. |
| t
| Do not use securing bolts to pull bevel box onto gearbox, or bevel box will cant and bolt holes can break off. |
| t
| Install front exhaust pipe and attach to catalytic converter. → Rep. Gr.26 |
| t
| Bolt turbocharger oil return line and vacuum unit for charge pressure regulator onto engine. → Rep. Gr.21 |
|
|
|
 Note
Note