seat Workshop Repair Guides

SEAT Workshop Service and Repair Manuals

Conversion table by relevance > < Dismantling and assembling differential
Procedure
Procedure
l  Gearbox must be fitted.
–  Raise the vehicle.
–  Remove front left wheel → Running gear, axles, steering; Rep. Gr.44
–  Remove centre noise insulation → Bodywork, exterior fitting work; Rep. Gr.50.
–  Unscrew the right drive shaft from gearbox flange.
–  Remove the left the sound proofing → Rep. Gr.66.
   
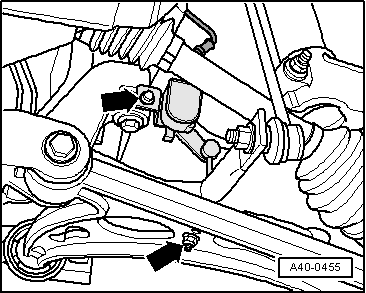
–  If present, remove the front left vehicle level sender -G78--arrows-.
  WARNING
To loosen the collar bolts on the wheel drive shaft, the wheel bearing must not have any pressure on it (the vehicle must be lifted off its wheels)
–  Remove left-hand side wheel drive shaft → Rep. Gr.40.
  A40-0455
–  Fit the tray -T20173- beneath gearbox to collect the oil.
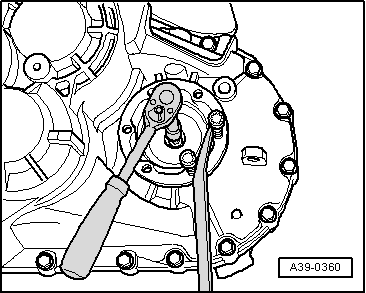
–  Unscrew the bolt securing the left flanged shaft using the spanner -T20203-; to do this, screw two bolts into the flange and immobilise the shaft with a lever.
–  Remove the flanged shaft.
  A39-0360
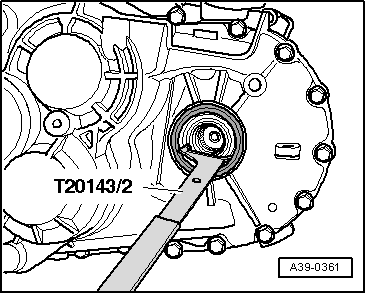
–  Extract the flanged shaft seal using the adapter -T20143/2-.
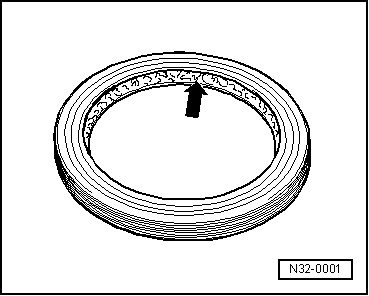
–  Lightly lubricate outer edge of new seal.
  A39-0361
–  Fill space between sealing lip and dustcap -arrow-, halfway, with sealing grease → Parts catalogue.
  N32-0001
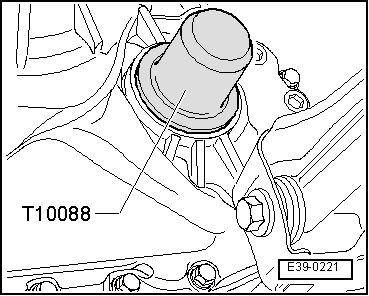
–  Fit new seal as far as it will go using tappet -T10088-, without tilting it.
–  Press the flanged shaft against the gearbox housing and screw it in. Tightening torque → Item
The remainder of the installation is carried out in the reverse order to removal; noting the following:
–  Fit the left hand side wheel drive shaft → Rep. Gr.40.
–  Add gear oil to the manual gearbox and check the oil level → Chapter.
Tightening torques
  E39-0221
ComponentNm
Flanged shaft to differential25 → Item


Conversion table by relevance > < Dismantling and assembling differential