
Leon Mk1
|
|
|
|
|
|
|
|
|
|
|
|
|
|
|
|
|
 Note
Note
|
|

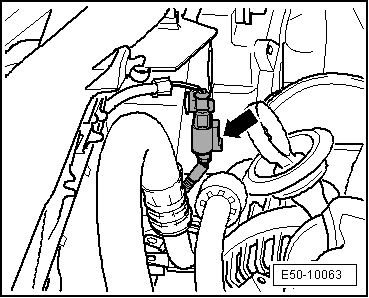
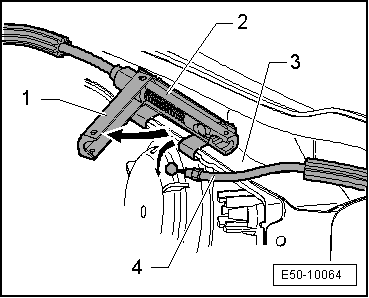
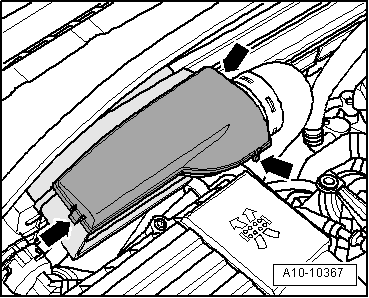
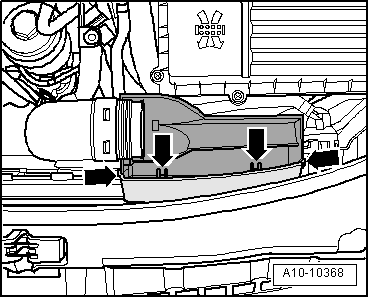
| – | Disconnect the connector -4- from the Outside temperature thermosensor -G17-. |
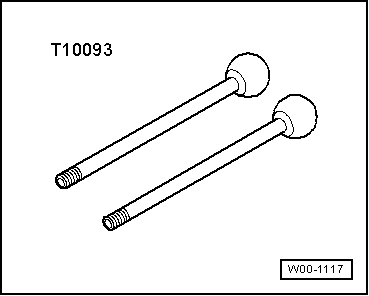
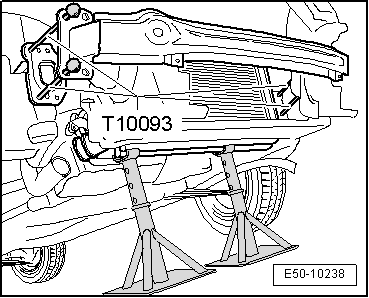
| – | Unscrew the bolts -2- and attach the centre guides -T10093-in their place. |
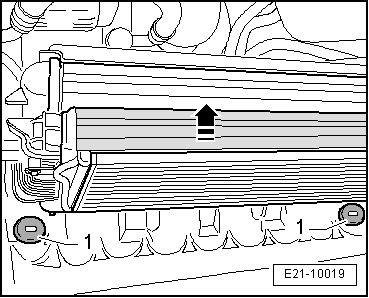
| – | Remove bolts -3-. |
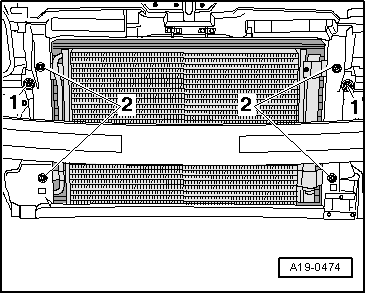
| – | Remove bolts -1-. |
|
|
|
|
|
|