Leon Mk1
|
 Note
Note
|
|
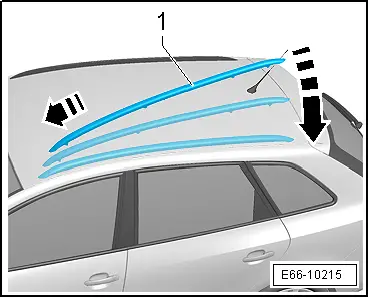
| – | Remove nuts -1-. |
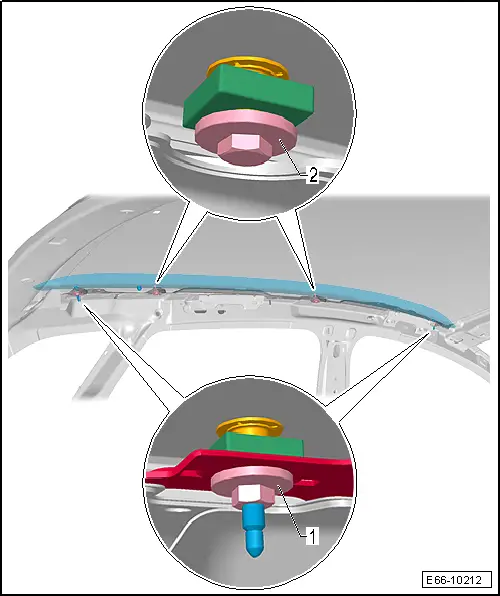
| – | Unscrew the screws -2- and remove the roof rail |
|
 Caution
|
|
Note
|
|
|
|
|
|

|
Note
|
|
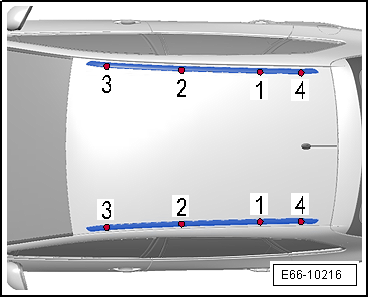
| – | Remove nuts -1-. |
| – | Unscrew the screws -2- and remove the roof rail |
|
|
|
Note
|
|
|
|
|
|