seat Workshop Repair Guides

SEAT Workshop Service and Repair Manuals

Underbody cladding > < Gluing strips and model emblem
Company emblem, front „SEAT“: Removing and installing
Special tools and workshop equipment required
   
t  Hot-air blower -SAT 1416-
t  Protective goggles and leather gloves
t  Blade
t  Emblem, front: Removing → Anchor
t  Emblem, front: Fitting → Anchor
Emblem, front: Removing
–  Remove front bumper lining → Chapter.
  WARNING
Wear protective gloves for this work!
  W00-2718
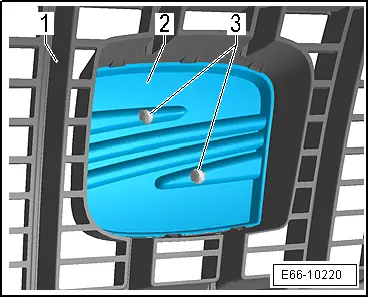
–  Using the blade, cut the fixing groove -3- flush with the emblem -2-. Remove the emblem out of the grille -1- by applying pressure to its outer side.
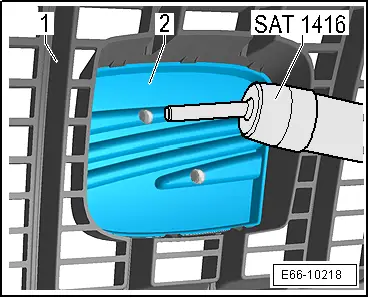
Emblem, front: Fitting
  DANGER!
It is obligatory to wear protective glasses and leather gloves.
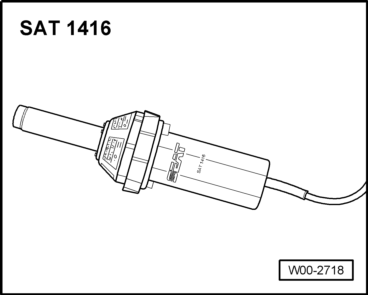
–  Thoroughly clean the area where the weld seam should be made.
  Note
If the grill should be reused and the plastic grooves should not have sufficient length, apply material with rods of the same type of plastic from which the grille has been manufactured.
  E66-10220
–  Mount the emblem -2- on the grille -1- and heat the grooves with the hot air blower -SAT 1416- until they melt.
–  Using a screwdriver, spread the melted plastic over the whole welding area to enable a positive adhesion of the emblem.
–  Allow the area to cool for a minute and check that the weld is correct.
–  Mount the front bumper trim.
  E66-10218

Underbody cladding > < Gluing strips and model emblem