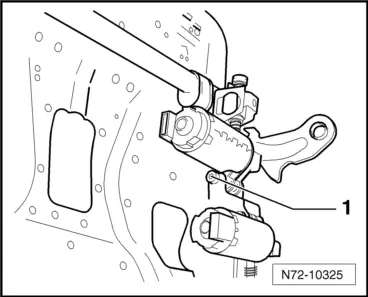
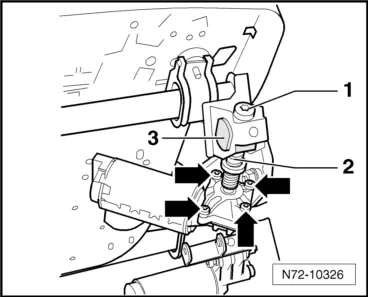
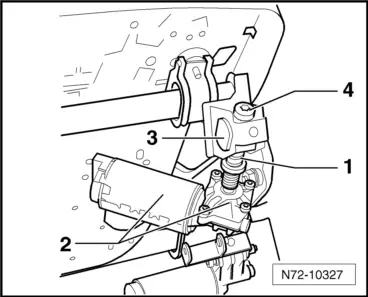
seat Workshop Repair Guides

SEAT Workshop Service and Repair Manuals

Removing and installing height adjustment drive > < Removing and installing backrest adjustment drive
Removing and installing inclination adjustment drive
Removing
–  Remove head restraint.
–  Position seat in highest seat position.
–  Attach seat repair stand -VAS 6136- to engine and gearbox support -VAS 6095-.
–  Remove seat → Chapter.
–  Fasten seat on seat repair stand -VAS 6136-.
–  Removing front belt buckle → Chapter.
–  Remove trim on tunnel side → Chapter.
–  Remove trim on sill side → Chapter.
–  Detach wiring harnesses from seat base.
   
–  Detach wiring harness from seat longitudinal adjustment motor.
–  Detach wiring harness from inclination adjustment motor.
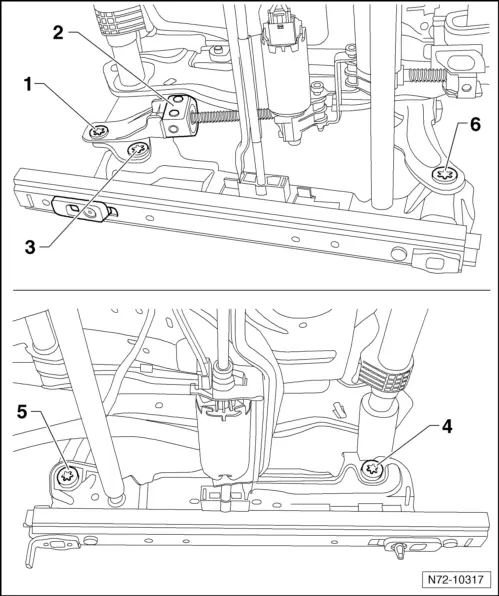
–  Undo and remove front bolts -5- and -6-.
–  Detach seat from underframe in front area and swivel towards the rear.

   
–  Remove bolt -1-.
–  Undo the four bolts -arrows- and remove motor.
  N72-10325
–  Secure the spindle -2- with pliers to prevent it being turned.
–  Remove bolt -1-.
–  Unscrew spindle -2- from spindle nut -3-.
Installing
  N72-10326
–  Screw spindle -1- for drive -2- as far as possible into spindle nut -3-.
–  Insert bolt -4- into spindle loosely by hand.
  Note
Bolt -4- can only be tightened to specified torque when seat is located in vehicle and connected to vehicle electrical system.
  N72-10327
–  Screw on drive with bolt -1- (6+2 Nm).
Further installation is performed in the reverse order of removal.
l  Seat installed in vehicle and connected to vehicle electrical system
  N72-10325
–  Operate inclination adjuster to move seat downwards. At the same time, screw in bolt -4- to 8±1 Nm.
  N72-10327

Removing and installing height adjustment drive > < Removing and installing backrest adjustment drive