
Leon Mk1
|

| Special tools and workshop equipment required |
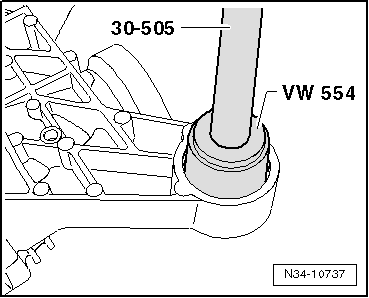
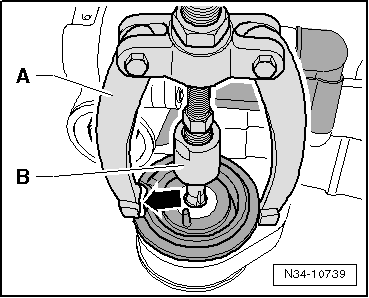
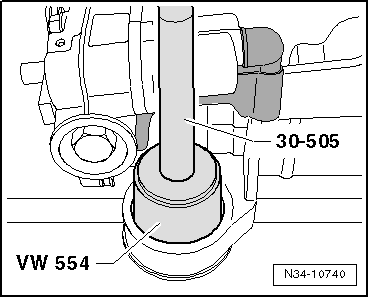
| t | Extractor -30 505- |
| t | Tappet -VW 554- |
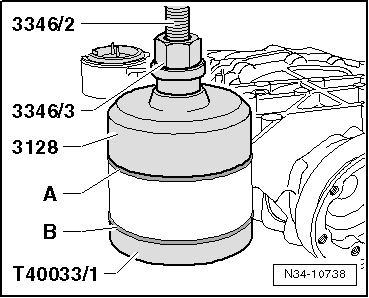
| t | Die -3128- |
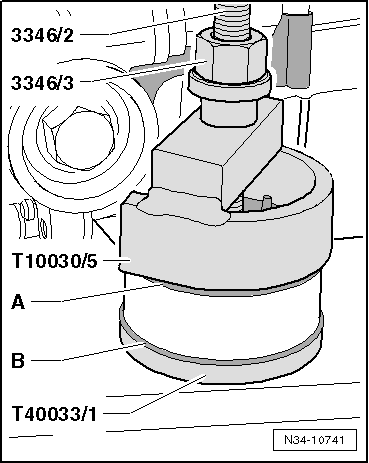
| t | Drift sleeve -T40033/1- |
| t | Drift sleeve -T10030/5- |
| t | Drift sleeve -3346/2- |
| t | Drift sleeve -3346/3- |
|
|
|
|
 Note
Note
|
|
|
|
|
|
Note
|
|
|
|
|
|
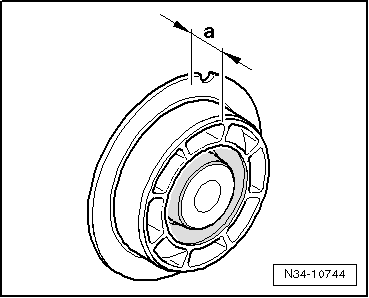
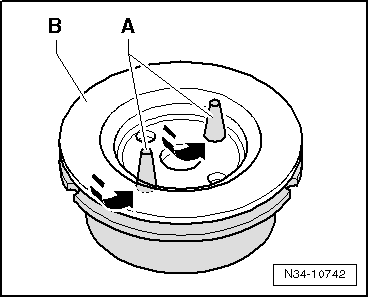
| Dim. „a“ mm | Bonded rubber mounting |
| 22 | „Top rear“ |
| 17 | „Bottom front“ |
|
|